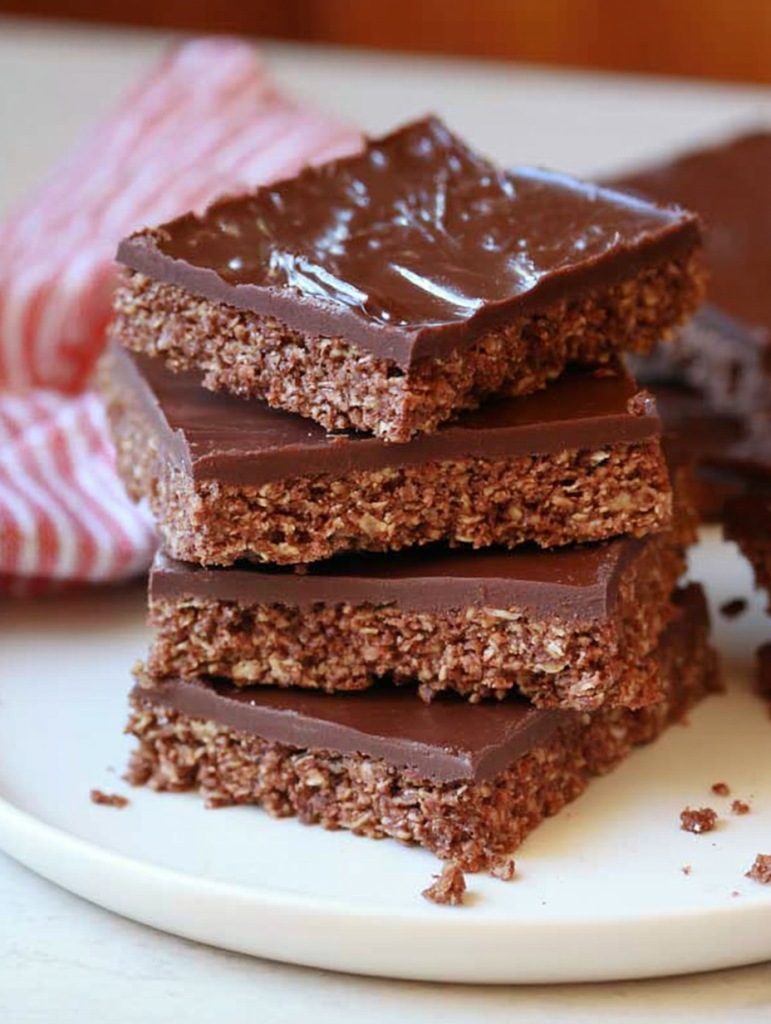
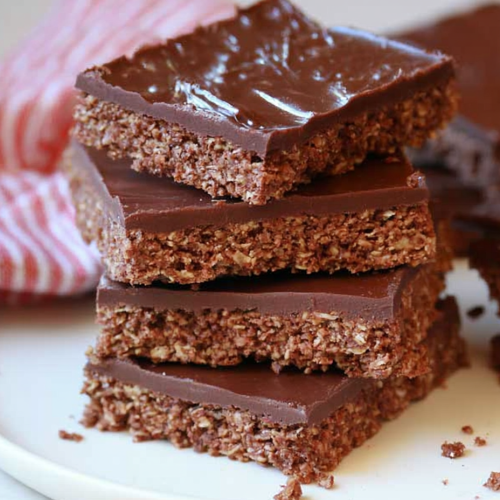
Australian chocolate slice is a simple, chocolatey bar with a soft coconutty base and warm icing poured right over the top. No mixer, no fancy chocolate, and no complicated layers—just an easy 9×9 pan of rich chocolate bars. You’re going to love how quickly it comes together with pantry staples.
Why You’ll Love It
- No mixer needed — everything comes together in one bowl with simple stirring.
- Soft, sturdy texture — the base lands somewhere between a brownie and snack cake.
- Warm chocolate icing — pour it over the hot bars for a smooth, glossy top.
- Pantry-friendly ingredients — flour, cocoa, brown sugar, butter, and powdered sugar do the work.
- Easy to slice and share — bake everything in a simple 9×9-inch pan.
Ingredient Notes
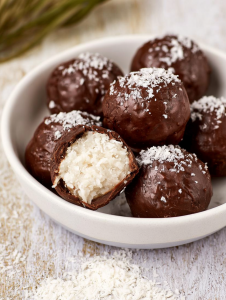
You want unsweetened desiccated coconut, which is finer and drier than the sweetened shredded coconut in the little blue bag most American grocery stores carry. If you have an international market nearby, that is usually your best bet. It can also be found in the baking aisle of larger supermarkets. Try our Chocolate Coconut Balls next.
Do not use sweetened coconut here if you can help it. The recipe is balanced for the plain kind, and sweetened coconut changes both the sweetness and moisture. Could you get away with it in a pinch? Probably. Would I recommend it? Not really. It is best not to pick fights with a recipe that only has seven ingredients in the bar itself.
For the cocoa powder, regular unsweetened cocoa is what you need—not hot cocoa mix, not a fancy drinking chocolate situation. Dutch-process cocoa may work, but standard unsweetened cocoa is best for this one. If you like this, you'll love our 3-Ingredient Mounds Bar.
Let the melted butter cool before adding it to the egg. It does not have to be cold—just not sizzling hot. Adding hot butter can make little cooked egg threads in a bowl of cocoa and brown sugar. Very appetizing-looking. Like chocolatey scrambled eggs.
Ingredients
- 1 cup all-purpose flour
- 1 cup unsweetened desiccated coconut
- 1/2 cup brown sugar, packed loosely—I don’t perform surgery with it
- 2 1/2 tablespoons unsweetened cocoa powder
- 1 large egg
- 2/3 cup butter, melted and cooled a bit
- 1 teaspoon vanilla extract
For the icing:
- 1 1/3 cups powdered sugar
- 2 1/2 tablespoons unsweetened cocoa powder
- 3 tablespoons butter, melted
- 1 1/2 tablespoons boiling water

Instructions
Preheat your oven to 325°F. Line a 9×9-inch baking dish with parchment paper, leaving a little overhang if you can, then lightly grease the paper. The parchment is worth bothering with because it makes lifting and slicing the bars so much easier. Skipping it can mean scraping corners out with a spatula and muttering at the pan. So. Parchment.
In a medium bowl, stir together the flour, desiccated coconut, brown sugar, and cocoa powder. Break up any obvious brown sugar lumps with your fingers or the back of a spoon. No need to sift this part. For this base it’s perfectly fine to just mix it well.
More recipes you might like


Add the egg, the cooled melted butter, and the vanilla extract. Stir until everything is just combined. The mixture will be thick, more like a soft dough than a pourable cake batter. That is right. Don’t panic and add milk or extra butter. Adding extra butter can make it bake up greasy around the edges.
Scrape the mixture into the prepared pan. Press it into an even layer with a spoon, an offset spatula, or clean fingers. Press gently but firmly into the corners. You want an even thickness so the middle bakes through at the same rate as the edges.
Bake for 20 to 23 minutes, until the center is baked through. It should look set, not wet, and the edges may pull away just the tiniest bit. Ovens are liars. Check at 20 minutes. For another easy option, see our Coconut Chewies.
When the bars have about 5 minutes left in the oven, make the icing. Sift together the powdered sugar and cocoa powder in a medium bowl. Powdered sugar lumps are sneaky little devils, and the icing should be smooth.
Stir in the 3 tablespoons melted butter and the 1 1/2 tablespoons boiling water until the icing is smooth and glossy. Have it ready before the bars come out, because you need to pour it on while they’re hot. Not warm an hour later. Hot.
As soon as the pan comes out of the oven, pour the icing over the top. Work quickly to spread it all the way to the edges. It will loosen and glide more easily from the heat underneath, then start to settle as it cools. This is not the moment to switch laundry. Spread the icing first.
Let the chocolate slice cool completely at room temperature so the icing can set before slicing. I know it smells wonderful. I know you want to cut one “just to see.” Don’t. Or do, but accept that the first piece may look like it went through a minor accident.
Variations
You can add a pinch of instant espresso powder to the icing. It makes the cocoa taste deeper, not coffee-ish exactly.
I would not go throwing chocolate chips into the base. The chips make the texture oddly bumpy and sweeter than intended. This recipe’s charm is that it’s plain in a good way. Not boring—there’s a difference. Like an old cotton shirt that fits right versus a sequined blouse you regret buying under department-store lighting.
You could sprinkle extra coconut over the wet icing if you like coconut.
Storage & Reheating
Keep the cooled slices in an airtight container at room temperature for about 3 days. They stay nicely soft, though the icing gets a little less glossy after the first day. You might also like our Classic Earthquake Cake.
If your kitchen is warm, store them in the refrigerator so the icing doesn’t get too soft. Let a piece sit out for a few minutes before eating, though, because cold butter-based icing is a little firmer. Not bad, just less lovely.
These are meant to be eaten at room temperature. But if you want a warmer, softer piece, ten seconds in the microwave will do it. Ten. Maybe twelve if your microwave is ancient.
They freeze well too, with parchment between layers. They thaw quickly on the counter.
Final Notes
There’s something comforting about a recipe that doesn’t ask you to become a different person in order to make it. You don’t need special equipment or a flawless afternoon. You can make this with a cluttered counter and a half-listened-to rerun playing in the next room.
Australian chocolate slice is one of those little steady recipes. Sometimes it gets forgotten for a while and then turns up again while looking for something else entirely. Try our The Absolute Best Coconut Cream Pie next.
Make it when you need a simple pan of chocolate bars. Make it for a family dinner, a backyard birthday, or just because the brown sugar is getting hard in the pantry and you’re tired of looking at it. Cut the pieces however you like. Hide one in the back of the container if you must—I’m not judging. If you like this, you'll love our Cool and Creamy Coffee Icebox Cake.
Australian Chocolate Slice
Want This Recipe Later?
Ingredients
- 1 cup all-purpose flour
- 1 cup unsweetened desiccated coconut
- 1/2 cup brown sugar packed loosely
- 2 1/2 tablespoons unsweetened cocoa powder
- 1 large egg
- 2/3 cup butter melted and cooled a bit
- 1 teaspoon vanilla extract
- 1 1/3 cups powdered sugar
- 2 1/2 tablespoons unsweetened cocoa powder
- 3 tablespoons butter melted
- 1 1/2 tablespoons boiling water
Instructions
- Preheat the oven to 325°F, then line a 9x9-inch baking dish with parchment paper, leaving a little overhang if possible, and lightly grease the paper.
- In a medium bowl, stir together the flour, desiccated coconut, brown sugar, and cocoa powder, breaking up any obvious brown sugar lumps with your fingers or the back of a spoon.
- Add the egg, cooled melted butter, and vanilla extract, then stir until everything is just combined and the mixture is thick like a soft dough.
- Scrape the mixture into the prepared pan and press it gently but firmly into an even layer, making sure it reaches the corners.
- Bake for 20 to 23 minutes, checking at 20 minutes, until the center looks set and not wet and the edges may pull away slightly.
- When the bars have about 5 minutes left in the oven, sift the powdered sugar and cocoa powder together in a medium bowl.
- Stir in the melted butter and boiling water until the icing is smooth and glossy, and have it ready before the bars come out of the oven.
- As soon as the pan comes out of the oven, pour the icing over the hot bars and quickly spread it all the way to the edges.
- Let the chocolate slice cool completely at room temperature so the icing can set before slicing.
Notes
Nutrition
Made this recipe? Tap a star to rate it.
Nutrition values are estimates based on the listed ingredients and serving count. Actual values vary with brands, cuts and portion sizes.