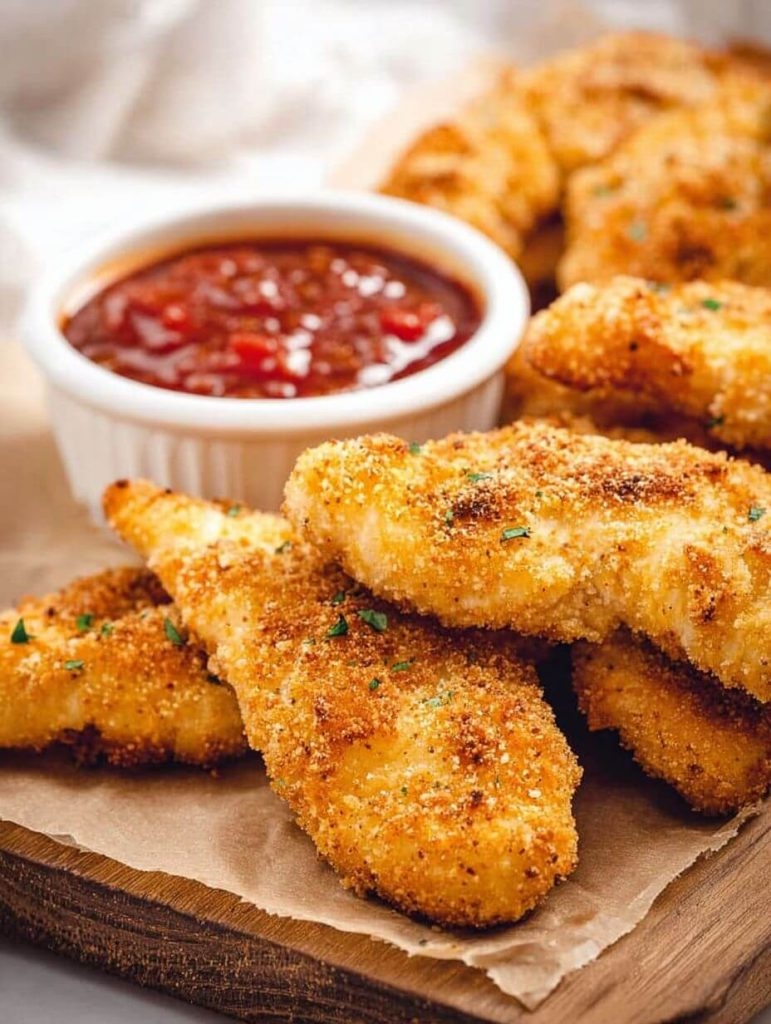
If you’ve ever tried wrangling hungry kids after soccer practice—or hey, just wanted a seriously craveable, golden batch of homemade chicken tenders for yourself—you’re in good company here. My family is absolutely hooked on these oven-baked delights. They’re warm, crispy, and way healthier than “drive-thru” chicken, but still check all the comfort food boxes. Plus, I swear they make the whole house smell like every good memory from my childhood (especially if someone sneaks a tenders straight off the pan—looking at you, Mark).
Why You’ll Love This
- Family-friendly and super kid-approved (no mysterious nuggets in sight)
- Crispy coating, thanks to a little oven magic—no deep-frying, no problem!
- Easy recipe with minimal mess and prep—sheet pan magic, folks
- Fresh, simple ingredients (yay for knowing exactly what’s in your food)
- Lighter, healthier option that’s still utterly craveable (trust me, you’ll want seconds…and maybe dessert)
- Endlessly adaptable—play with spices, add a spicy kick, or go classic
- Freezer-friendly for busy weeknights or midnight snacking (hey, no judgment!)
Ingredient Notes & Helpful Swaps
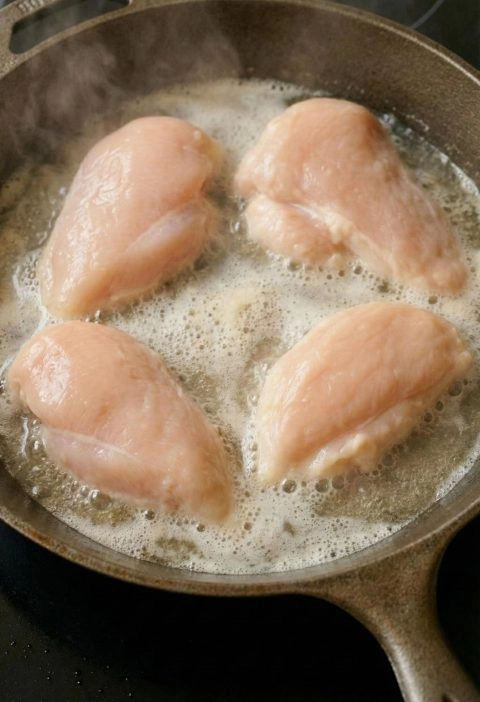
Chicken Tenders: Go for actual chicken tenderloins if you want that signature shape and texture, but if all you have are chicken breasts, just slice ‘em into strips. No one in my house has ever noticed the difference, and I’ve been doing this for years. Try our Slow Cooker Herb-Crusted Pork Tenderloin with Creamy Dijon and Herb Sauce next.
Bread Crumbs: I love using panko because it’s so light and crispy, but regular breadcrumbs work in a pinch. If you’re gluten-free, try crushed rice cereal or gluten-free panko.
Parmesan Cheese (optional but recommended): Sprinkling a little freshly grated Parm into your breading mixture takes these baked chicken tenders to new heights. If you don’t have any on hand, just skip it (but you’ll want to try it next time). If you like this, you'll love our 5-Ingredient Oven 1960s Summer Camp Chicken.
Eggs: You’ll use beaten eggs for dipping, which helps the crispy coating stick. Pro tip: a teeny splash of milk in the eggs makes them even easier to work with.
Flour: Gives everything a good base to grab onto. All-purpose flour is perfect, but you can swap in whole wheat or gluten-free blends if you need to.
Seasonings: Good old salt and pepper are a must, but don’t be shy with garlic powder, paprika, dried parsley, or a sprinkle of onion powder. Want to make ‘em more “kid-friendly”? Stick to basics. For grownups, add a pinch of cayenne. Trust me.
Step-by-Step Directions
Before you do anything else, crank that oven up to 425°F. A hot oven is key for that lovely, golden, crispy coating—don’t be tempted to go lower, or you’ll sacrifice the crunch (and who wants that?).
Line a big sheet pan with parchment paper or give it a quick spray with nonstick spray. This helps your tenders brown evenly, plus makes cleanup a breeze. I do love a shortcut.
1. Prep Your Dredging Stations: Use three shallow bowls (or pie plates if you’re fancy): one with flour, one with the beaten eggs, and the last with your breadcrumb-Parmesan-seasoning mixture. Set them up in a row to create a sort of “assembly line.” (Get the kids involved here—it might get a little messy, but that’s half the fun!) For another easy option, see our 5-Ingredient Slow Cooker Vintage Mid-Summer Tenderloin.
More recipes you might like



2. Dredge the Chicken: Pat the chicken dry with a paper towel (this helps the breading stick). Dip each piece into flour first, coating completely—shake off any extra—then into the egg, and finally, press into the breadcrumb mixture until it’s nicely coated. Lay each tender on the prepared baking sheet, leaving a little room between them.
3. The Secret Crunch Factor: Spray the tops lightly with olive oil spray or drizzle a tiny bit of melted butter over each tender. Don’t skip this—it makes all the difference in getting that beautiful, golden baked chicken crust.
4. Bake to Perfection: Pop them in the oven and bake for 10-12 minutes, then carefully flip them over. Bake an extra 6-8 minutes or until the chicken is cooked through and the coating is deeply golden (about 165°F on a meat thermometer, if you’re a thermometer type—otherwise, just check for clear juices and a nice, crunchy crust).
5. Cool (or let everyone sneak one hot off the pan—again, no judgment): They’ll crisp up even more as they cool for a minute or two. Serve with your family’s favorite dips: classic ketchup, honey mustard, ranch, or even a spicy sriracha if you’re feeling bold.
Variations & Flavor Twists
Classic Kids’ Version: Skip anything spicy, and stick to salt, pepper, and a pinch of garlic powder.
Spicy Kick: Add paprika (smoked if you have it) and a pinch of cayenne pepper right into the breadcrumbs. My husband loves this on his half of the pan!
Italian-Inspired: Throw some dried oregano, basil, and an extra spoonful of Parmesan cheese into the crumb mixture. Try dipping in warm marinara for a cozy twist.
Ranch Lovers: Sprinkle a little dry ranch seasoning into the breading, or serve with ranch dip on the side. You might also like our Simple Maple Mustard Oven-Baked Pork Tenderloin.
Gluten-Free: Use gluten-free breadcrumbs or crush up crispy rice cereal (just make sure it’s unsweetened).
Dairy-Free: Skip the Parmesan cheese, and you’re good to go.
Storage & Reheating Tips
Honestly, leftovers don’t happen very often at our house—but if they do, these store beautifully. Let any extras cool completely, then pop them in an airtight container.
Fridge: Store for up to 3 days. When you want to reheat, avoid the microwave if you can (it’ll zap that amazing crispy coating). Instead, spread them out on a baking sheet and bake at 375°F for about 8 minutes, or until they’re hot and crisp again.
Freezer: Yes, you can freeze them! Arrange the cooked tenders on a sheet pan so they aren’t touching and freeze until solid, then pop them into a zip-top bag. They’ll keep up to 2 months. Reheat from frozen in a 400°F oven for about 15 minutes—don’t thaw first, just go for it. Try our Air Fryer Cracker Barrel Copycat Grilled Chicken Tenderloins next.
Final Thoughts
I can’t tell you how many times this easy baked chicken tenders recipe has saved my sanity (and our dinners). If you give it a try, please let me know how it goes—pop a comment below or tell me about your family’s favorite twist. The only real warning: these truly addictive, kid-friendly tenders might just ruin you for fast food forever. (But that’s not a bad thing, right?) Happy cooking! If you like this, you'll love our Bacon Brown Sugar Pork Tenderloin.

Homemade Baked Chicken Tenders
Want This Recipe Later?
Ingredients
- 1 1/2 pounds chicken tenderloins or chicken breasts sliced into strips
- 1/2 cup all-purpose flour or whole wheat or gluten-free flour blend
- 2 large eggs beaten
- 1 tablespoon milk optional, stirred into the beaten eggs
- 1 1/2 cups panko breadcrumbs or regular breadcrumbs, gluten-free panko, or crushed unsweetened crispy rice cereal
- 1/3 cup Parmesan cheese freshly grated, optional but recommended
- 1 teaspoon garlic powder
- 1 teaspoon paprika smoked paprika may be used
- 1 teaspoon dried parsley
- 1/2 teaspoon onion powder optional
- 1 teaspoon salt or to taste
- 1/2 teaspoon black pepper or to taste
- 1 pinch cayenne pepper optional, for heat
- olive oil spray or a small drizzle of melted butter for topping
Instructions
- Preheat the oven to 425°F so the chicken tenders bake up golden and crispy.
- Line a large sheet pan with parchment paper or coat it lightly with nonstick spray to help the tenders brown evenly and make cleanup easier.
- Place the flour in one shallow bowl, the beaten eggs and milk in a second shallow bowl, and the breadcrumbs, Parmesan, garlic powder, paprika, parsley, onion powder, salt, pepper, and optional cayenne in a third shallow bowl.
- Pat the chicken tenderloins dry with paper towels so the coating sticks well.
- Dip each piece of chicken into the flour, shaking off the excess, then into the egg mixture, and finally press it into the breadcrumb mixture until fully coated.
- Place the coated chicken tenders on the prepared baking sheet with a little space between each piece.
- Lightly spray the tops with olive oil spray or drizzle each tender with a tiny bit of melted butter to help the coating become deeply golden.
- Bake for 10 to 12 minutes, then carefully flip the chicken tenders over.
- Bake for another 6 to 8 minutes, until the coating is deeply golden and the chicken is cooked through to 165°F.
- Let the chicken tenders cool for a minute or two so they crisp up more, then serve with ketchup, honey mustard, ranch, marinara, or sriracha.
Notes
Nutrition
Nutrition values are estimates based on the listed ingredients and serving count. Actual values vary with brands, cuts and portion sizes.