
Save This Recipe
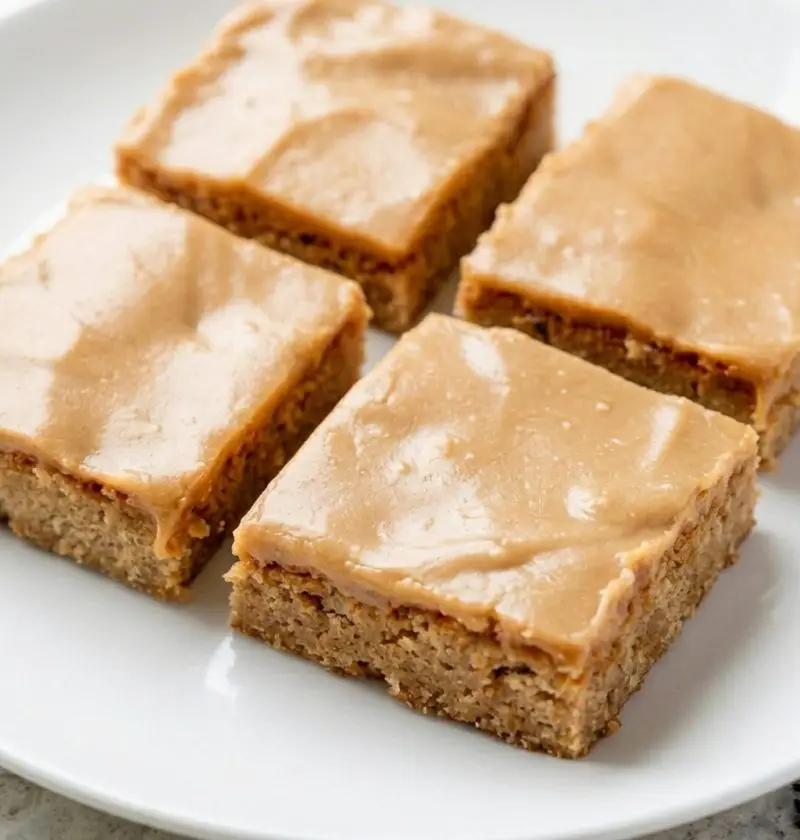
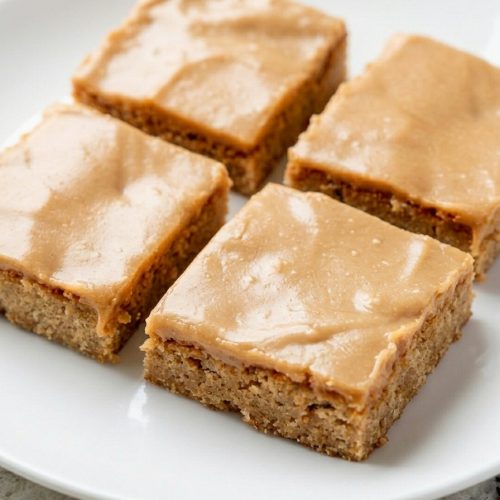
These peanut Butter bars are rich, chewy, and topped with a thick, Creamy layer of peanut butter that makes them taste like you spent all afternoon baking — but the whole thing comes together with just four pantry staples and about ten minutes of hands-on time. No mixer, no fancy tools, just one bowl and a whisk.
Why You’ll Love It
Only 4 ingredients — peanut butter, butter, brown sugar, and eggs. That’s genuinely it.
No mixer needed — everything comes together in one bowl with a whisk
Chewy, fudgy texture — dense and rich in the best way, somewhere between a brownie and a candy bar
They travel well — slice, layer with parchment, done. Great for taking anywhere
Ready in about 30 minutes — plus cooling time, which is the hardest part
Ingredient Notes
The peanut butter: use creamy, and honestly I think the name-brand stuff works better here than the natural kind. Natural peanut butter — the kind where the oil separates and you have to stir it — tends to give you a slightly greasier, more crumbly result. Not bad, but different. If you’re a natural peanut butter household (we are, usually, except when I forget to buy it and pick up whatever’s on sale), just make sure it’s Really well stirred before you measure.
Butter: unsalted. I know some people always use salted and just adjust, but for this one I’d stick with unsalted because there’s nothing in the batter to balance salt if you overshoot it.
Brown sugar: packed. And I mean actually packed — don’t just scoop it loosely. This is what gives you that chewy, almost caramel-y quality. I’ve used dark brown sugar when that’s all I had and it works fine, maybe even a little better if you like a deeper flavor. The bars come out slightly darker in color but in a nice way.
Eggs: room temperature. I know it sounds fussy but cold eggs can make the batter a little uneven when you’re mixing everything together. I usually just set them on the counter when I start preheating the oven.
Ingredients
1 cup creamy peanut butter, divided — 3/4 cup goes in the batter, 1/4 cup gets saved for the topping
1/2 cup (1 stick) unsalted butter, melted and cooled down a bit
1 cup packed light brown sugar (or dark, see above)
2 large eggs, room temperature

Instructions
Start with your oven at 350°F. Line an 8×8 pan with parchment — I leave some hanging over the sides so I can lift the whole thing out later without wrestling with it. Lightly grease the parchment if it seems like it’s going to stick, which depends on your pan and your parchment brand and honestly the weather sometimes, I swear.
Melt your butter and let it sit for a few minutes. This matters — if it’s too hot when you add the eggs, you’ll end up with scrambled eggs in your dessert batter, which is exactly as bad as it sounds. I’ve done it. Once. Okay, possibly twice.
Whisk the melted butter and brown sugar together in a medium bowl until it looks glossy and mostly smooth, a minute or so. It won’t be perfectly combined yet — some graininess is fine. Add the eggs and whisk again until the whole thing thickens up slightly and looks uniform.
Now, measure out your cup of peanut butter before you add any of it to the bowl. Scoop out 1/4 cup and set it aside in something small — a ramekin, a custard cup, whatever you have. The other 3/4 cup goes into the batter. Stir until it’s all pulled together into a thick, sticky dough situation. It won’t pour so much as plop.
Spread it into the pan. The batter is pretty thick so use a spatula, or just the back of a spoon — get it into the corners. Smooth the top as best you can.
Bake 20 to 24 minutes. You’re looking for set edges and a center that looks just barely done, maybe still a little soft if you press it lightly. It’ll keep cooking from the residual heat in the pan after you take it out. I always pull mine closer to 20 minutes because I like the chewier result. If you want something more set-up and structured, go to 24.
While it bakes, warm that reserved 1/4 cup of peanut butter. Just microwave it in short bursts — ten seconds, stir, ten more seconds — until it’s pourable and fluid but not hot. This is the topping, and it goes on immediately when the pan comes out of the oven. Spread it over the hot surface and watch it glide. The heat does all the work.
Cool completely before you slice. This takes longer than you want it to. I usually give it at least an hour and a half at room temperature. If I’m in a hurry I’ll stick it in the fridge for twenty minutes or so after it stops steaming — works fine.
Once it’s set, lift the whole thing out by the parchment and slice into sixteen squares. Or twelve. Honestly just eyeball it.
Variations
Crunchy peanut butter works here — the texture is different, a little more bite to it, slightly less fudgy — but really good. Worth trying if that’s what you have.
I tried adding chocolate chips once to “make them more special” and they just kind of disappeared into the batter and didn’t do much. Could have been the brand. I didn’t try again.
If you want to make a thinner bar — good for when you want more edge pieces, which are objectively the best — use a 9×9 pan and cut the bake time down a few minutes. Watch it carefully after eighteen minutes.
Storage
Room temperature is fine for three days, in a sealed container with wax paper or parchment between layers if you’re stacking them. They actually taste pretty good cold — the peanut butter topping gets firmer and almost fudge-like from the fridge. I’ve eaten them straight from the freezer, too, when I’ve had a bad afternoon and didn’t feel like waiting.
Southern 4-Ingredient Peanut Butter Bars
Ingredients
- 2 cups creamy peanut butter
- 2 cups powdered sugar
- 1 1/2 cups graham cracker crumbs
- 1/2 cup butter melted
Instructions
- Line an 8x8-inch baking dish with parchment paper.
- In a large bowl, combine the creamy peanut butter, powdered sugar, graham cracker crumbs, and melted butter.
- Stir until the mixture is thick, evenly combined, and holds together when pressed.
- Press the peanut butter mixture firmly into the prepared baking dish.
- Cover and refrigerate for at least 1 hour, or until firm.
- Lift from the pan using the parchment paper, cut into bars, and serve.