
Save This Recipe
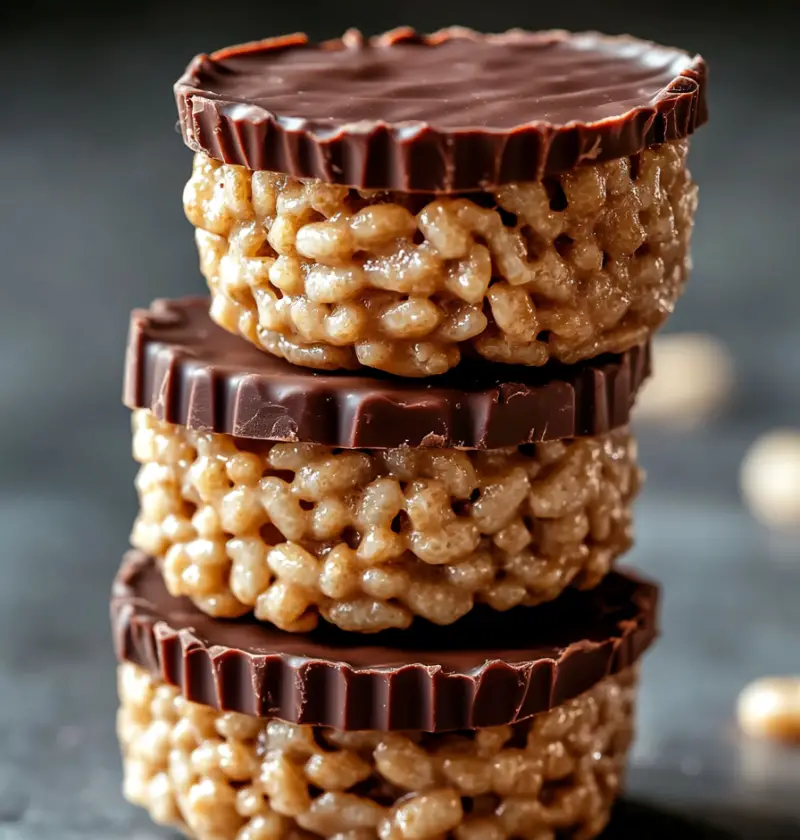
If you love the classic combination of peanut butter and chocolate, then these Chocolate Peanut Butter Rice Krispie Cups are perfect for you! These no-bake treats are simple enough to make and boast a delicious mishmash of velvety peanut butter, deep chocolate, and crunch of Rice Krispies—all attractively packed into a nice bite-sized cup. Party- or lunch-box- or any quick-fix sweet lovingly bites, you have customized and have a guarantee on really being YUMMMM!
Now let us get started on this delicious yet easy-to-make treat.

Ingredients:
- 1 1/2 cups creamy peanut butter
- 1/2 cup honey or light corn syrup
- 1/4 cup unsalted butter, melted
- 1 teaspoon vanilla extract
- 3 cups Rice Krispies cereal
- 2 cups semi-sweet chocolate chips or melting chocolate
- 1 tablespoon coconut oil or shortening (optional, for thinning chocolate)
- Sea salt (optional, for sprinkling)
Step-by-Step Instructions:
Step 1: Prepare the Peanut Butter Mixture
- Mix the Wet Ingredients: In a large mixing bowl, combine the creamy peanut butter, honey (or corn syrup), melted butter, and vanilla extract. Stir until the mixture is smooth and well-blended.
- Add the Rice Krispies: Gently fold in the Rice Krispies cereal, stirring until the cereal is fully coated with the peanut butter mixture. Make sure every piece is covered for the perfect crunch.
Step 2: Assemble the Rice Krispie Cups
- Prepare the Muffin Tin: Line a 12-cup muffin tin with paper liners or silicone baking cups. This will make it easier to remove the cups once they’re set.
- Fill the Cups: Spoon about 2 tablespoons of the peanut butter Rice Krispie mixture into each cup, pressing down gently with the back of a spoon to flatten and compact the mixture into the cups. Set aside.
Step 3: Prepare the Chocolate Topping
- Melt the Chocolate: In a microwave-safe bowl, combine the semi-sweet chocolate chips and coconut oil (if using). Microwave in 30-second intervals, stirring between each interval, until the chocolate is fully melted and smooth. Alternatively, melt the chocolate in a double boiler on the stovetop.
- Stir Until Smooth: Stir the chocolate until it is smooth and slightly cooled but still liquid. The coconut oil or shortening helps create a smoother, glossier coating.
Step 4: Top the Rice Krispie Cups with Chocolate
- Add the Chocolate Layer: Spoon about 1-2 tablespoons of melted chocolate over each Rice Krispie cup, spreading it evenly to cover the top. Gently tap the muffin tin on the counter to smooth out the chocolate and remove any air bubbles.
- Sprinkle with Sea Salt (Optional): For a sweet and salty flavor, sprinkle a tiny pinch of sea salt over the top of each cup while the chocolate is still melted.
Step 5: Set the Cups
- Chill to Set: Place the muffin tin in the refrigerator for about 30 minutes, or until the chocolate is completely set and hardened.
Serving and Storage Tips:
Serve chilled or at room temperature for an ideal treat or dessert.
Store in an airtight container in the refrigerator for up to a week.
These cups can be frozen for up to two months. Thaw them in the refrigerator before serving.
Helpful Notes:
Variations with peanut butter: creamy peanut butter offers a smoother texture, while crunchy peanut butter provides an extra bit of crunch.
Options ad variety in sweetness: Honey brings in a natural sweetness, while light corn syrup can be used for a classic chewy texture.
Thinning of the Chocolate: Thin chocolate out with some coconut oil or shortening so that it can be easily pourable or that it gives that desirable sheen.
Tips from Well-Known Chefs:
Martha Stewart recommends a pinch of cinnamon flavor or a few drops of coffee extract to add an extra layer to the chocolate.
Ree Drummond (The Pioneer Woman) suggests using a mixture of milk chocolate and dark chocolate chips for a nice balance of sweetness.
Nigella Lawson advises stirring in some crushed pretzels or mini marshmallows into the peanut butter mixture for added texture and fun.
Frequently Asked Questions:
Common Queries:
Can I use different types of chocolate?
You certainly can use milk chocolate, dark chocolate, or even white chocolate to have any desired flavor.
Can I make these cups dairy-free?
Indeed! Just use dairy-free chocolate chips, along with replacing the butter with a plant-based alternative.
Are these cups nut-free?
This could be an allergy-free recipe by substituting peanut butter with sunflower seed butter or any other nut-free spread.
Muffin Tin – what will I do if I don’t have one?
Line a square baking dish with parchment paper and then press the mixture into it, letting it solidify so that you can cut it into squares.
Can I add extras?
Absolutely! Peanut butter mixture is excellent for mini chocolate chips, chopped nuts, dried fruit, or even finely shredded coconut.
How do I make these cups gluten-free?
Use certified gluten-free Rice Krispies cereal and double-check the other ingredients line before using.
How do I stop the chocolate layer from splitting?
Ensure the peanut butter layer is firm but never too cold before adding the liquid milk chocolate and chance for little splits
Can these be made in advance?
Yes, these are perfect for making ahead. These cups can be made a few days beforehand and stored in the refrigerator till required.
How could I decorate that and make my cups look attractive?
Melt some white chocolate and drizzle it across the tops. Add some sprinkles or a small piece of candy to decorate further.
How do I prevent the Rice Krispies from getting soggy?
While mixing the Rice Krispies very gently with the peanut butter mixture, ensure they stay crisp. Often people assume liquid will make them better, but it just makes them soggy.
Conclusion:
Peanut Butter Chocolate Rice Krispie Cups swell into a decadent no-bake treat that sermon the contrasting delight of confect sweet and brackish salt in a bite-sized clasp. Perfect for every and any occasion, and lovable for kids and adults alike, these gorgeously simplified and scintillating eatables await your opportunity to be part of this portrayal. Enjoy simplicity and deliciousness while feeling free to muddle with the recipe.

Chocolate Peanut Butter Rice Krispie Cups
Ingredients
- 1 cup creamy peanut butter
- 1/2 cup honey
- 3 cups Rice Krispies cereal
- 1 cup semi-sweet chocolate chips
- 2 tbsp peanut butter for chocolate topping
Instructions
- Line a 12-cup muffin tin with paper liners or lightly grease each cup.
- In a saucepan over low heat, melt together 1 cup peanut butter and 1/2 cup honey until smooth. Remove from heat.
- Stir in Rice Krispies cereal and mix until well combined.
- Scoop the mixture evenly into the muffin cups and press down lightly to form a base layer.
- In a microwave-safe bowl, melt chocolate chips with 2 tbsp peanut butter in 30-second intervals until smooth.
- Spoon or spread the chocolate mixture over each cereal cup.
- Refrigerate for at least 30 minutes or until firm. Store chilled until ready to serve.
