Save This Recipe
It was one of those early fall afternoons where you’ve got laundry half-folded, emails halfway answered, and a very loud craving for something sweet. Not a full pie, mind you—something easier. Less commitment. I peeked into the fridge and saw one lonely sheet of puff pastry, a couple apples sitting pretty in the fruit bowl, and a bottle of honey I forgot I had.
Next thing I knew, my kitchen smelled like an orchard met a bakery, and I was standing over the oven thinking, Okay, these are ridiculous—in the best way.
They’re not fancy. They’re not fussy. But good grief, they’re so good.
Why You’ll Love These Little Beauties
Let’s keep it real. These tarts are…
-
Buttery, flaky, sticky in the best way
-
Sweet-but-not-too-sweet (thank you honey and brown sugar)
-
Done in about 30 minutes, give or take your playlist
-
Pretty enough for brunch, easy enough for weeknight “I need dessert now” emergencies
-
And they make your house smell like cinnamon and cozy
What You’ll Need (Plus Some “It’s Fine” Options)
Here’s what goes in, with my two cents thrown in because hey, we’re friends here.
-
Apples:
Go for something firm and a little tart—Granny Smith is always a safe bet, but Honeycrisp or Pink Lady? Chef’s kiss. Slice ’em thin. We’re talking “Lay flat but still have a little bite” thin. -
Honey + Brown Sugar:
This duo turns gooey and caramel-like as it bakes. If you’re out of honey, maple syrup’ll do. And if all you’ve got is white sugar, it’s not the end of the world. -
Butter:
Real butter. Slice it into pats, and don’t skimp. It does big things with very little effort. -
Cinnamon + Cardamom:
Cinnamon’s non-negotiable. Cardamom is optional, but if you’ve got it, it adds this whisper of something special. Floral? Spicy? Cozy? All of the above. -
Puff Pastry:
Store-bought. No shame in that game. Just thaw it first, or you’ll be wrestling with a frozen plank of frustration. -
One Egg:
For brushing the tops so they bake up golden and beautiful. If you skip it, they’ll still taste good—but look a little pale and sleepy.
Alright, Let’s Make These
Seriously, this is the part that’ll make you feel like you know what you’re doing, even if you’re still wearing pajamas.
1. Preheat & Prep
Set your oven to 400°F, line a baking sheet with parchment, and lightly grease it. Don’t skip the grease—the honey needs a little help letting go later.
2. Slice Your Apples
Core and thinly slice 2–3 apples. No need to peel unless you’re feeling fancy.
3. Puff Pastry Time
Unroll your thawed pastry and cut it into 6 rectangles. Uneven? Who cares. Rustic is charming.
4. Build the Flavor Base
On the parchment, drizzle 6 messy zig-zag rectangles of honey—about the size of your pastry pieces. Sprinkle with brown sugar, cinnamon, and that optional-but-lovely cardamom. Then place a pat of butter in the middle of each sticky square.
5. Add Apples
Lay your apple slices over the honey base in a shingled pattern. Layer them a bit—it’ll look pretty when flipped.
6. Top with Pastry
Place a pastry rectangle over each pile of apples. Gently press down so the pastry molds a little to the fruit—don’t smush it. Just a friendly press.
7. Egg Wash
Brush the tops with beaten egg. It takes 10 seconds, and makes you feel like a pro.
8. Bake
Pop ’em in the oven for 18–22 minutes, until they’re golden, puffy, and the bottoms are bubbling a little. That’s the caramel magic happening.
9. Flip (Carefully!)
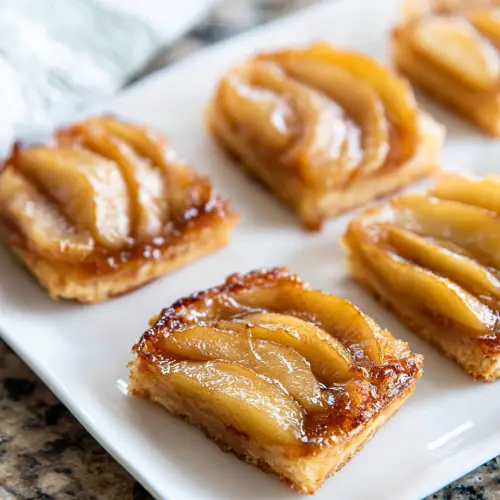
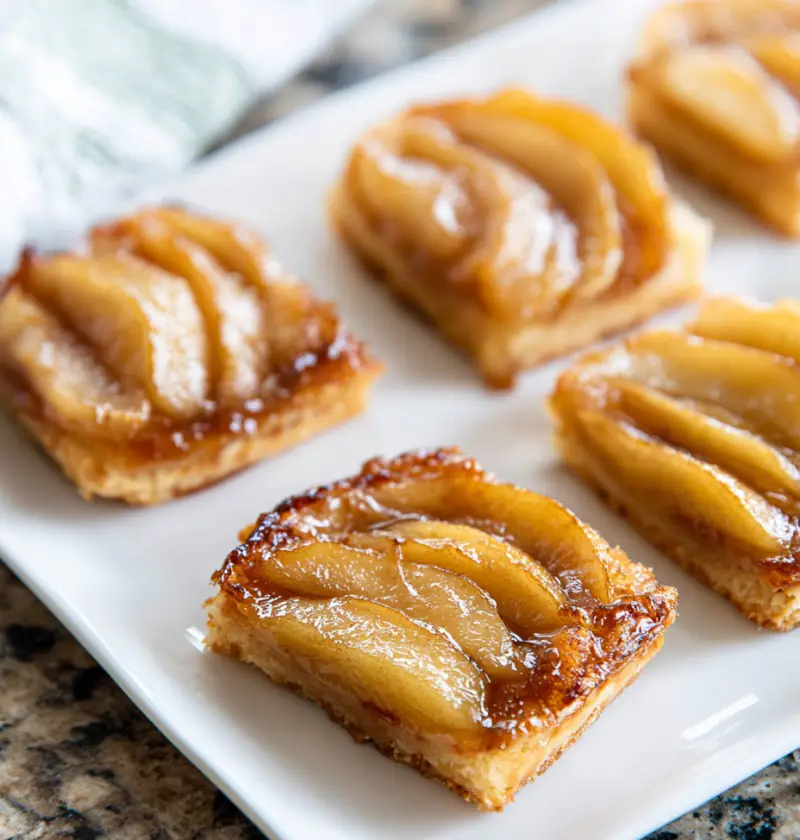
Let them sit for 5-ish minutes, then flip each one upside-down with a spatula. The gooey part becomes the pretty top. You’ll feel like a magician.
Wanna Mix It Up?
You know I can’t leave well enough alone. Here are a few twists if you’re feeling experimental:
-
Pear instead of apple – go for it.
-
Chopped nuts on the honey layer – pecans, walnuts, whatever you’ve got.
-
Skip the sugar, add cheese – think thin apple slices with brie or goat cheese and a touch of thyme. Seriously elegant.
-
Vanilla ice cream or whipped cream on top – you don’t have to, but you should.
Leftovers? (LOL but okay)
If somehow these don’t disappear immediately…
-
Store in a sealed container at room temp for a day or two, or in the fridge up to 4 days.
-
Reheat in the oven at 350°F for 5–7 minutes.
-
Skip the microwave. It turns the pastry sad and chewy. Nobody wants that.
-
Freeze ’em if you must, but honestly… just eat them. They’re not meant to be hoarded.
Let’s Not Overthink This
These little upside down tarts are everything I want in a dessert: unfussy, sweet-but-not-too-sweet, and a little messy—in that delightful, finger-licking way. They’re the kind of thing you can whip up on a whim and still impress your neighbor, your kids, or just yourself on a quiet afternoon.
If you make them (and I hope you do), come back and tell me how it went. Did you try a twist? Did your kids help? Did you eat one for breakfast the next day? (No judgment. I did too.)
Bake when the mood strikes. You’ve got this.
— Much love,

Apple Upside Down Tarts
Ingredients
- 2-3 tart apples, thinly sliced
- 1/3 cup honey
- 1/4 cup brown sugar
- 3 tablespoons butter, sliced into 6 pats
- 1 teaspoon cinnamon
- 1/4 teaspoon cardamom, optional
- 1 sheet puff pastry, thawed
- 1 egg, beaten
Instructions
- Preheat oven to 400°F and line a baking sheet with parchment paper. Lightly grease the paper.
- Core apples and slice thinly. Unroll puff pastry and slice into 6 rectangles.
- Drizzle honey in 6 zig-zag shapes on the parchment. Sprinkle with brown sugar, cinnamon, and cardamom. Add a pat of butter to each.
- Layer apple slices over each honey base.
- Place a puff pastry rectangle over each tart and gently press to mold.
- Brush tops with beaten egg.
- Bake for 18–22 minutes, or until golden brown.
Notes

