
Save This Recipe
Let’s just get this out there—bacon practically *is* a love language in my house. The way it sizzles, the mouthwatering smell that fills up the kitchen… honestly, is there anything better on a Saturday morning? But I’ve got to tell you, making bacon in a skillet comes with its share of drama: grease splattering everywhere (ask me how I know—my poor cabinets), smoke alarms protesting, and by the end, the stovetop is wearing more bacon than your plate. If you’ve ever had to clean up after a “quick” bacon session, you know what I mean.
So imagine my delight when I stumbled into what I now call the “pot-cooked bacon miracle.” It was one of those holiday weekends where Everything felt a little extra—kids in and out of the kitchen, the dog on counter patrol, in-laws offering unsolicited advice, and me, just trying to keep everyone fed and happy. I was desperate to keep Breakfast moving without my kitchen looking (or smelling) like a fast food joint. Enter: the large pot bacon hack. It saved my sanity then, and now it’s the only way I cook bacon. Let me walk you through it, why it works, and why you’ll never go back to frying it in a pan.
What You’ll Need (It’s Nothing Fancy)
Ingredients:
- Bacon. That’s it! I usually grab those giant Costco four-packs when the family’s over, but truly—any bacon works. Thick or thin, maple or hickory, even fancy peppered strips if you’re feeling wild.
Tools:
- A big pot with high sides—think Dutch oven or your trusty stockpot. Don’t worry, you probably already have one stashed away.
- Spatula or a pair of sturdy tongs, whichever you find less slippery with greasy hands (been there, dropped that).
- Paper towels for draining off those drips.
- Optional: a slotted spoon if you like more control. I’m always in favor of more control where bacon is concerned.
Step One: Pick Your Bacon, Grab Your Pot
Before you toss those lovely strips into just any old pot, take a breath with me.
Choose your bacon: Don’t overthink it. Thick-cut or thin, flavored or plain, whatever you love or have on sale—use it. Bacon rarely disappoints.
The right pot matters: High sides are the magic. Truly, this is what keeps all that wild grease from making a break for your countertops. The high sides corral the sizzle, and the bacon almost deep-fries itself in its own rich, rendered fat (and let me tell you, it’s as decadent as it sounds). Just make sure your pot is wide enough to let the bacon spread out a bit—you want each piece to cook up happy, not all bunched up and sad.
Step Two: Cut and Separate (Your Bacon, Not Ties With Your Skillet)
Now for a tip I swear by: slice the bacon strips in half. Seriously. Shorter strips are so much easier to manage and they cook more evenly too—plus, they fit in the pot without trying to curl themselves into bacon spirals.
Next, peel those strips apart. Bacon loves to stick together, but if you toss it into the pot while still stuck in clumps, you’ll wind up with a pile of chewy bacon blobs. Take a moment to separate them—your taste buds (and brunch guests) will thank you later.
Step Three: Into the Pot, But Don’t Crowd ‘Em
Time for the fun part! Lay those bacon pieces gently in the pot. If you’ve got a nice big pot, you can do a good number at once—but don’t get greedy. If the bacon’s piled up on itself, it’ll steam instead of crisp, and no one’s craving limp, soggy bacon with their eggs (well, maybe someone is, but it’s not me).
If you’re making a mountain of bacon (like for sleepovers or holiday brunch), work in batches. Yes, it takes a little bit longer, but it’s worth it, I promise.
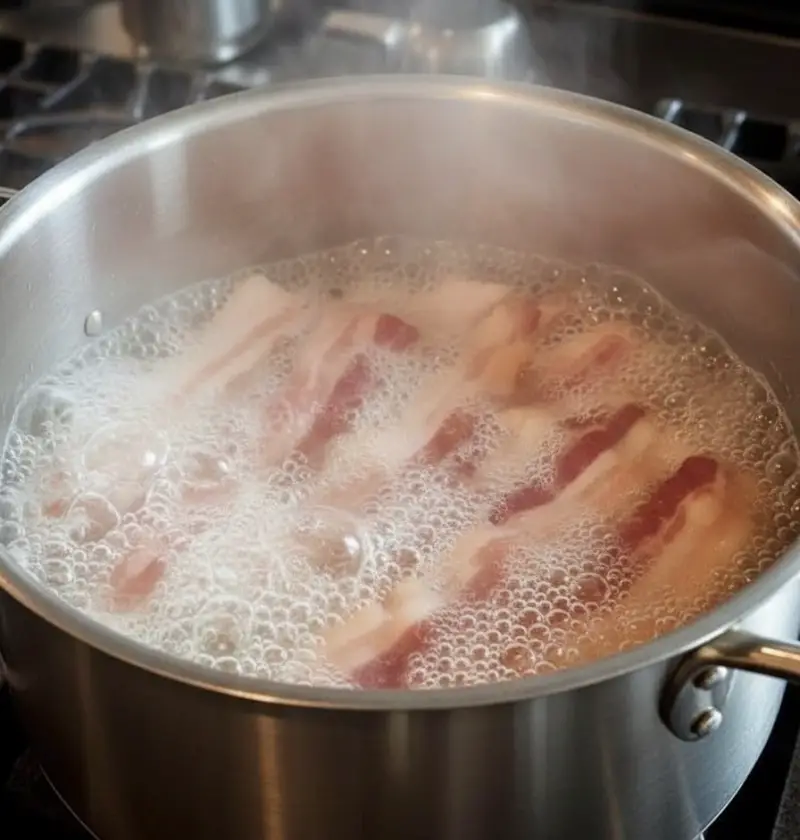
Step Four: Fire It Up and Let the Magic Happen
Crank the heat to high and grab your favorite spatula or those tongs (I have my grandmother’s, and they work like a charm). The bacon will get right down to business, sending off those gorgeous smells, and after a minute or two you’ll see the fat start to melt. Stir things around occasionally so everyone gets equal time browning on the hot pot bottom. Fair is fair, even for bacon.
What’s beautiful about this method is how the bacon cooks itself in all that glorious rendered fat—almost like a mini deep fryer right on your stove, but without the terrifying splatter show. The high sides are working overtime to keep your shirt—or favorite robe—safe from grease stains.
How long? Well, that depends on your bacon:
- Thin-sliced bacon usually takes about 8–10 minutes.
- Thicker bacon can stretch to 12–15 minutes for that deep crisp (you know, the kind that shatters if you look at it crooked!).
Your cue to pull it is when the bacon turns that perfect rich golden color and the edges curl up just a touch. But don’t leave it till it goes full bacon-shoelace—unless that’s your thing.
Step Five: Drain, Serve, Repeat
When those strips are calling your name, scoop them out—using your tongs or a slotted spoon—and drop them onto a plate lined up with paper towels. Yes, the sizzle will tempt you to “sample” a piece immediately, and if you don’t, you’re stronger than I am. (Hot tip: the cook’s tax is real. Take your payment.)
If you want your bacon less greasy on top, dab it with another paper towel. Then pile those beauties on a platter and bring ‘em to the table. Scrambled eggs, pancakes, a BLT, crumbled over creamy mac and Cheese—now you’re speaking my language.
Looking to Mix It Up? Here Are Some Fun Twists
Oven version for big batches:
Baking a ton of bacon for brunch? Lay strips on a parchment-lined cookie sheet and bake at 400°F for 15–20 minutes. It’s not quite the same ultra-crunch as the pot method, but it frees up your attention. Plus, your house will still smell like a breakfast dream.
Healthier takes:
If you’re aiming for lighter, swap in turkey bacon or center-cut pork bacon—less fat will be left in the pot, and cleanup’s even easier. The process is the same, though you may want to keep a closer eye so it doesn’t dry out.
Flavor it up:
Feeling adventurous? Try brushing the bacon with maple syrup or a little brown sugar for a hint of sweet, or dust with black pepper or cayenne for a punch of heat. That sweet-spicy combo with pancakes is out-of-this-world good.
Grease Strategy 101 (Because Bacon Grease Is Liquid Gold)
Whatever you do, don’t ditch that bacon grease! Let it cool, then pour it into a glass jar or an old coffee can (I keep one in the fridge at all times). Use it to fry eggs, bake cornbread, sauté your greens, or—my favorite—popcorn for movie night. It keeps for ages, and a little adds smoky, old-fashioned flavor that just can’t be bought in a bottle.
To clean the pot, just fill it with hot soapy water and let it sit a few minutes before washing. No elbow grease required (ha!).
Final Thoughts: Bacon, But Smarter
Sometimes you don’t need a fancy gadget or a brand new recipe—just a little tweak to the routine. Cooking bacon in a big pot is hands-down the easiest, cleanest, most reliable way I’ve found. It leaves you with bacon that’s crispy, cooks up fairly quickly, and doesn’t leave the rest of your kitchen coated in oily regret.
The next time you want bacon for breakfast (or lunch, or midnight snack—zero judgment), bust out your soup pot and give this a whirl. Something tells me you’ll be waving goodbye to your frying pan too.
Now if you’ll excuse me, I have a warm plate of bacon with my name on it. And probably one more “sample” before I sit down—because that’s just how it goes around here.