Save This Recipe
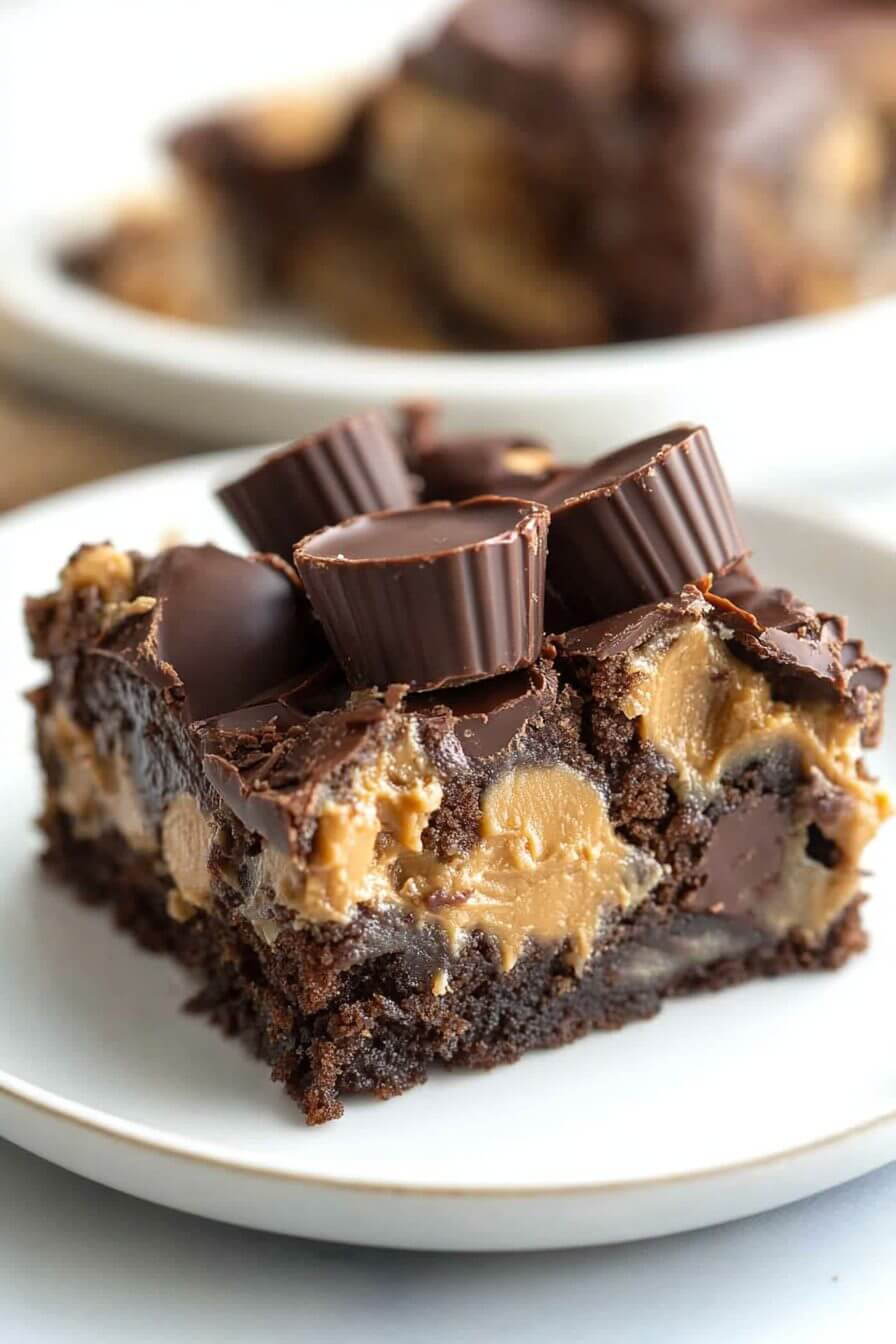
Some desserts have a way of transporting you straight back to childhood, don’t they? For me, anything with chocolate and peanut butter is pure nostalgia. I can’t even tell you how many times a pan of something warm and gooey has saved the day at our house—especially when company calls at the last minute or I’m craving something decadent and a little over-the-top on a random Wednesday night. That’s exactly what I love about this Reese’s Chocolate Peanut Butter Cup Earthquake Cake. It’s rich, it’s messy in the best way, and honestly, it might just be my spirit dessert.
I first made this after a peanut butter cup binge—inspired after Halloween, when those little orange-and-brown wrappers start multiplying all over the living room (thank you, trick-or-treaters!). I had a box of cake mix and a rogue brick of cream cheese, and let’s just say, the rest is sweet, melty history. Oh, and if you serve this warm with a scoop of vanilla ice cream? Heaven. Absolute heaven.
Why You’ll Love This Cake
- Perfectly Balanced: This is that magical combo—dense, dark chocolate mingling with creamy, nutty peanut butter. It just works.
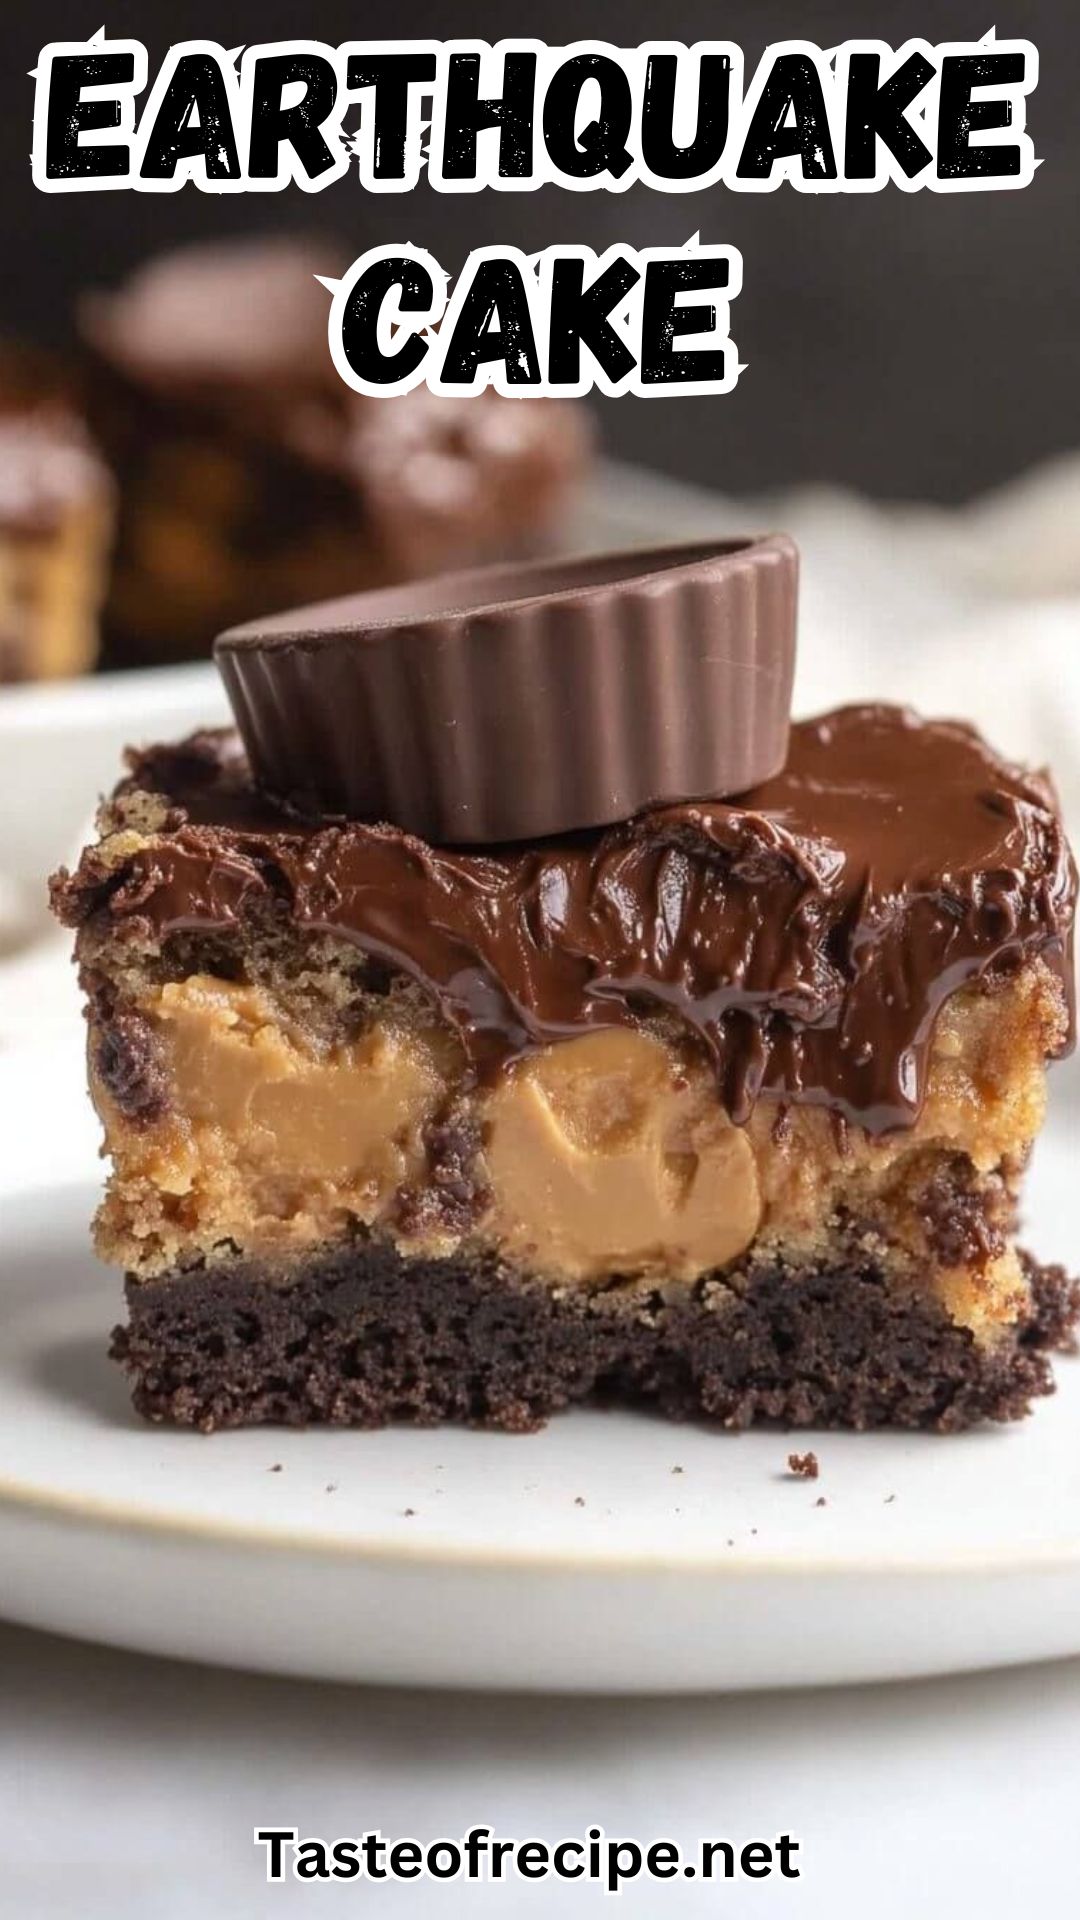
- Swirly Perfection: The peanut butter cream cheese frosting literally bakes right into the cake, making gooey little tunnels and pockets of sweetness.
- Reese’s All Over: Every bite has actual chunks of Reese’s cups, so you get those iconic flavors in every forkful.
- Sneaky-Easy: Boxed cake mix means you’re halfway there before you even get out your measuring cups. It really couldn’t be simpler.
- “Bakery-Worthy” Looks: I promise, if you whip this out at a potluck or family dinner, people will think you’ve been working all day (spoiler: you haven’t!).
Key Ingredients (Plus Cheery Tips)
- Dark Chocolate Fudge Cake Mix: Use your favorite brand. Devil’s food or classic chocolate cake mix will also do, if that’s what you’ve got stashed in your pantry.
- Cream Cheese: Let it soften on the counter for about 30 minutes so it mixes smoothly. Light cream cheese works fine in a pinch (this is one of those “nobody will know” swaps).
- Butter: Unsalted is best, but honestly, if you only have salted, just skip any extra pinch of salt in the batter.
- Peanut Butter: Creamy is my go-to here (unless you’re after a little crunch). Natural PB can work, but the old-school Jif or Skippy style gives that real “kid dessert” taste.
- Vanilla: Don’t skip it! Just a splash makes the whole cake feel warm and homey.
- Powdered Sugar: Sifts in beautifully to sweeten and fluff up that topping. If it’s a little lumpy, that’s okay—it all melts in during baking.
- Chocolate Chips: Semi-sweet or milk, take your pick. I’ve used dark chocolate chunks in emergencies, and everyone asks for seconds anyway.
- Mini Reese’s Peanut Butter Cups: The star of the show! Halved or quartered, just scatter ’em on. Regular-size cups chopped up totally work.
- Vanilla Ice Cream: Technically optional, unless you’re an ice cream-on-cake person. (I’m firmly in the “scoop on top” camp, not gonna lie.)
For my fellow gentle over-planners: Don’t worry—there’s a full list of ingredient amounts and every step in the recipe card below, too. No panicking about missing a detail!
Step-By-Step Instructions
Step 1: Preheat the Oven
It’s really worth those 5 minutes—get your oven up to 350°F (that’s 175°C if you’re feeling extra precise). Give your trusty 9×13-inch baking dish a good coating with cooking spray or swipe of butter. Gooey desserts are great, but stuck-on bottoms are nobody’s favorite!
Step 2: Prepare the Cake Batter
Toss your boxed cake mix into a big mixing bowl and just follow the package instructions—typically a mix of oil, eggs, and water. I like to use a handheld whisk, but a spoon and a little elbow grease works too. Once it’s mixed and looking smooth (no big lumps, please!), pour that chocolatey goodness straight into your greased dish. Even it out, but don’t stress—this cake is called “earthquake” for a reason!
Step 3: Make the Peanut Butter Cream Cheese Topping
Grab a fresh bowl and beat together 8 ounces softened cream cheese, ½ cup softened butter, ½ cup peanut butter, and a splash (about 1 teaspoon) vanilla extract. Just toss it all in and let the mixer do its thing. When it’s nice and creamy, gradually beat in 2 cups powdered sugar—a cup at a time unless you want a powdered sugar cloud hovering above your kitchen. Beat until thick, fluffy, and swoon-worthy. Bonus: Try not to eat this stuff straight from the bowl (harder than it sounds!).
Step 4: Assemble the Layers
Dollop that peanut butter cream cheese frosting right on top of your cake batter. Swirl it around a bit with a butter knife or offset spatula—you want some pretty little valleys and peaks. Next, sprinkle with a cup of chocolate chips. Scatter the halved mini Reese’s cups all over like a treasure hunt. I gently press them into the topping so they get snuggly but not buried.
Step 5: Bake Into Gooey Deliciousness
Now for the hard part: waiting. Slide the whole thing into your preheated oven and bake for 45–50 minutes (I know, that sounds like forever). Peek in around the 40-minute mark, and if it’s getting dark on top, tent a piece of foil over it. It’s ready when a toothpick poked into the center comes out with a few moist crumbs clinging to it—remember, gooey pockets are the whole point! If it’s a little underdone, that’s actually perfect for this cake.
Step 6: Cool, Slice, and Serve
Let the cake cool down in the pan until the topping sets up just a touch. (If you can possibly wait, that is…) Slice into big, generous squares and serve while still a little warm. Or honestly—just scoop it out straight into bowls. Vanilla ice cream on top? Required, if I’m being totally honest. The warm-cold-oozy thing is out of this world.
Serving Suggestions
- Keep it Cozy: Serve this cake warm (right out of the oven!) with a scoop or two of vanilla ice cream. Nothing beats that melty bite.
- Make it Fancy: Drizzle with hot fudge or caramel sauce if you’re feeling over the top—which, let’s be honest, is most days.
- Perfect Pairings: A mug of strong coffee makes this even cozier. Or, go classic and serve with a big glass of cold milk (my favorite on a rainy night).
Storage and Reheating
If by some miracle you have leftovers (medium chance, especially if hungry teenagers or chocoholics are involved), here’s what you do:
- Refrigerate: Pop leftover slices into an airtight container and keep them in the fridge for up to 3–4 days. The texture stays perfectly soft, never dry.
- Freeze: If you want those chocolate-peanut butter vibes on demand, wrap up slices tightly in plastic wrap and foil, and freeze for up to 2 months. Thaw overnight in the fridge when you’re ready to indulge.
- To Reheat: A quick solo trip to the microwave—about 15–20 seconds—is all you need. The gooey magic comes right back (and you’ll probably want to grab the ice cream ASAP).
Flavor Twists and Variations
- Extra Peanutty: Swirl a few dollops of peanut butter right into the cake batter for bonus flavor—no such thing as too much PB, if you ask me.
- Add Some Crunch: A handful of chopped dry-roasted peanuts or even some pecans sprinkled over the top before baking brings a little crunch to all that goo.
- Caramel Lover’s Dream: Drizzle a ribbon of caramel sauce over the filling before baking. Salted caramel, if you want to get fancy!
- Dark Chocolate Edge: Go for bittersweet or dark chocolate chips instead of milk or semi-sweet for a grown-up vibe (but trust me, kids devour this version too).
- Mix Up the Candy: Have leftover Halloween candy? Chop up mini Snickers, Milky Ways, or whatever you have. Almost anything chocolatey plays well here!
Final Note
This Reese’s Chocolate Peanut Butter Cup Earthquake Cake is just the ultimate in messy, craveable comfort. I love making it for family movie nights, quick get-togethers, or—let’s be honest—a random Tuesday when I need a little bit of chocolate therapy. It’s warm, gooey, and just plain fun. If you give this recipe a spin, let me know how it turned out (and especially if you take a flavor detour)! Share your twists or questions in the comments—I absolutely love seeing what you all come up with. From my cozy kitchen to yours, happy baking and even happier indulging!

Reese’s Chocolate Peanut Butter Cup Earthquake Cake
Ingredients
- 1 box dark chocolate fudge cake mix
- 8 oz cream cheese softened
- 1/2 cup unsalted butter softened
- 1/2 cup creamy peanut butter
- 1 tsp vanilla extract
- 4 cups powdered sugar
- 1/2 cup chocolate chips
- 1 cup miniature Reese's peanut butter cups halved
- vanilla ice cream for serving
Instructions
- Preheat your oven to 350°F (175°C). Grease a 9×13-inch baking dish with cooking spray or butter.
- In a large bowl, prepare the chocolate cake mix according to package instructions (typically adding oil, eggs, and water). Whisk until smooth. Pour the batter into the greased baking dish and spread evenly.
- In another bowl, beat cream cheese, butter, peanut butter, and vanilla until smooth. Gradually add powdered sugar, mixing until thick and creamy.
- Spread the frosting over the cake batter in the dish. Sprinkle with chocolate chips and halved Reese’s, pressing them gently into the frosting.
- Bake in the preheated oven for 45-50 minutes, or until a toothpick inserted in the center comes out clean. Avoid overbaking.
- Let the cake cool completely on a wire rack. Once cooled, slice and serve with a scoop of vanilla ice cream.

