
Save This Recipe
Let’s be honest: nothing tries your kitchen patience quite like a stubborn eggshell.
You boil your eggs. You cool them down just right. Maybe you send up a little prayer to Saint Julia Child. And then—crack—tiny shards everywhere, whites torn and ragged like some sort of kitchen crime scene. If you’ve ever made deviled eggs for a family party or potluck, you know that brand of humiliation all too well. (Ask me how I know.)
But don’t start blaming your ancestors or your oven. It turns out, there’s real science (and a few little tricks) for getting those peels to slip right off. Let’s go step by step, friend.
And honestly? Perfectly peeled eggs are one of those housewifey life skills that feel ridiculously good, like folding a fitted sheet without cussing or slathering butter on toast all the way to every single edge.
Step One: It Actually Starts Before You Boil
Alright, here’s the deal—the whole “older eggs peel better” thing is sort of true… but not quite the whole story.
Sure, really fresh eggs do cling to their shells with the force of a toddler holding tight to a blanket. But age isn’t everything at play here. It actually boils (ha!) down to science: those proteins in the whites, and how they bond to the membrane as things heat up. And wouldn’t you know, you can tweak those things a bit.
-
Start with cold water or steam? Folks always have opinions. Personally, I find that steaming wins the day. The whites set up faster, which seems to help keep things from getting so clingy later. If you haven’t tried it, give it a whirl next time.
-
Salt, vinegar, baking soda? People swear by tossing in a pinch of baking soda to the pot, hoping to raise that pH and loosen the membrane a smidge. Is it a miracle fix? Not really. Does it make a difference sometimes? Sure does—but not every single time.
Timing’s important, too—way more than most home cooks realize. Cook your eggs too long, and you’ll see that telltale greenish ring around the yolk, plus a texture that could bounce across the kitchen floor. I go for about 9–11 minutes, either gently boiling or steaming. Don’t go with a pot that’s trying to reenact Old Faithful—think of it as a cozy bubble bath for your eggs.
And if you’re making a big batch—maybe for Easter brunch or meal prep on a Sunday night—keep your timing tight. A few seconds too long, and you’ll end up with dry yolks and a week’s worth of regret.
The Ice Bath: More Than Just a Cool Down
Alright, so you’ve cooked those eggs just right. Now what?
Get ‘em straight into an ice bath. Fast.
This is not a “meh, I’ll get to it soon” situation. You want them in serious ice water, pronto. The shock of cold does two things: it makes the eggs contract a little, so the white pulls away from the shell (science is magic, right?), and it stops the cooking dead in its tracks. No green yolks. No tough whites. No kitchen heartbreak.
Let them hang out in that ice bath for at least 10 minutes. Really let the chill do its thing—this is your moment to put away the rest of the groceries or sip your coffee. Don’t rush it, even when you want to.
Pro tip—if you’re low on ice (been there), toss your eggs into a big metal bowl with cold tap water and a handful of frozen peas or corn. Not only does it work in a pinch, but if you’re making a salad later… double points for efficiency.
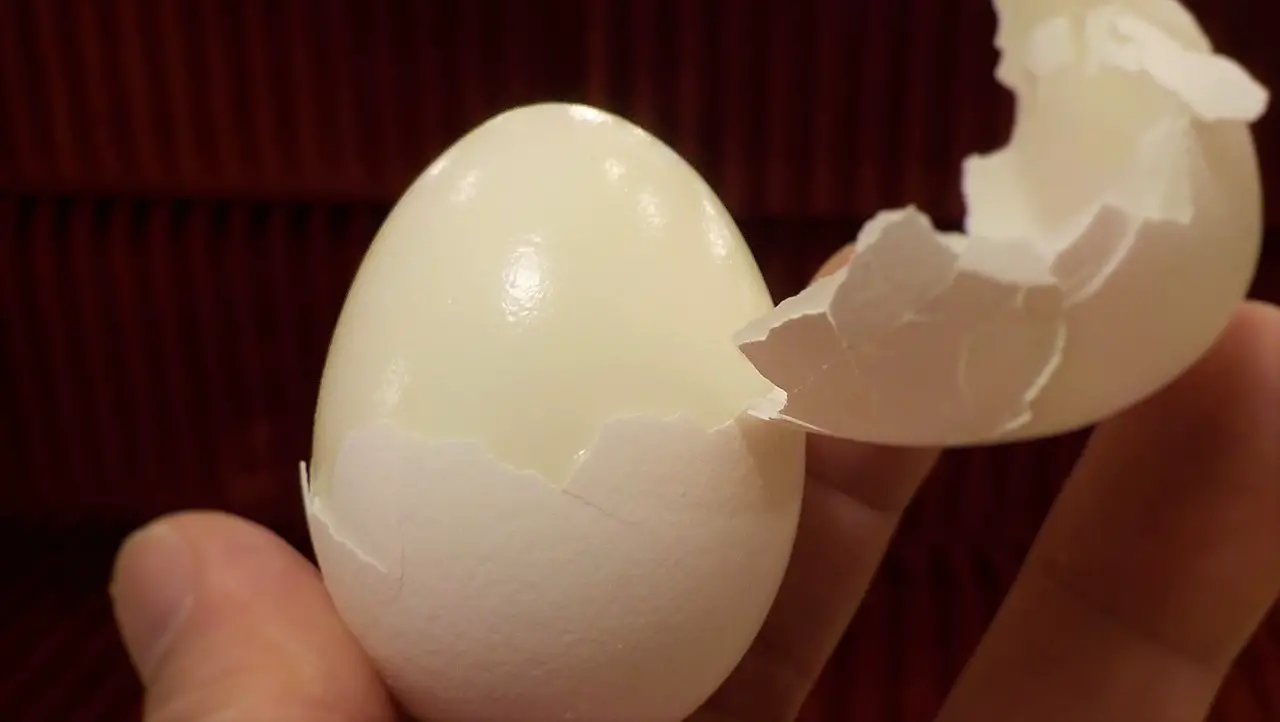
Cracking the Code: How to Actually Peel Without Tears
Now comes the big moment: peeling! And goodness, this is where lifelong cooks (and busy parents like me) can lose their cool more times than they’d like to admit.
Here are a few ways to make it easier:
-
Crack gently but with purpose. Give the wide end of the egg a little tap (that’s where the air pocket is hiding). Then roll it softly on the counter to get the shell nice and loose. Don’t go full Hulk here—gentle but confident is key.
-
Use water. Peeling under running water, or even dunking the egg in a bowl of water as you peel, helps the shell slide off. The water sneaks in between the white and that stubborn membrane. You can practically feel it working.
-
Spoon trick. Once you get a good start, slide a spoon under the shell and coax it off—like easing a stubborn boot off a child’s muddy foot. (Yep, I’ve done that too.)
One thing to avoid: Don’t rush it! The moment you get impatient and start poking like a raccoon in the compost, you’ll end up with shredded, pockmarked eggs. Take your time—eggs have a sixth sense for stress, I promise.
And if things start going south, don’t be afraid to set the egg down and walk away for a minute. Sometimes, both you and the egg just need a little break.
Weird Tricks People Swear By (Some Actually Work)
Listen, if you’ve ever fallen into an internet hole on the topic of egg peeling, you know: people are passionate (and a tad eccentric) about their favorite hacks.
Here are a few that come up over and over again:
-
Pressure cookers. Instant Pot devotees will tell you about the “5-5-5” method (five minutes pressure, five-minute natural release, five-minute ice bath). I’ve tried it, and honestly? It does work like a charm, especially for a big batch.
-
Add baking soda. Like we chatted about earlier, tossing a teaspoon in the pot might help loosen things up. Worth a try, but don’t stake your reputation on it before a big party.
-
Shake in a jar. Pop your boiled egg in a lidded jar with a splash of water, then shake it like you’re making maracas for your nephew’s school play. The shell pops right off. Is it wild? Certainly. Is it a little bit fun? Oh, you bet it is.
Your experience may differ—but honestly, playing mad scientist in the kitchen is half the fun, isn’t it? Sometimes even with all the best tricks, a few eggs just won’t cooperate. Blame it on the phases of the moon, or just stubborn eggs doing their thing.
Remember: not every egg is a winner, no matter how much love and science you throw at it.
Don’t Forget the Aftercare: Storing and Styling
You’ve made it! You’ve outsmarted the eggs and peeled them with (almost) no casualties. Now, what comes next?
-
Storage: Tuck those peeled beauties into a sealed container with a damp paper towel. This keeps them from drying out and going weird in the fridge. They’ll last about a week—if your people don’t eat them first.
-
Smell: That unmistakable sulfur smell? Usually from overcooking. But if you notice a little funk, try adding a sprinkle of baking soda to the container. It can help keep things a bit fresher.
-
Style points: I don’t know about you, but there’s just something special about a platter of perfectly smooth, glossy eggs. Whether you’re dressing up a salad or building a bento box, a beautifully peeled egg is like a little badge of kitchen honor.
Please, don’t let those eggs just sit around looking pretty. Slice them into salads, mash ‘em onto buttered toast, or get indulgent and make the world’s best deviled eggs with smoked paprika swirled on top. The possibilities really are endless.
As for me, my forever go-to lunch is a cold hard-boiled egg, a sprinkle of flaky salt, and maybe even a drizzle of chili crisp or hot sauce. Simple, filling, and just about perfect.
Final Thoughts: A Silly Little Victory That Feels Weirdly Amazing
Sure, maybe it’s just a peeled egg. But you know what? Nailing it feels pretty darn triumphant some days.
There’s just something about those little kitchen wins—like if you can master the egg, maybe you’re getting the hang of life itself. Or at least, you know you can troubleshoot your way through a tricky morning (and, let’s be honest, sometimes that’s enough).
So the next time someone sighs over their eggs looking like tiny battlefields, you can just smile—maybe with a little smugness—and say, “Want to know my secret?”