
Save This Recipe
You know that feeling when your floor looks clean but still somehow feels… not quite right?
Maybe it’s dull. Maybe there’s a slight sticky feel. Or maybe it’s that mystery layer of grime that just never seems to go away—no matter how much you mop, scrub, or side-eye it.
Well, here’s a little secret: you don’t need expensive cleaners with ten-syllable chemical names to get a floor that actually shines. In fact, all you need is three simple ingredients—most of which you probably already have in your kitchen right now.
No fuss. No fumes. Just an easy, satisfying clean that leaves your floor so bright, you’ll be tempted to eat off it (please don’t, though—this isn’t that kind of story).
Why Overcomplicate Cleaning?
Let’s be honest. The cleaning aisle at the store can feel like a mini science lab. Floor polish, degreasers, stain lifters, tile boosters—half the time you need a magnifying glass just to read the label.
And sure, some of those products work great. But they also:
-
Smell like a chemical plant
-
Cost way more than they should
-
Leave behind a residue that builds up over time
Meanwhile, there’s a simpler, cheaper, and kinder-to-your-nose method that works on tile, laminate, vinyl, and sealed wood floors. Not just “okay” clean—squeaky, almost-new-looking clean.
So, What Are the 3 Magic Ingredients?
Drumroll please…
-
White vinegar
-
Baking soda
-
Dish soap
That’s it. Seriously.
This trio works together like the dream team:
-
Vinegar breaks down grime, dissolves mineral deposits, and naturally disinfects.
-
Baking soda gently lifts stains and neutralizes odors without scratching your floor.
-
Dish soap cuts through grease and helps suspend dirt so you’re not just smearing it around.
Combined, they do what fancy store-bought cleaners promise—but without the hefty price tag or synthetic scents that cling to your socks for hours.
How to Use Them: The Step-by-Step Floor-Cleaning Ritual
Don’t worry—this isn’t some complicated TikTok hack that takes an hour and a half and 12 microfiber cloths. It’s quick, it’s easy, and it works like a charm.
You’ll Need:
-
Bucket or basin
-
Mop or microfiber cloth
-
1/2 cup white vinegar
-
1 tablespoon baking soda
-
A few drops of dish soap (any brand, unscented is best)
-
Warm water
The Method:
-
Fill your bucket with about a gallon of warm water.
-
Add the vinegar and dish soap, stirring gently.
-
Add baking soda slowly — it’ll fizz (yay science), so give it a moment.
-
Mop as usual, working in sections.
-
For extra grime, sprinkle baking soda directly on trouble spots, then mop over with your mixture.
-
Rinse with clean water or go over it once more with a damp mop if you’re worried about residue.
-
Let it air dry—or towel dry for that satisfying squeaky-clean finish.
And just like that, your floor goes from “meh” to miraculous.
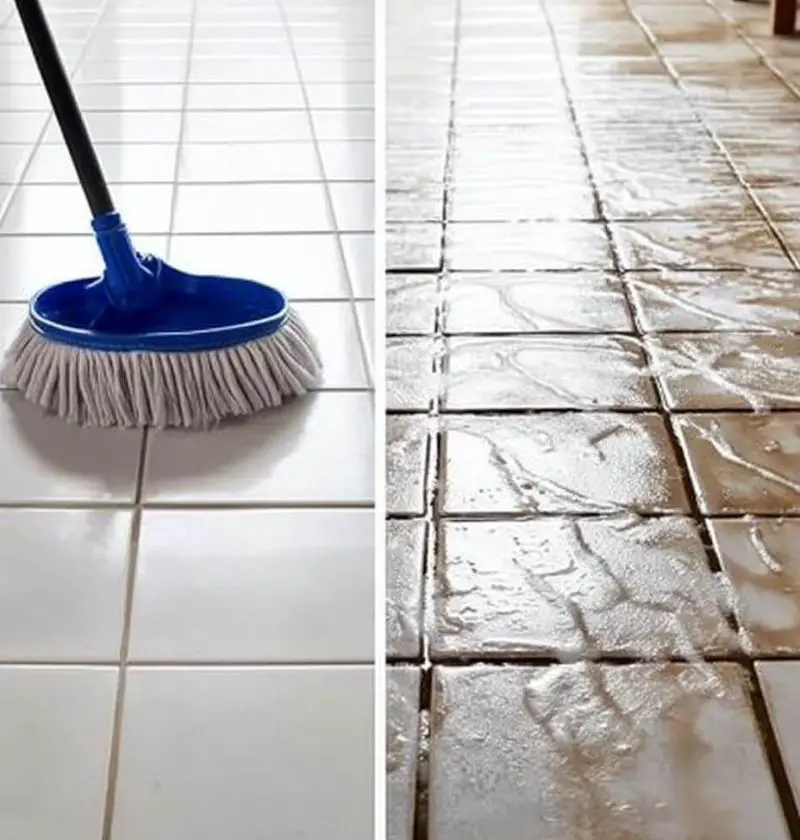
Real Talk: Will It Make My Floor White Again?
Yes—if it was ever white to begin with.
This isn’t bleach. It won’t repaint your floor. But it will strip away the invisible layer of grime, food residue, pet pawprints, sticky juice spots, and whatever that weird footprint in the hallway was. What’s underneath all that buildup is often much brighter than you remember.
People who’ve tried this swear their floor looked like new again. Especially in kitchens, entryways, or bathroom tile—the areas that take the most abuse.
Bonus: It Works on Grout Too (Sort Of)
If your floor has light-colored grout lines, this mixture can give them a noticeable refresh. For stubborn grime, though, try this trick:
-
Sprinkle baking soda directly into the grout lines.
-
Spray with vinegar.
-
Let it fizz for a few minutes.
-
Scrub lightly with a toothbrush.
-
Mop clean.
You might cry a little when you see the difference. No judgment.
What About Wood Floors?
Good question—and here’s where we get a little picky.
Do not use vinegar on unsealed hardwood. It’s acidic, and over time, it can damage the finish. But if your wood floor is sealed (as most are), you’re good—as long as you dilute properly.
Just skip the baking soda and use this gentler mix:
-
1 gallon warm water
-
1/2 cup vinegar
-
A drop or two of dish soap
Mop lightly, wring out the mop well, and don’t let water sit too long. That’s the key with wood—less is more.
Why This Hack Actually Feels Good
Let’s be real—cleaning floors isn’t fun. No one wakes up and says, “Ooh, I can’t wait to mop today!”
But there’s something deeply satisfying about watching dull, dirty tiles come back to life. It’s instant gratification. It’s a little pocket of control in an otherwise chaotic day.
And when it doesn’t require a trip to the store or ten steps involving a branded floor potion? Even better.
A Few Bonus Tips for Cleaner Floors That Last Longer
-
Ditch the dirty mop head. If your mop smells funky even after rinsing, it’s spreading more dirt than it’s picking up. Wash it or replace it.
-
Sweep or vacuum first. Always. You don’t want to mop grit—it’s like sandpaper for your finish.
-
No shoes inside. The less you track in, the less you scrub out.
-
Spot clean with a spray bottle. Mix vinegar, water, and a dab of dish soap in a spray bottle for quick touch-ups.
Final Thoughts: Keep It Simple, Keep It Sparkling
You don’t need a cleaning cabinet that looks like a science fair project. You don’t need floor-specific serums with five-step rituals.
You just need a few pantry basics, a little elbow grease (not too much), and maybe a podcast in your ears while you work.
So next time your floor’s looking a little gray, a little dull, a little “please help me”—reach for that baking soda, vinegar, and dish soap. Mix. Mop. Marvel.
You’ll never look at store-bought cleaner the same way again.