Save This Recipe
There’s just something about a hearty, bubbling skillet that feels like an embrace after a long, busy day. I’ll be honest: some nights, when the dreaded “what’s for dinner?” moment sneaks up on me, all I want is something savory, melty, and soul-soothing—but definitely without a mountain of dishes to wash at 8pm. That’s exactly why this Ground Beef and Peppers Skillet has become my weeknight hero. We’re talking cheesy rice, juicy beef, sweet bell peppers, and it all comes together in just one pan (hallelujah for fewer dishes—am I right?). This one’s deeply nostalgic for me, reminding me of those nights when my mom would throw together dinner and the family would pile around the table, humming with hunger and noise.
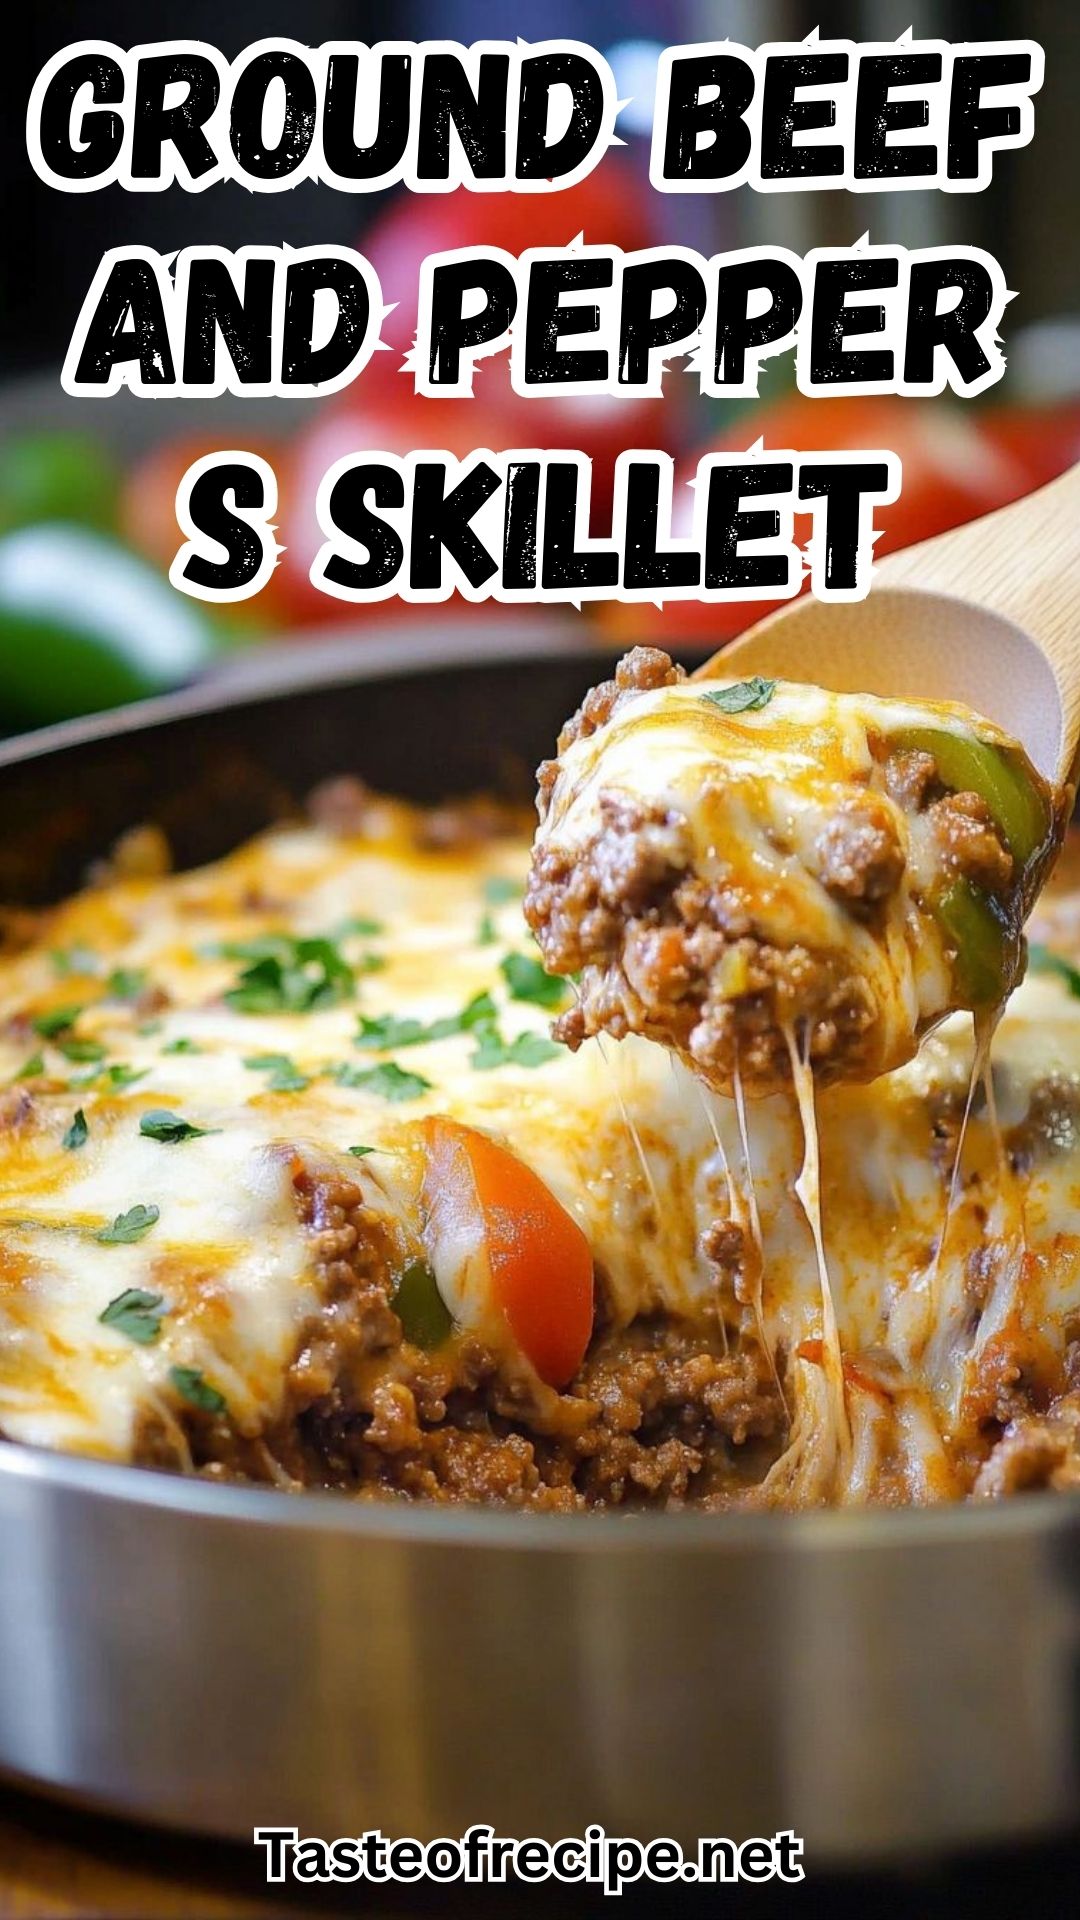
What I really adore about this dish is how it manages to feel both homey and a little special. The pop of color from those peppers peeking through melted cheese? Gorgeous enough for company, but cozy enough for sweatpants and second helpings. Plus, on chilly nights where I’m craving something warming and filling, this skillet always hits the spot—no fancy occasion necessary, just good old-fashioned comfort.
Why You’ll Love This Recipe
- One skillet: Less cleanup, more time to kick back (or wrangle kids, finish homework, let the dog out—whatever waits for you after dinner).
- Satisfying and filling: Ground beef, rice, golden cheddar—totally comfort food central, but you won’t feel weighed down.
- Weeknight approved: From chopping to cheesy finish in about 40 minutes—even when you’re running behind.
- Full of flavor: Sweet bell peppers, beef, classic Italian herbs—every bite’s got something going on.
- Flexible and fridge-friendly: Swap the veggies, change up the protein, or prep ahead for leftovers that taste just as good (maybe even better!) the next day.
Key Ingredients
Ground Beef: The bedrock! I like to use lean (like 90/10) so it’s not too greasy, but if all you’ve got is the regular kind, just drain off the extra fat at the end. Turkey? Works great too, if you’re in the mood for a lighter spin.
Bell Peppers: Go wild with the colors—red, yellow, green, or orange all bring something to the table. (Whatever’s in the crisper and not looking too sad gets the honor, honestly.) The sweeter ones add a little something special, but truly, you can’t mess this up.
Onion: Please don’t leave this out. It melts right into the beef and gives everything that sweet, delicious depth.
Rice: Classic white rice keeps this dish extra comforting, but brown rice is totally fair game too—you’ll want to add a splash more broth and a bit more patience. Got leftover cooked rice in the fridge? Just toss it in during the last ten minutes instead.
Cheddar Cheese: If you can, shred it fresh for that perfect, gooey melt (but no judgment if it’s bagged tonight—sometimes convenience wins!). Monterey Jack or Colby work too, especially if you’re craving a milder bite.
Beef Broth: This gives the rice big, savory flavor while everything cooks together. Chicken broth works in a pinch—just use what’s handy.
Diced Tomatoes: I adore fire-roasted here for a little smoky oomph, but any kind will do. Don’t drain them—you want all those tasty juices to help everything simmer up deliciously.
Garlic, Oregano, Basil: I usually stick with dried herbs for easy weeknights, but if you’ve got fresh herbs lying around, toss them in near the end for an extra pop!
I’ll have the full list with actual amounts down in the recipe card below, if you’re a details person like me.
Instructions
Step 1: Prep What You Need
Gather up all your ingredients first (trust me, hunting for rice halfway through usually ends in a risotto situation—not a success story). Dice the onion and bell peppers into bite-sized pieces. If your crew is picky about size, chop accordingly. Mince the garlic—honestly, I use the jarred stuff sometimes and nobody complains around here!
Step 2: Brown the Beef & Veggies
Grab your biggest, heaviest skillet—I’m all about my cast iron, but a nonstick works just as well. Over medium-high heat, toss in the ground beef, chopped onion, and all those colorful bell peppers. Let things cook, stirring occasionally, until the beef is browned and crumbly and the veggies start to soften—usually five to seven minutes. Drain off any extra fat so things stay cozy, not greasy.
Step 3: Season It Up
This part’s the magic—don’t skip it! Stir in your minced garlic, oregano, basil, and a generous sprinkle of salt and pepper. Let everything bloom for about 30 seconds—you’ll smell that cozy aroma and wonder why you don’t put garlic in every meal!
Step 4: Add Tomatoes, Broth, and Rice
Here’s where it all comes together (and you get to step away for a bit). Pour in your can of diced tomatoes, juice and all, plus the beef broth. Sprinkle in your rice and give everything a gentle stir so the grains are tucked under the liquid. This helps the rice cook evenly—no crunchy surprises at the end.
Step 5: Simmer Until Cooked
Turn up the heat and bring everything to a gentle boil, then drop it down to low and cover the skillet. Let it all simmer away for about 20 minutes, giving it a peek and gentle stir halfway so nothing sticks. If it’s looking dry before the rice is tender, just add another splash of broth. You’ll know it’s ready when the rice is soft and most of the liquid is absorbed.
Step 6: Make It Cheesy
This, my friends, is the non-negotiable in our house. Sprinkle a generous handful (or three—live your dreams!) of shredded cheddar cheese over the skillet, slap the lid back on, and let it sit for a few more minutes. The cheese will melt into gooey, bubbling bliss. I dare you not to sneak a taste straight out of the pan.
Step 7: Time to Eat!
Spoon big, cozy scoops into bowls or plates—this is meant for casual eating, surrounded by family (or, hey, just you and your favorite couch blanket). Fresh parsley or a sprinkle of red pepper flakes on top is always a good move if you want a little color or heat. I usually serve this with a big green salad and warm, crusty bread, because let’s be honest—sopping up those saucy bits is half the joy.
Serving Suggestions
- Simple Salad: Something crisp and a little tangy—like mixed greens with vinaigrette—cuts through all that cheesy, meaty goodness.
- Crusty Bread: Not mandatory, but let’s be real: getting every last drop is its own reward.
- Grilled Veggies: If the weather’s decent, I’ll toss on some zucchini or mushrooms for a smoky kick and extra veggies. Makes me feel smugly healthy.
- A Cozy Drink: My husband is all about a glass of pinot noir, but honestly, iced tea or sparkling water with lime is just as delightful on a busy night.
Storage Tips
Leftovers? You’re in luck—this skillet is even better the next day as the flavors settle in. Just pop what’s left into an airtight container and stash it in the fridge. It’ll keep for up to four days (if your family doesn’t find it and sneak extra bites!). To reheat, toss a serving into a skillet with a splash of water or broth and warm gently, stirring every so often—it brings the rice back to life. If patience isn’t your thing tonight, the microwave does the trick in a minute or two.
This also freezes beautifully. Let leftovers cool fully, then spoon into freezer-safe containers or zip-top bags. Label and freeze for up to three months (pro tip: make a double batch and “forget” one in the freezer for wild weeks). Thaw overnight in the fridge and reheat as above. It’s the gift that keeps on giving!
Variations
- Add Some Heat: Toss in chopped jalapeño or a pinch of red pepper flakes with the garlic for a little kick. My oldest loves it spicy, so sometimes I drizzle on sriracha at the end for good measure.
- Switch Up the Grains: Quinoa, farro, or even orzo work instead of rice—just watch your liquid and cooking time. If you’re doing cauliflower rice, add it at the very end and let it heat through for a lower-carb fix.
- Try Different Cheeses: Feeling adventurous? Monterey Jack, pepper jack, or even a sprinkle of feta gives you a new twist.
- Make It Meatless: Plant-based crumbles or loads of mushrooms plus an extra can of beans turn this into a hearty vegetarian dinner—nobody will miss the beef, promise.
- Southwestern Spin: Black beans, corn, and a shake of taco seasoning keep things lively. I love this version with a blob of sour cream and cilantro on top!
Conclusion
This Ground Beef and Peppers Skillet is everything I crave in comfort food—cozy, a teeny bit cheesy, unfussy, and so punchy with flavor. It’s seriously saved me from dinnertime ruts more times than I can count, and it always hits the spot. If you whip it up (or put your own spin on it!), I’d love to hear about it down in the comments. I’m a sucker for swapping dinner stories and hearing how other families dig in. Stay warm and treat yourself to a second helping if the mood strikes—you deserve it!

Ground Beef And Peppers Skillet
Ingredients
- 1 onion chopped
- 0.5 red bell pepper chopped
- 0.5 green bell pepper chopped
- 0.5 yellow bell pepper chopped
- 2 tsp minced garlic
- 0.5 tsp dried oregano
- 0.5 tsp dried basil
- salt and pepper to taste
- 1 can diced tomatoes including juices
- 2 cups beef broth
- 0.67 cup rice uncooked
- 1.5 cups shredded cheddar cheese divided
Instructions
- Gather all ingredients. Dice the onion and red, green, and yellow bell peppers into bite-sized pieces. Mince garlic cloves if not pre-prepared.
- Heat a large skillet over medium-high heat. Add ground beef, chopped onion, and bell peppers. Cook, stirring frequently, for about 5–7 minutes until the beef is browned and the vegetables are softened. Drain excess fat, if necessary.
- Stir in minced garlic, dried oregano, dried basil, salt, and pepper. Sauté for 30 seconds to enhance the flavors.
- Stir in diced tomatoes (including juices) and beef broth. Add rice and mix well to ensure it’s submerged in the liquid.
- Bring the mixture to a light boil. Reduce heat to a simmer, cover the skillet, and cook for 20 minutes, allowing the rice to absorb the liquid and cook until tender.
- Check that the rice is fully cooked. Sprinkle 1 cup of shredded cheddar cheese evenly over the skillet. Cover again and let the cheese melt for 2–3 minutes.
- Spoon portions onto plates or bowls. Optionally pair with a green salad or crusty bread for a complete meal. Serve hot and enjoy!


