
Save This Recipe
Look. I love my jewelry. But Cleaning it? Not so much.
Some of my favorite pieces have been tucked away in boxes because they got too grimy to wear—tarnished silver, greasy rings, gunked-up earrings… you know the drill. And honestly, I didn’t want to spend money on those little cleaning pots that smell like chemicals and guilt.
So when my grandma showed me this weirdly simple trick for getting jewelry sparkly again, I was suspicious. But I tried it. And I’ve never looked back.
It takes like 15 minutes, zero scrubbing, and you probably have everything you need already sitting in your kitchen. Let me walk you through it—real talk, no fluff.
First, Why Even Bother Cleaning Jewelry?
You might think, “It’s fine. It still fits.” Sure. But that shine? That glow? That I-feel-fancy vibe? You deserve to get that back.
Also, grime builds up. Lotion, soap, skin oil, dirt—your jewelry sees it all. And if you let it sit too long, some of it becomes harder to clean off. Trust me. Learned that one the hard way.
What You’ll Need (No Store Trip Required)
-
1 regular bowl (anything that fits your pieces)
-
A square of aluminum foil
-
Hot water (like… from your tap, just not boiling)
-
1 tablespoon baking soda
-
1 tablespoon salt
-
A drop of dish soap (if your stuff’s greasy)
-
A soft cloth or an old toothbrush
That’s it. No special cleaner. No tiny brushes. No white gloves.
The Step-By-Step (Grandma Style)
1. Line Your Bowl
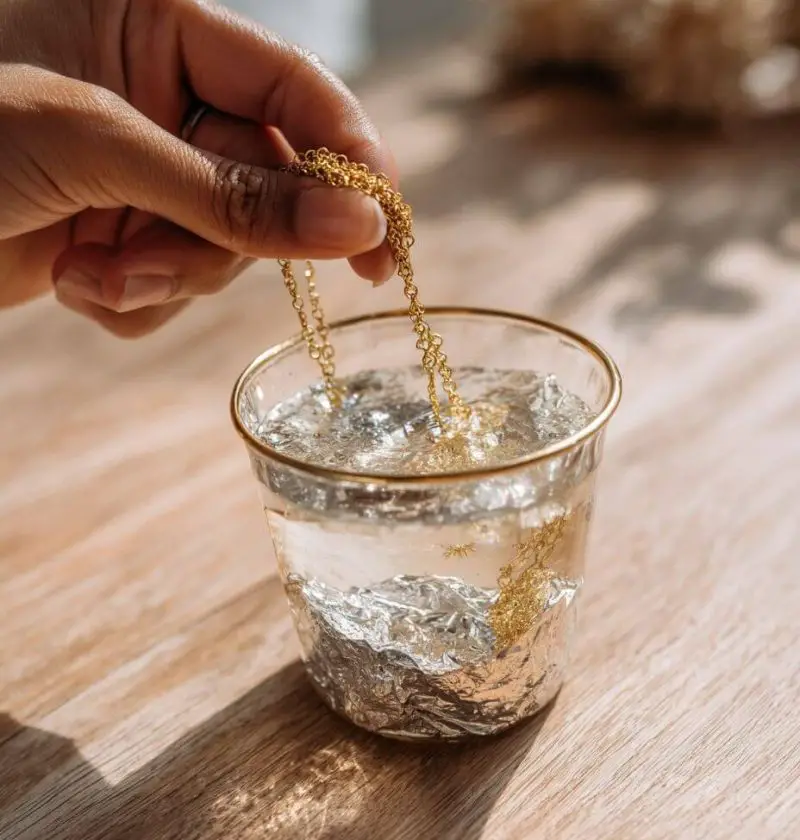
Tear a piece of foil and lay it shiny-side up in the bottom of your bowl. It’s important, okay? Something science-y happens here. Just trust.
2. Add the Magic
Fill the bowl with hot water (not scalding, just good and warm). Toss in your tablespoon of baking soda and salt. Maybe a small squirt of dish soap if your jewelry’s been through a lot.
Give it a little stir. You don’t have to be fancy.
3. Drop in the Goods
Place your jewelry in the bowl. Make sure it’s touching the foil—that’s key. If you see bubbles? Good. That means it’s working.
Let it chill for 10–15 minutes. You can scroll Instagram, start a load of laundry, or reheat your coffee for the third time.
4. Rinse and Dry
Take your jewelry out and rinse it with cool water. If there’s still gunk in the nooks and crannies, grab a toothbrush and gently swipe at it.
Then dry everything off with a soft cloth—nothing scratchy. You’ll probably say “whoa” out loud at how clean everything looks.
Why This Works (In Non-Science Terms)
Basically, the baking soda, salt, and aluminum foil do a little chemistry dance. It pulls tarnish off silver and breaks down grime without scrubbing. I don’t know exactly how—it has to do with ions or something—but I do know it works.
Plus, it’s super gentle. No harsh chemicals, no weird smells, no elbow grease.
Don’t Use This On…
-
Pearls
-
Opals
-
Anything super delicate or vintage with glue-in stones
Those need a softer touch or a trip to the jeweler. Be kind to Grandma’s heirlooms.
A Few Tips from Experience
-
Try this every couple of months to keep things sparkly.
-
Store your jewelry in a dry spot—tarnish loves humidity.
-
Don’t wear your good stuff in the shower or when applying lotion (guilty).
Final Thoughts (a Little Sentimental, Sorry)
Every time I clean my rings using this method, I think of my grandma’s hands—her knuckles a little swollen from years of baking and knitting, her wedding ring always shiny. She wasn’t fancy, but she believed things you love should be cared for.
So yeah, it’s just jewelry. But it’s also a memory, a little piece of something special. And keeping it clean doesn’t have to be hard.
Try it. I promise—it works. And it might make you feel a little more pulled-together the next time you slip that ring on.