
Save This Recipe
A few Decembers back, when the days felt short and the coffee pot ran overtime, I found myself staring at a blank canvas. Not metaphorically—literally. A plain white 16×20 canvas that had been sitting in the corner of my craft room since spring. The house already sparkled with holiday lights, but something in me wanted a new kind of glow. Something quieter, something… magical.
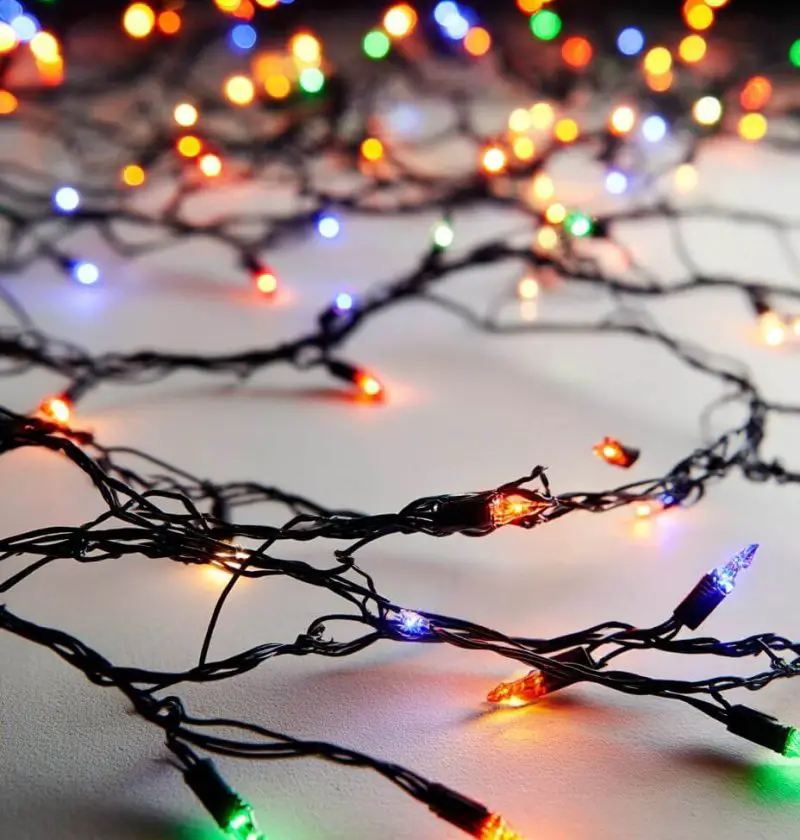
So I picked up my paintbrush and a strand of those tiny battery-powered Christmas lights (the ones I had no business saving “just in case”), and the idea hit me like a sugar rush from peppermint bark: what if the canvas lit up? Not just with paint, but with actual light.
And let me tell you—when I flipped that light switch and saw my painting softly flicker to life, I was smitten.
Why You’ll Love Making This Illuminated Canvas
-
Cozy Glow: Think soft ambiance, not disco ball—perfect for bedrooms or reading nooks.
-
Beginner-Friendly: You don’t need to be Picasso or an electrician.
-
Budget-Friendly: Most supplies are probably sitting in your closet already.
-
Customizable: Match any décor style—modern, rustic, whimsical—you name it.
-
Conversation Starter: Guests will ask where you bought it. You’ll smile and say, “I made it.”
What You’ll Need (and a Few Handy Tips)
Materials:
-
1 canvas (16×20 is just right, but go wild)
-
Acrylic paint (your palette, your mood)
-
Paintbrushes (varied sizes—your dollar store brushes work fine)
-
Battery-operated LED string lights (white or multicolored)
-
Craft knife or sharp scissors
-
Painter’s tape
-
Glue gun (optional but helpful for wrangling wires)
-
Ruler or measuring tape
-
Plastic drop cloth or old sheet (your table will thank you)
-
Masking tape (great for clean lines or patterns)
Substitutions & Tips:
-
No painter’s tape? Washi tape Works in a pinch.
-
No glue gun? Clear packing tape will help tame those wires.
-
Use metallic or textured paint to add depth (hello, drama).
-
If you’re clumsy like me, keep a small bowl of warm water nearby to clean brushes before they Turn into stone.
Let’s Paint and Plug: Step-by-Step Directions
-
Protect Your Surface
Lay down that old holiday tablecloth or plastic sheet. Spills happen. -
Secure the Canvas
Tape it down gently so it doesn’t shimmy around while you paint. -
Paint Your Heart Out
Choose any design—trees, moons, constellations, abstract swirls. Paint in layers and let each one dry fully. (I learned the hard way—wet paint and scissors? Nope.) -
Plan the Light Placement
Once dry, flip the canvas and use your ruler to lightly mark where each light should poke through. Even spacing works best, unless you’re doing stars or fireflies—then random is charming. -
Poke the Holes
Carefully pierce the canvas with a craft knife or scissors. The hole should be just a tad smaller than the light so it fits snugly. (Don’t rush here—tiny tears will haunt you.) -
Insert the Lights
Push each LED through from the back. Most will hold on their own, but a dab of hot glue adds security, especially if kids or curious cats are around. -
Tidy the Backside
Tape down loose wires and hide the battery pack along the canvas frame. If you’re picky, use Velcro strips to make it removable. -
Test and Admire
Flip the switch. Smile. Maybe cry a little—your canvas glows. -
Hang It Proudly
Use nails or removable hooks depending on your wall. Above a couch, bed, or sideboard works wonders.
Little Twists for Big Personality
Here’s the fun part: you can remix this project a hundred ways.
-
Modern Edge: Use black or navy canvas and neon paint—very gallery chic.
-
Kid-Friendly: Let little hands finger-paint stars, then light them up for bedtime magic.
-
Seasonal Switch-Up: Make one for each season—snowflakes, fireflies, fall leaves. Store and rotate!
-
Interactive Tech: Use app-controlled LED lights for color changes on command. (Yes, you can sync it with music—ask my granddaughter.)
You could even stencil a favorite quote or outline your state. This project bends to your story.
Storing & Reheating (Metaphorically Speaking)
Well, you’re not popping this in the oven, but storage matters.
-
Battery Tip: Remove the batteries if you’re storing it long-term.
-
Dust It Gently: Use a soft cloth to wipe the front—no sprays.
-
Storing It: Wrap it loosely in an old sheet and tuck it behind a dresser or under the bed during off-seasons.
-
Avoid Humidity: Basements aren’t ideal. Acrylic paint can warp if it gets too damp.
Let’s Light Up Each Other’s Day
Isn’t it funny how something so simple—a canvas, a bit of paint, and a strand of lights—can feel like a tiny revolution in a quiet room?
If you try this project, I’d love to hear how it turned out. Did you go bold or keep it sweet and subtle? Share photos, questions, or even your mishaps (trust me, we all have them).
Leave a comment below or send me a note. Creativity’s better when it’s shared—just like warm cookies or good stories.
Stay cozy and keep making things that glow,