
Save This Recipe
This pumpkin pie is richer and creamier than the one on the back of the can — and the difference comes down to two small tweaks: dark brown sugar and a cinnamon-forward spice blend that makes the whole thing taste warmer and deeper. It’s become my go-to every November and honestly I can’t go back to the standard version.
Why You’ll Love This
Better flavor than the can recipe — dark brown sugar and a cinnamon-heavy spice blend make it taste richer, warmer, and more complex than the standard version.
So easy to make — you whisk everything in one bowl and pour it into a crust. Twenty minutes of active time, tops.
Perfect for making ahead — the flavors actually get better overnight, which is a lifesaver during the holidays.
Not overly spiced — the cinnamon leads and the ginger, nutmeg, and cloves stay in the background, so it’s mellow and balanced rather than sharp.
A Note on Ingredients
Canned pumpkin — use Libby’s solid pack. Not the pumpkin pie filling, which already has spices in it, and definitely not homemade pumpkin puree from a sugar pumpkin you roasted yourself. I know that sounds like a fun idea. I have done it. The moisture content is all over the place and you’ll end up with a pie that either weeps liquid or won’t set up. Libby’s is consistent and that’s what you want here. One 15-ounce can, the whole thing.
Dark brown sugar — this is the swap that matters most. Light brown would probably be fine in a pinch but it doesn’t have that same depth. I’ve used both and dark brown is better here. Three-quarters of a cup, packed.
The spices — two full teaspoons of cinnamon, which will look like a lot and it’s correct. Then half a teaspoon each of nutmeg and ginger, and a quarter teaspoon of cloves. If you’re the kind of person who finds pumpkin pie overwhelmingly spiced, this ratio will actually work better for you because it’s more even and mellow rather than that sharp spice-blend flavor.
Evaporated milk — the whole can, 12 ounces. Not sweetened condensed milk which is a very different thing. Not half-and-half, not heavy cream. People have tried to sub these out and the texture is never quite right.
The crust — I won’t judge you for using a Pillsbury refrigerated sheet. I use one myself probably six out of ten times. You want a deep-dish 9-inch. If you use a regular depth pie plate it will overflow and you’ll have a mess and I say this from experience.
Ingredients
3/4 cup dark brown sugar, packed
1/2 tsp salt
2 tsp cinnamon
1/2 tsp ground nutmeg
1/2 tsp ground ginger
1/4 tsp ground cloves
2 large eggs
1 tsp vanilla extract
1 can (15 oz) Libby’s solid pack pumpkin — not puree, not pie filling
1 can (12 oz) evaporated milk
1 unbaked 9-inch deep-dish pie shell, homemade or Pillsbury
Sweetened whipped cream for serving — Cool Whip, Reddi-wip, or homemade

How to Make It
Preheat your oven to 425°F before you do anything else.
In a large bowl, beat your two eggs with a whisk. Just the eggs first, get them broken up and smooth. Then whisk in the pumpkin — the whole can — and stir until it’s combined. This sounds obvious but I used to dump everything in at once and it took longer to get smooth. Doing it in stages is faster in the end.
Add the sugar, salt, and all four spices and whisk those in. You’ll see the mixture darken a little from the brown sugar. Stir in the vanilla. Then slowly pour in the evaporated milk while you’re whisking — not all at once. Give it a thin stream and keep moving. The filling should look like a very smooth, uniform batter when you’re done, no streaks, no lumps.
Pour it into your unbaked pie shell. The filling will come up pretty high — don’t panic, it settles as it bakes.
Bake at 425 for 15 minutes, then turn the oven down to 350 without opening the door if you can help it and bake another 40 to 50 minutes. The pie is done when the very center still has a little wobble — not a wave, just a slight jiggle when you nudge the pan. If you stick a knife in about halfway between the center and the edge, it should come out clean. The center will look a little underdone and that’s fine. It firms up as it cools.
Let it cool on the counter for about two hours before you cut into it. I know. It’s a long time. The filling is still setting during that window and if you cut it too early you’ll have a lovely-tasting soupy mess. I’ve done it. It still tastes good but the presentation is a disaster, especially if you’re trying to impress someone.
One more thing — you can make two regular depth 9-inch pies from this filling instead of one deep-dish. If you go that route, check them a little earlier, around the 35-minute mark on the second bake.
Variations
This is great with a gingersnap crust if you want to mix things up — though I find it a bit sweet, some people love it. You’d crush about a sleeve and a half of gingersnaps, mix with some melted Butter, press it in, and chill it before you pour the filling in. Don’t prebake the gingersnap crust or it gets too hard to cut.
I tried making individual tartlets one year for a dinner party. Wouldn’t recommend. The crust-to-filling ratio is off and they don’t unmold cleanly. Stick with the whole pie.
Storage
This keeps well. Refrigerate it once it’s fully cooled — cover it loosely with plastic wrap. Good for about four days, though in my house it doesn’t last that long. You can absolutely make it the day before Thanksgiving and it will be better for it, I think. Something about a night in the fridge.
I don’t freeze pumpkin pie. I’ve seen people say you can and I believe them, probably, but the texture has never been quite right when I’ve thawed it. Watery in spots. So I just don’t bother.
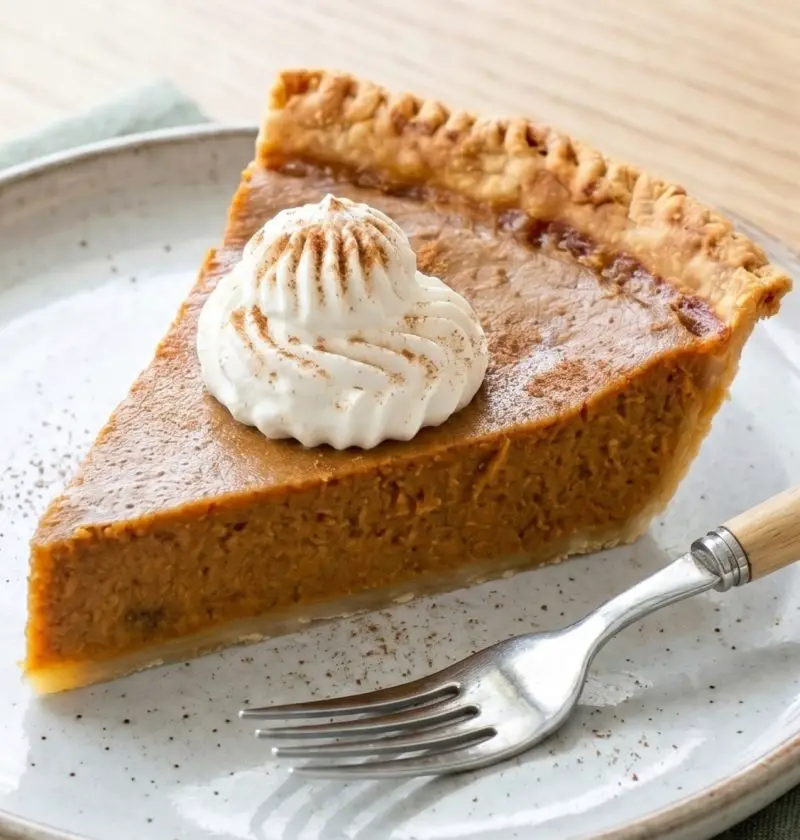
Serve it cold or at room temperature with a real pile of whipped cream on top. That’s non-negotiable for me. Not a small polite dollop — a generous amount. The cream does something with the spice that makes the whole thing.