
Save This Recipe
Last summer my friend Carol had a few of us over for dinner, nothing planned, the kind of evening that just happens. After we ate she set a plate of Bars on the table and I had two before I even thought to ask what was in them. She laughed when I asked for the recipe — said it was the simplest thing, barely even a recipe. I went home that night and made them that weekend.
I’ve been making them ever since.
Why You’ll Love It
- Practically no effort — one saucepan, one bowl, and the oven does the rest
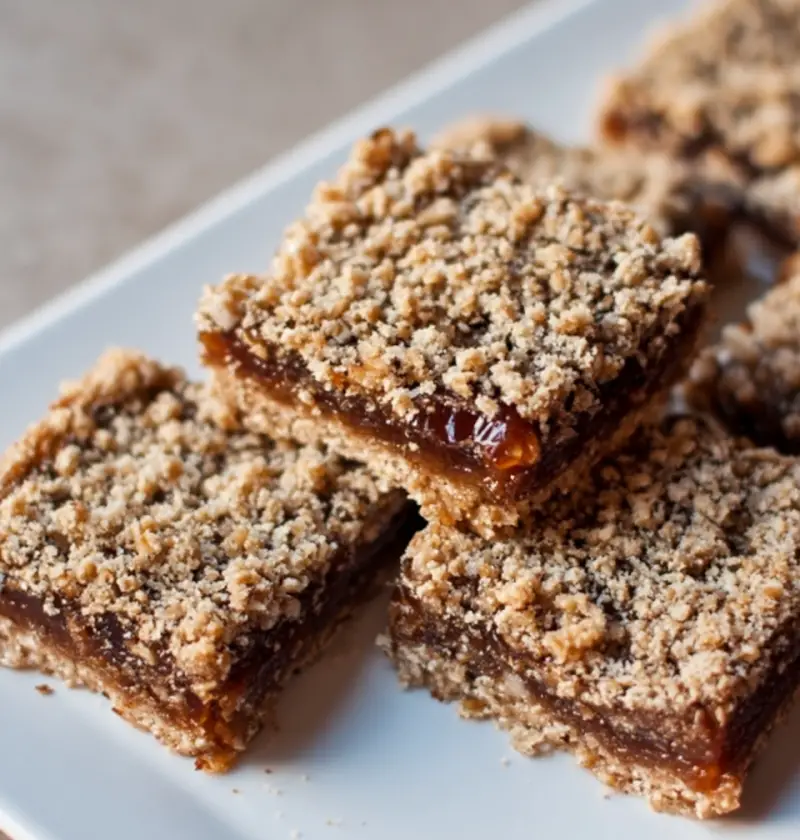
- That filling — dates cook down into something almost caramel-like, soft and jammy and sweet without being cloying
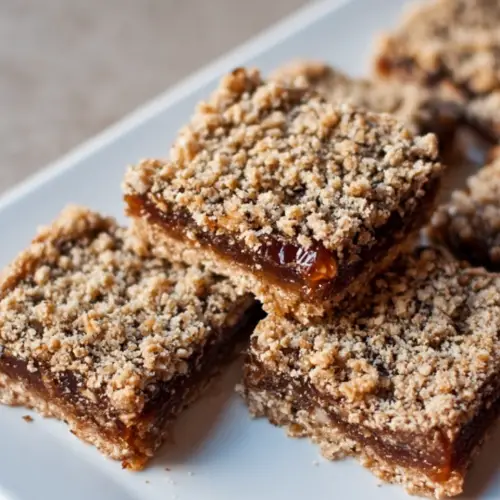
- They travel and stack beautifully — no frosting to smear, no crumbles falling everywhere, they hold together like a dream in a tin or wrapped in wax paper
- Kids and grandkids eat them without complaint — even the ones who claim they don’t like dates, because they don’t know that’s what they’re eating
- They keep for days — covered on the counter, and honestly get a little better by day two when everything settles
Ingredient Notes
Dates: Buy them pitted if you can find them that way — I’ve bought unpitted ones before and spent twenty minutes digging out pits at the counter while already tired, which is not the experience you want. Medjool dates are soft and sweet and ideal. The smaller Deglet Noor variety works too, they just need a minute or two longer in the pan. Chop them up before cooking, doesn’t have to be precise.
Oats: Old-fashioned rolled oats, not quick oats. The quick oats turn almost mushy in the crust and you lose that texture that makes these bars worth making. This is one of the few places I’m a little particular.
Butter: Unsalted, melted. I’ve made this with salted butter in a pinch and added a little less of the measured salt — fine either way. The butter is really what holds the oat crust together, so don’t try to reduce it.
Brown sugar: Packed. I use light brown but dark brown works and gives it a slightly deeper, more molasses-y flavor. Both are good, just a little different.
Flour: Plain all-purpose. Nothing fancy needed here.
Ingredients
- 2 cups pitted dates, chopped — doesn’t have to be perfectly even, rustic is fine
- 1 cup water
- 1½ cups old-fashioned rolled oats — not quick oats, please
- 1 cup all-purpose flour
- ¾ cup unsalted butter, melted, plus a little more for the pan
- ½ cup brown sugar, packed — I sometimes sneak in a little extra, maybe another tablespoon
- ½ teaspoon salt

Instructions
Heat your oven to 350°F. Grease an 8×8 pan — butter or spray — or line it with parchment paper with a little overhang on the sides so you can lift the whole thing out later. I started doing the parchment method after I destroyed a batch trying to dig the first bar out with a fork. Highly recommend.
Put your chopped dates and the water in a small saucepan over medium heat. Bring it to a simmer, stir it around. It’ll start breaking down pretty quickly — you’re cooking it until it looks thick and jammy and most of the water has cooked off, which takes maybe 5 to 8 minutes. Stir it every so often so nothing catches on the bottom. If it looks too stiff, splash in a tablespoon of water. Set it off the heat and let it cool a little while you do the crust.
In a medium bowl, stir together the oats, flour, brown sugar, and salt. Break up any lumps of sugar with your fingers — I always find a few. Pour the melted butter over it and stir until everything looks evenly moistened and crumbly. It should hold together if you press a pinch between your fingers but not feel wet or heavy.
Press about two-thirds of the oat mixture into the bottom of your pan. Pack it down firmly — I use the bottom of a measuring cup to really get it even and solid. This is your base and it needs to hold up under the filling, so don’t be shy about pressing it.
Spread the filling over the crust. It’ll be thick and sticky — a small offset spatula makes this easier, or just use the back of a spoon and have a little patience. Get it out to the edges as evenly as you can.
Scatter the rest of the oat mixture over the top and press it down gently. You want it to stick to the filling just enough to stay put when you slice, but it should still look a little rough and crumbly on top. That’s correct.
Bake 25 to 30 minutes, until the top is a light golden color and you can smell the toasty oats. My oven runs cool so I usually go the full 30 — watch yours. Let the pan cool completely on a rack before you try to cut them. I know. It takes a while. If you cut them warm they’ll fall apart, and I say this from experience, plural.
Once cool, lift out with the parchment if you used it, and cut into 12 bars — or more if you want smaller pieces, which I sometimes do when I’m bringing them somewhere and want the plate to look more abundant.
Variations and Substitutions
My daughter stirs a teaspoon of vanilla into the filling after it comes off the heat, which I’ll admit is a good idea and I don’t know why I never started doing it myself. It adds a little something warm and rounded to the flavor. A pinch of cinnamon in the oat mixture is another easy addition — my mother used to do this, or I think she did, though I’m not entirely sure if I’m remembering that right or just imagining it.
For a heartier bar, swap half the all-purpose flour for whole wheat. It gives the crust a slightly nuttier, more substantial bite that works really well with the sweet filling. My husband prefers it this way, actually.
If you like a little crunch, fold half a cup of chopped walnuts or pecans into the oat mixture before pressing. I’ve done this for holiday trays when I want the bars to feel a little more special.
You can cook the filling in part orange juice instead of all water — maybe half and half — for a subtle citrus note underneath the sweetness. It’s a nice change, especially in winter.
Storage & Reheating Tips
Covered at room temperature, these keep well for four or five days — maybe longer, though they’ve never lasted that long in my house so I’m going partly on faith there. A plate covered with plastic wrap or an airtight container both work fine.
They freeze beautifully. Stack them with parchment between layers in a zip-top bag or container and they’ll keep for a couple of months. Thaw them on the counter for an hour or so and they come back almost exactly as they were. I keep a stash in the freezer around the holidays so I always have something to pull out when someone drops by.
No reheating needed, honestly. Room temperature is exactly right. But if you want to warm one slightly and put a little scoop of vanilla ice cream next to it, I won’t say anything against it.
Final Notes
These are the kind of bars you bring in a tin, wrapped in wax paper, and people are always a little surprised by how much they like them. There’s nothing flashy about them. They look humble. They taste like something someone’s grandmother made.
Serve them with coffee in the afternoon. Or after a bowl of soup. Or at Christmas alongside the frosted cutouts, where they’ll hold their own. My youngest used to pick around them on the cookie tray and then come back for seconds once everyone else had cleared out, which felt like a private little vindication.
One thing I’d add that’s not in the ingredient list — a small pinch of Flaky salt scattered over the top right before baking. Doesn’t change the recipe, just makes everything taste a little more like itself.
Simple 5-Ingredient Date Bars
Ingredients
- 2 cups pitted dates chopped
- 1 cup water
- 1 1/2 cups old-fashioned rolled oats
- 1 cup all-purpose flour
- 3/4 cup unsalted butter melted
- 1/2 cup brown sugar packed
- 1/2 tsp salt
Instructions
- Preheat the oven to 350°F (175°C). Lightly grease an 8x8-inch baking pan or line it with parchment paper.
- In a small saucepan, combine the chopped dates and water. Simmer over medium heat for 5–8 minutes, stirring often, until the mixture becomes thick and jam-like. Set aside to cool slightly.
- In a medium bowl, mix the oats, flour, brown sugar, and salt until evenly combined.
- Pour the melted butter over the oat mixture and stir until crumbly and evenly moistened.
- Press about two-thirds of the oat mixture firmly into the bottom of the prepared pan to form the crust.
- Spread the date mixture evenly over the crust layer.
- Sprinkle the remaining oat mixture over the date filling and gently press it down.
- Bake for 25–30 minutes, until the top is lightly golden and fragrant.
- Let the bars cool completely before lifting from the pan and cutting into 12 squares.
