
Save This Recipe
You know that feeling when you’re getting the patio ready for spring, brushing off the patio chairs, checking what survived winter… and then you look at all those pots filled with dusty, crusty, sad-looking soil?
That used to be the point where I’d sigh, dump it all into the compost pile, and head to the garden center for fresh bags of potting mix. Again. Year after year.
But one season, I’d spent more than I Care to admit on flowers—and realized I still had to buy dirt. That’s when I thought: This is silly. It’s soil, not magic. It can’t just stop working.
So I called my sister (she’s the type who keeps a compost bucket on the counter and actually uses it), and she walked me through how to bring that tired soil back to life. And let me tell you—it worked. That year, my petunias were thriving, my basil looked like it belonged on a magazine cover, and I didn’t spend a dime on new soil.
Here’s how I do it now. It’s easy. It saves money. And honestly, it makes me feel a little less wasteful, which feels good.
Why Bother? Because It’s Cheaper, Smarter, and Just Plain Good
-
Save money — Potting mix isn’t cheap. This stretches what you already have.
-
Less waste — Fewer plastic bags in the trash. One less trip to the store.
-
It works — If you treat it right, old soil can be just as good as new. Maybe better.
-
You’re in control — You know exactly what’s going into your mix. No mystery ingredients.
What You’ll Need (Don’t Overthink It)
This is not a science experiment. You don’t need fancy gear. Just:
-
That old potting soil from last season
-
Compost (store-bought, homemade, worm bin—whatever you’ve got)
-
Something for fluff—perlite, coarse sand, even pine bark fines work
-
Slow-release fertilizer (I use Osmocote because it’s easy)
-
A tarp, wheelbarrow, or big bucket to mix it all in
-
Optional: a soil test kit if you want to check pH
-
Optional: lime or sulfur to adjust pH (but I skip this unless something seems really off)
No perlite? Toss in some handfuls of sand or shredded dry leaves. No compost? A bag of mushroom compost or worm castings will do just fine.
Okay, Let’s Fix That Soil
1. Toss the Trash
Start by pulling out dead roots, stems, sticks, rocks, mystery lumps—anything that looks… not great. I usually dump the soil into a wheelbarrow and sift through it with my hands. It’s oddly satisfying.
2. Bake It (If You’re Worried About Pests)
Sometimes I sterilize it, sometimes I don’t. If I had something die of disease in that pot last year, I’ll go ahead and spread the soil on a baking tray and pop it in the oven at 180°F for half an hour. Yes, your kitchen will smell like damp earth. Light a candle.
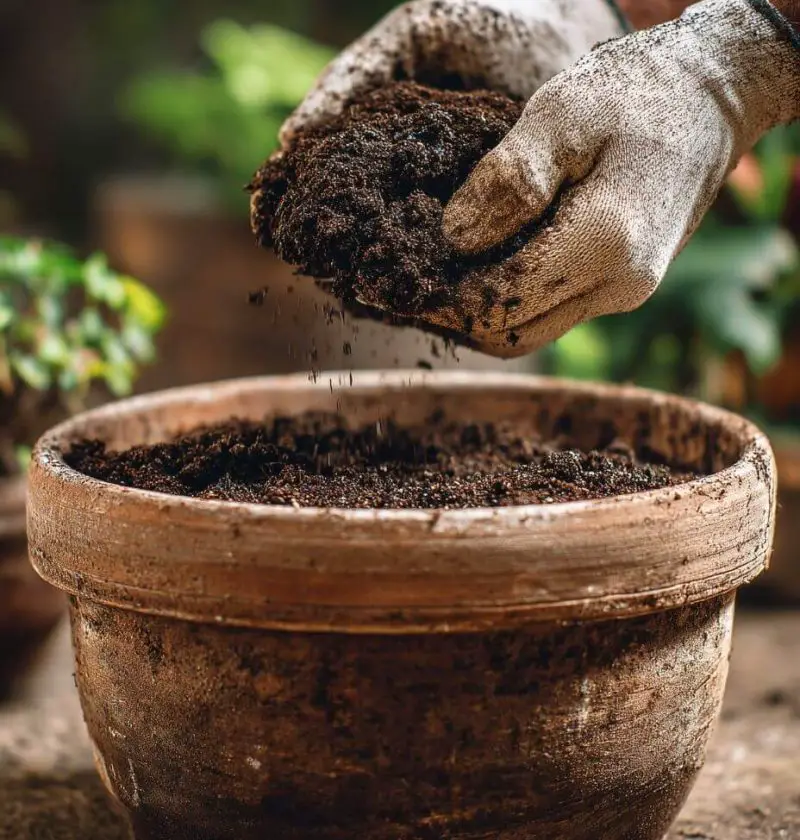
3. Mix in Compost
This is the magic step. Add about one-third compost to your old soil. I just eyeball it. The compost brings back the nutrients that your plants gobbled up last year.
4. Add Fertilizer
Even with compost, I still Toss in some slow-release fertilizer. Just a little sprinkle—check the label. Think of it like vitamins: a little boost to help your plants along.
5. Fluff It Up
If the soil feels heavy or sticky, it needs help draining. Mix in perlite or sand until it feels light but still holds together a bit when you squeeze it. Not muddy, not dusty—something in between.
6. Check the pH (If You’re Into That)
This part? Honestly, I only do it if I’m growing picky plants like blueberries. Otherwise, I trust the compost to balance things out. But if you like data, test the pH and adjust with lime or sulfur.
7. Store It (or Use It Right Away)
If I’m not planting that day, I toss the renewed soil into a big storage bin with a lid. Something with airflow, not airtight. I’ve stored soil like this all winter with no trouble at all.
Bonus Tips (Because I Can’t Help Myself)
-
For Tomatoes and veggies: Mix in extra compost and a little kelp meal if you have it.
-
For flowers: A bit of bone meal goes a long way for bigger blooms.
-
For succulents or herbs: Make it drier—use more sand or perlite.
You can even split your mix into different tubs for different uses. I keep a separate stash just for my herbs because they hate soggy roots.
Is It Worth It?
Let me put it this way: I haven’t bought potting soil in three years, and my plants are doing great. Plus, it feels good knowing I’m not wasting what I already have. It’s one of those simple habits that adds up—like bringing your own grocery bags or making stock from veggie scraps. It’s just smart.
You Still Reading? You’re My Kind of Gardener.
If you made it this far, I know you care about your garden—and the little things that make it thrive. Reusing potting soil is one of those quiet, behind-the-scenes habits that makes a big difference.
If you’ve got questions, or your own tricks for reviving old soil, leave a comment. I’m always learning, and I’d love to hear from you.
Now go get your hands dirty.