
Save This Recipe
You ever hang onto something just because it feels like home? I had this stack of lace doilies tucked away in the linen closet for years—handmade by my great-aunt Dot, who never met a table that didn’t need dressing. Every time I saw them, I’d think, “Well, aren’t you pretty,” but I never knew what to do with them. They didn’t quite fit under the TV remote, you know?
Then one summer night—glass of wine in hand, Pinterest in the other—I saw someone turn doilies into glowing lanterns, and my heart just about melted. It wasn’t just cute—it was magic. That soft, flickering light shining through lace? It looked like a hundred tiny memories all lit up at once.
So naturally, I had to try it.
Why You’ll Fall in Love With These
-
They’re crazy pretty—think fairy garden meets vintage tea party
-
Give new life to old lace that’s too sentimental to toss
-
Set a cozy mood anywhere—bedroom, porch, even a dinner table
-
No fancy tools needed—just balloons, glue, and patience
-
Total conversation starter—everyone wants to know where you got them
Here’s What You’ll Need (You Probably Have Most of It)
-
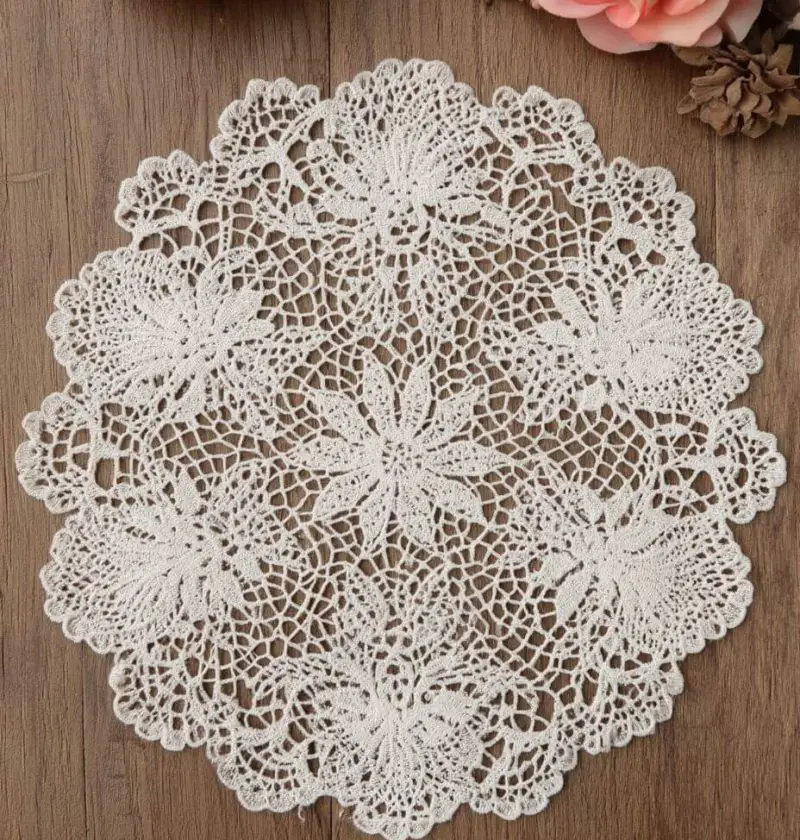
Doilies, 8–12 inches wide—round or oval both work
(Mix and match! Handmade ones are gorgeous, but thrift store finds do just fine too.) -
White glue or fabric stiffener—about a cup
-
Water, same amount
-
Balloons—medium or large
-
Plastic wrap (trust me on this)
-
Clothespins or clips
-
String or twine
-
LED tea lights or fairy lights
-
Paintbrush & scissors
Optional but fun:
-
Fabric dye for color
-
Charms, beads, ribbon if you’re feeling fancy
Alright, Let’s Get Messy (In a Good Way)
-
Blow up the balloons to your desired lantern size. Tie ’em off tight.
-
Wrap each balloon with a layer of plastic wrap—this helps the lace come off clean later.
-
Mix your glue bath: 1 cup white glue + 1 cup water. Stir it ‘til it’s nice and smooth.
-
Soak the doily in the glue bath. Let it get good and soaked—drippy but not drowning.
-
Lay the doily over the balloon like a little lace cap. Smooth it out gently. Use clips if it wants to slide.
-
Add more doilies, slightly overlapping, until your balloon looks like it’s wearing a doily dress.
-
Let it dry. Walk away. Seriously—this part takes 24–48 hours. No peeking.
-
Pop the balloon once the lace feels stiff and dry. Carefully peel out the bits.
-
Trim the edges if you want that neat, tidy look—or leave them natural for a boho vibe.
-
Add your lights. A little LED tea light or a twinkle of fairy lights does the trick.
-
Hang ‘em up or set ‘em out and bask in the glow, my friend.
Fun Twists on a Sweet Idea
-
Color play: Dye your doilies soft blush or bold cobalt before soaking—just don’t overdo it.
-
Outdoorsy types: Use waterproof stiffener and hang them from a tree for summer nights on the porch.
-
A little sparkle: Add a bead or tiny charm before stiffening—it’ll catch the light in the loveliest way.
-
Mix shapes and sizes: Don’t limit yourself to round—try layering in some oblong or square lace for texture.
Storing Them (Because You’ll Want to Keep Them Forever)
Store them in a box with soft tissue if you’re not displaying them year-round. If you made a batch for a wedding or party, they’ll hold up for next time if kept dry and out of squishy spots. And please—no real candles inside. These are lights-for-the-soul, not fire hazards.
One Last Thought…
It’s funny, isn’t it? Something as small as an old doily can light up a room, spark a memory, and make you feel like a kid again all at once. These lanterns aren’t just craft projects—they’re tiny time machines made of light and lace.
If you give this a go (and I hope you do), I’d love to hear how yours turned out. Got a favorite color? Used your Nana’s lace? Leave me a note or tag me—I live for this kind of thing.
Until then, keep making the everyday feel a little magical.