
Save This Recipe
Why This No-Fail Pie Crust Is So Special
I have to tell you, this dough really is something special. Want to know the secret? It’s all about finding that just-right balance. You get a crust that’s flaky as can be, but still sturdy enough to hold up under the richest fillings. And let’s not even get started on how buttery and tender it is. (I may or may not have eaten the scraps straight off the counter…)
The flavor is comforting without being overpowering—which I’m sure is why my family always requests this crust for every pie I bake, sweet or savory. My favorite part? You genuinely can’t mess it up. I’m talking about the kind of recipe you can whip up even when you’re distracted by a phone call, a barking dog, or, let’s be honest, your grandkids climbing onto the counter beside you.
Why?
This crust comes together with basic ingredients you probably already have in your pantry. No fancy flours or hard-to-find fats—just good old-fashioned flour, shortening, sugar, salt, an egg, and water. Simple as pie (pun intended). And even if this is your very first attempt at crust or you’ve had your heart broken by a tough pie shell before, this one is so forgiving. It comes out golden, flaky, and ready for any filling you want to throw at it—apple, Chicken pot pie, chocolate pudding, or whatever else your heart desires.
Simple: This is the canvas for every comforting pie you can think of, from a bubbly chicken pot pie to a classic, Norman Rockwell-worthy apple pie. This one’s your trusty standby, ready for anything.
Ingredients You’ll Need
Let’s get started on the basics. One of the things I absolutely love about this recipe is it makes enough for four crusts—so whether you’re baking for a family gathering or just like to have a stash in the freezer, you’re covered (and trust me, future you will thank present you for this move).
- 4 cups all-purpose flour (this is what gives your crust its structure and heft—don’t skimp or swap for cake flour)
- 1 ¾ cups shortening (I know some folks are team-butter all the way, but you just can’t beat shortening for flakiness in a crust)
- ½ cup cold water (cold is key—it keeps the fat from melting too soon and helps everything come together just right)
- 3 tablespoons white sugar (not enough to make the crust sweet, but just enough to bring the flavors together)
- 1 egg (the magical binder—it does all the heavy lifting to keep the crust tender and workable)
- 2 teaspoons salt (because a good Pie Crust needs a little contrast)
Step-by-Step Instructions to Make the Perfect Pie Crust
Step 1: Combine the Dry Ingredients
Start with a nice, big mixing bowl. Add your flour, sugar, and salt, and give it all a quick whisk. This may seem almost too simple, but trust me; distributing your sugar and salt evenly at this stage is one of those little things that makes a big difference in the end result.
Now comes the fun, messy part: cutting in the shortening. Grab your pastry cutter, two forks, or just dive in with your hands (because honestly, some things are best done by hand—just like grandma showed us). You’re looking for a mixture that looks like big, coarse crumbs or little peas. This is the key to that glorious flakiness later on.
Step 2: Add the Wet Ingredients
In a separate small bowl, whisk your egg till it’s nice and scrambled. Pour it over the flour mixture, then drizzle in the cold water. That egg is really the not-so-secret weapon here—it binds the whole dough together and brings richness and tenderness (seriously, don’t skip it!).
Stir this gently, and don’t go wild with the mixing. Use a wooden spoon or even your hands if you want to feel closer to your food. Once things start to come together and the dough forms a shaggy ball, put down your spoon—it’s ready. Overmixing can make your crust tough, so just enough is perfect.
Step 3: Divide and Chill
This is where a little patience pays off. Divide your dough into four roughly equal parts. Shape each piece into a ball and flatten it into a disk. Wrap each one up in plastic wrap and pop them in the fridge for at least half an hour. (Ask me how many times I’ve tried to skip chilling and ended up patching my crust more than necessary!)
This resting time helps the fat firm back up and stops the gluten from getting all wild and chewy on you. Chilled dough rolls out like a dream and bakes up tender and flaky.
Step 4: Roll It Out
When you’re ready to roll, sprinkle your countertop and rolling pin with a bit of flour. Unwrap one of your dough disks—leave the rest chilling till you’re ready for them. Roll your crust to about 1/8- to 1/4-inch thick. If it cracks around the edges (and it probably will, no need to panic), just press it all back together. It’s incredibly forgiving, I promise.
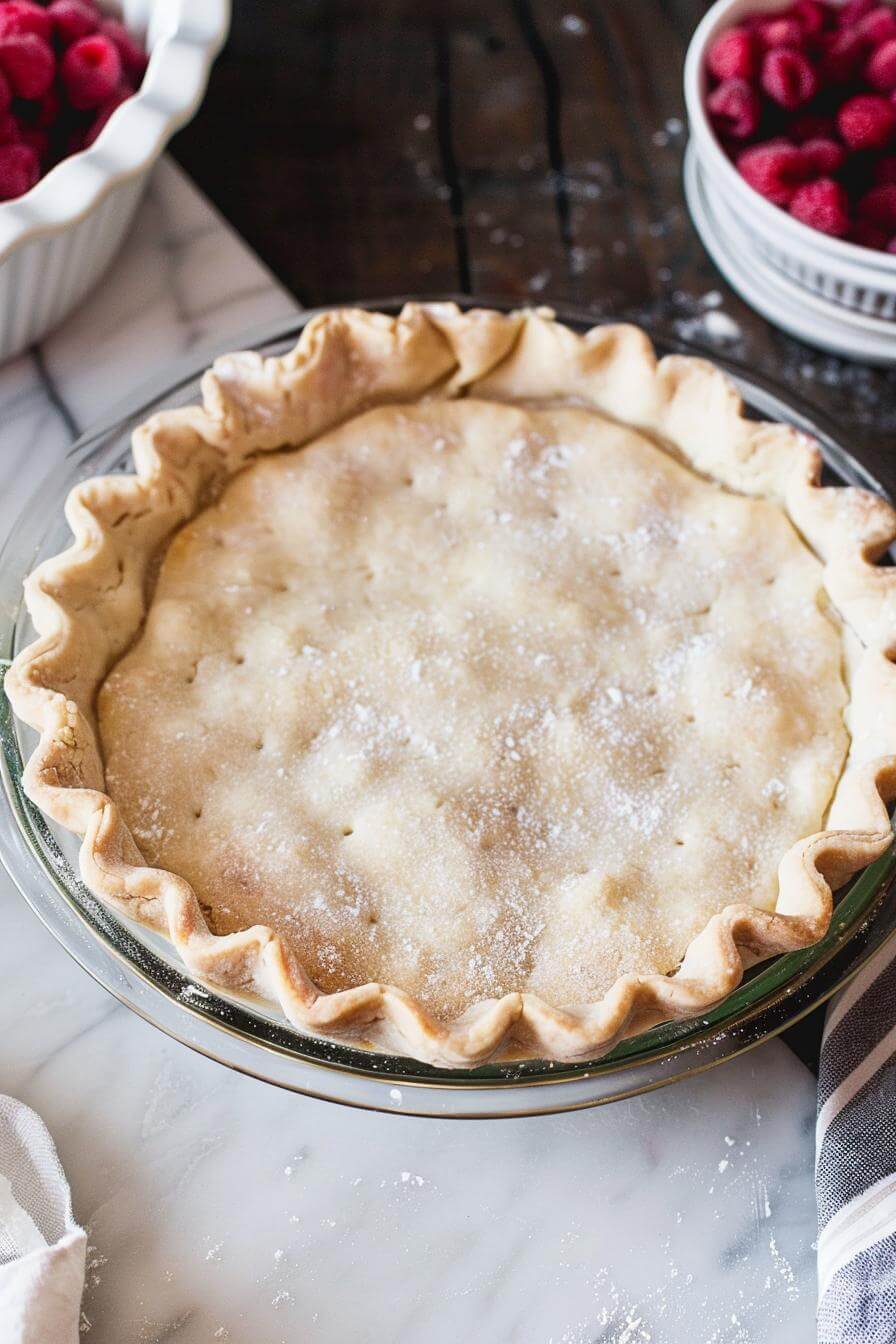
Now, carefully transfer your crust to your pie pan. I usually roll it gently around my rolling pin, then unroll it into the pan—less chance of tears that way. Press it in gently so there aren’t any air pockets, and trim the edges. Fold or crimp them however you like—fancy scallops or just a comfy rusticated edge, whatever makes you happy.
If your recipe calls for a pre-baked (or “blind baked”) crust, follow those instructions. Otherwise, get ready to fill and bake!
Tips and Tricks for Pie Crust Perfection
Want to take your crust from “good” to “oh-my-word-this-is-incredible”? A few little tricks go a long way:
- Keep It Cold: Cold is your best friend. Chill your dough, your rolling pin, even your pie pan if you can. This keeps the fat from melting before the oven and helps create those lovely, flaky layers.
- Don’t Overwork It: The less you fuss with the dough, the more tender your crust will be. Stir just enough. Even if it looks a little rough, it’ll come together—it doesn’t need to be smooth as playdough.
- Patch It Up: Cracks, holes, or torn spots? Don’t worry for a second. Just press the dough back together with your fingers—no one will ever know (and they’ll be too busy munching to ask).
Variations and Substitutions
- Butter Lovers: If you want a richer flavor and a little more color, swap out half the shortening for unsalted butter. You’ll get the best of both worlds—crazy flakiness and that warm, buttery taste.
- Gluten-Free: Gluten bothering anyone at your table? Use a good gluten-free all-purpose flour blend, preferably with xanthan gum built in. The crust turns out surprisingly close to the original.
- Herbed Crust: For a savory pie, I love tossing in a pinch of dried rosemary or thyme to the flour mixture. Or for a sweeter pie, try a little cinnamon—just enough to give your crust a little cozy hug.
Frequently Asked Questions About Pie Crusts
1. Why is my pie crust tough instead of flaky?
This is the most common hiccup, and it usually boils down to overhandling the dough or letting things get too warm. Stick with cold ingredients and stop mixing as soon as the dough comes together. Less is more here.
2. Can I freeze pie crust dough?
Absolutely, and you should! I keep a stash for busy weekends. Just wrap the discs tightly in plastic, tuck them in a zip-top freezer bag, and freeze for up to three months. Thaw them in the fridge overnight before rolling out, and you’re good to go.
3. Can I use butter instead of shortening?
You sure can. Butter has that lovely flavor, while shortening delivers unbeatable flakiness. I tend to use half-and-half when I really want to nudge up the taste. Play around and see what you like best.
4. How do I prevent the crust from shrinking?
Ah, the dreaded shrinking pie crust. Two things: chill your dough after it’s in the pan (about 15 minutes in the fridge does wonders), and don’t stretch it to fit. Lay it in gently and let it settle naturally before crimping the edges. Makes a world of difference.
5. Do I need to blind bake the crust?
Depends on your filling! For anything super wet, like a custard or a key lime pie, pre-baking is your best friend. Otherwise, for fruit pies and pot pies, you can often bake the crust and filling together. Always check your recipe, but when in doubt, a little pre-bake never hurts.
The Tradition Lives On
More than just a shell for your filling, this is the same crust that’s carried birthday pies, Christmas desserts, and rainy Sunday pot pies across generations in my kitchen. Every time I make it, I feel a cozy connection to all the women who came before me, floured hands and all.
So whether you’re getting fancy for a holiday, surprising someone special, or just want a little comfort on a Tuesday night (been there!), give this no-fail pie crust a whirl. Roll up your sleeves, dust your counters, and see why this one’s been loved for over a century—and why it just might become your new favorite tradition too.
Grandma’s 100-Year-Old No-Fail Pie Crust
Ingredients
- 3 cups all-purpose flour
- 1 1/4 cups shortening chilled
- 1 tsp salt
- 1 egg beaten
- 1 tbsp vinegar
- 5 tbsp cold water
Instructions
- In a large mixing bowl, combine flour and salt.
- Cut in the chilled shortening using a pastry cutter or fork until mixture resembles coarse crumbs.
- In a small bowl, whisk together egg, vinegar, and cold water.
- Pour the wet mixture into the flour mixture and stir gently until dough comes together.
- Divide the dough into two equal portions, shape into disks, wrap in plastic, and chill for at least 30 minutes before rolling out.
