
Save This Recipe
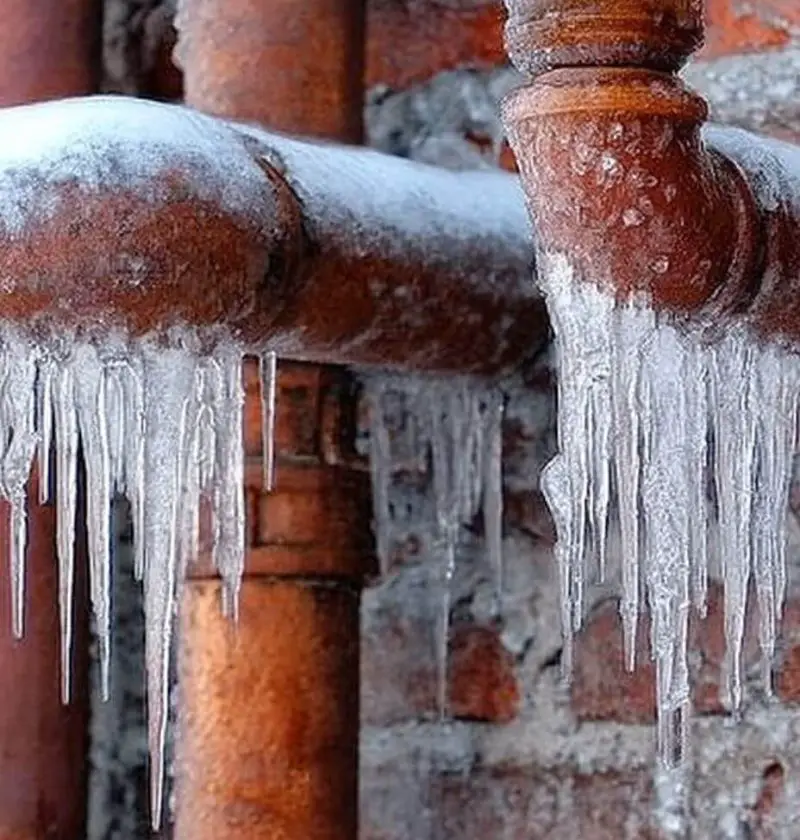
Every winter, my aunt’s house becomes the gathering spot. It’s not because she lives in the fanciest place or has the biggest kitchen. Honestly, it’s because her home feels warm—literally and figuratively. While everyone else in the neighborhood has stories of burst pipes or frantic late-night calls to plumbers, she sits back with her tea and says, “Not me.”
And she means it. She hasn’t had a single frozen pipe in over a decade, all thanks to a routine so simple you’ll wonder why more people don’t do it.
Why This Works So Well
-
Cheap and cheerful: You don’t need a contractor or a special system.
-
Quick setup: Takes maybe an hour on a Saturday afternoon.
-
Year after year protection: Once you’ve set it up, it keeps working season after season.
-
Less stress: You can sleep through a snowstorm without worrying about waking up to an ice rink in your basement.
The Trick (and the Tools)
Here’s her magic combo: foam pipe insulation and a tiny space heater. That’s it. Nothing fancy, nothing expensive.
-
Foam insulation – the kind that comes pre-slit so it slips over pipes.
-
Low-wattage heater – a small, portable one with automatic shut-off.
-
Duct tape (optional) – keeps insulation from slipping.
-
Timer plug (optional) – so the heater only runs when you really need it.
If you can’t find foam insulation right away, even wrapping old towels around the pipes is better than nothing in a pinch.
How She Does It (Step by Step)
-
Scout the pipes. Head down to the basement or crawl space and see which pipes are most exposed to the cold. Jot down a quick measurement so you don’t buy too little insulation.
-
Wrap them up. Cut the foam insulation to length and slide it over the pipes. Press the seam together. If it feels loose, just tape it. Think of it like wrapping a scarf around your kid before school—you want it snug, not sloppy.
-
Set the heater. Place the small space heater nearby. Don’t put it on the pipes—just close enough to warm the air around them. Safety is key here, so no balancing acts on boxes or near fabrics.
-
Choose your heat level. Keep it on low. You’re not trying to heat the whole basement—just keeping that little pocket of air above freezing.
-
Add a timer (if you’ve got one). She sets hers to kick on from midnight until about 6 a.m., when the temperatures are at their lowest.
A Few Extra Winter Habits
-
Leave cabinet doors open under sinks when it’s bitter cold.
-
Let faucets drip—just a slow drip—to relieve pressure and keep water moving.
-
Check for drafts near pipe areas and patch them up with caulk or spray foam.
-
Disconnect hoses outside and pop on those foam covers they sell at the hardware store.
Things Not to Do
-
Don’t go overboard with a giant heater—it’s unsafe and unnecessary.
-
Don’t leave the heater running without safety features like tip-over shutoff.
-
Don’t skip spots when insulating; even a small gap can become a weak link.
Other Ways to Adapt
Some folks swear by heat tape wrapped around pipes under the insulation—it works, though it adds cost. If you live in a mild climate, insulation alone might be enough. And if you’re in a drafty old house, combining her method with sealing up cracks makes a world of difference.
Storage Made Easy
The insulation can stay on all year—it doesn’t hurt anything. As for the heater, she tucks hers into a closet with a little note taped on: “For pipes—don’t borrow!” (After one of her grandkids tried to sneak it for their dorm room, she learned to label it.)
Final Thoughts
Every time I watch her calmly set up her pipes for winter, I think about how many people overcomplicate this. Expensive gadgets, full-house systems, endless panic. But the truth is, sometimes the simplest habits are the smartest.
So this winter, maybe borrow my aunt’s Trick and give your pipes a little “coat and heater buddy.” It just might save you thousands—and a whole lot of stress.
And if you’ve got your own tried-and-true winter hacks, I’d love to hear them. Share them in the comments—I promise, we could all use a few more easy wins in cold weather.