
Save This Recipe
Listen, friend…
I love to cook. Always have. But if there’s one thing I could skip for the rest of my life and not miss one bit? It’s chopping onions.
You know exactly what I’m talking about:
The tears, the burning eyes, the smell that clings to your hands even after two rounds with the dish soap. And don’t get me started on finding half an onion in the back of the fridge a week later, looking like it’s lived a hard life.
So here’s what I do instead—and it’s made dinner time so much easier. I freeze my onions. Yep. I chop ’em up once, stash them in the freezer, and I’m good to go for weeks.
Let me show you how I do it, step-by-step. It’s nothing fancy, but it works like a charm.
Why Freeze Onions in the First Place?
Because we’ve got better things To Do, that’s why.
Seriously—freezing onions:
-
Saves time when you’re rushing to get dinner on the table.
-
Means fewer tears and less mess.
-
Keeps you from wasting that extra half onion you didn’t need last night.
-
Makes you feel just a little more put-together. (And let’s be honest, some days we need that win.)
Here’s How I Do It (No Frills, No Fuss)
Step 1: Chop the Onions
Peel ‘em, slice ‘em, dice ‘em—however you like. I usually do a mix: some big chunks for stews, some finely chopped for scrambled eggs or casseroles. Use a sharp knife (trust me on this—it makes a difference), or toss them in the food processor if you’re in a hurry.
Tip from me to you: Chill the onions in the fridge for 20–30 minutes before chopping. It helps with the eye-burning.
Step 2: Spread ‘Em Out
Grab a baking sheet and line it with parchment paper. Spread the chopped onions out in a single layer—don’t pile them on top of each other. This keeps them from freezing into a big icy blob.
Step 3: Freeze ‘Em Flat
Pop that tray into the freezer for an hour or so. You just want them frozen solid. Go do something else while they chill—I usually use this time to clean up, scroll a little, or holler at the dog to stop barking at squirrels.
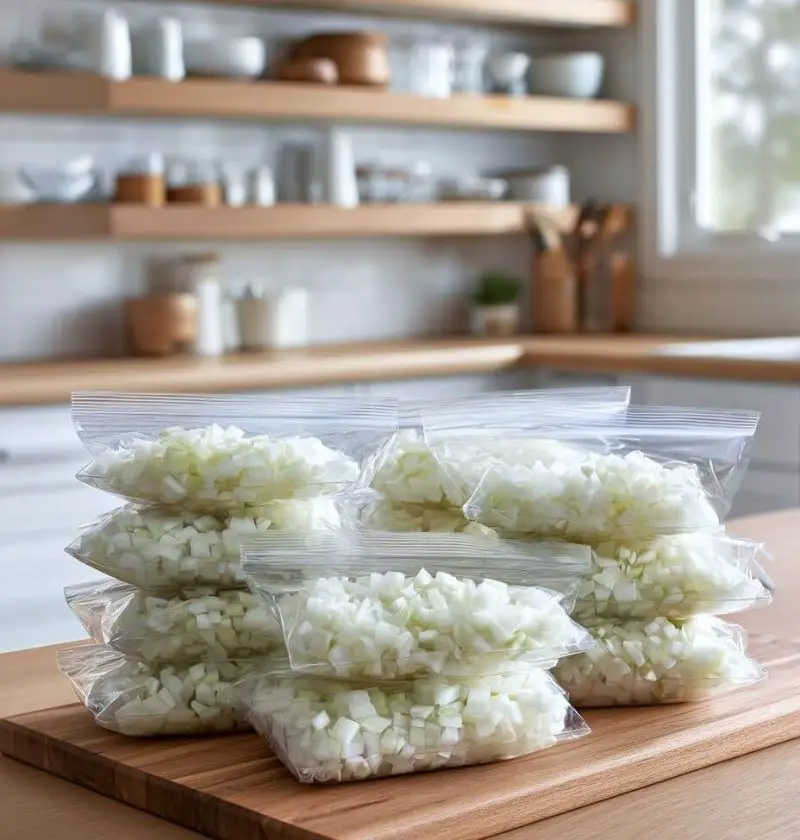
Step 4: Bag ‘Em Up
Once they’re frozen, scoop the onions into Ziploc bags. I write the date on the bag with a Sharpie because—well, otherwise I forget. Squeeze out as much air as you can before sealing.
Step 5: Store and Use When Needed
Toss the bags into the freezer and pat yourself on the back. Next time you’re making chili or taco night rolls around, just grab a handful and toss it in the pan. No crying, no chopping, no onion smell on your hands.
A Few Things You’ll Want to Know
-
How long do they last? About 6 to 8 months, easy. After that, they’re still safe to eat, but they might taste a little “blah.”
-
What dishes are they good in? Anything cooked: soups, stews, stir-fries, pasta sauces, casseroles, omelets… you name it.
-
Do I need to thaw them first? Nope! Throw them right into the pan. They’ll thaw as they cook.
Little Warnings from My Kitchen to Yours
-
Don’t expect frozen onions to be crisp. They get a little soft. But once they’re cooked? You’d never know the difference.
-
If your freezer ends up smelling like onions, double-bag them. Or toss the bag into an airtight container.
-
Don’t freeze onions expecting to use them raw later. It’s just… no. Not good. Trust me.
In Conclusion: Give Yourself the Gift of One Less Thing to Do
If you’re like me, you’ve got enough going on. Freezing onions is one of those small things that makes everyday cooking just a bit smoother. You do it once, and suddenly you’ve got ready-to-go onions anytime you need them.
It’s not fancy. It’s not complicated. But it works—and sometimes, that’s the kind of kitchen magic we need.
So go on, try it next time you’ve got a minute and a few extra onions lying around. I promise, future you will thank you.