
Save This Recipe
Okay, confession time: I used to never clean my toaster. Like… ever.
Sure, I’d empty the crumb tray once in a blue moon (usually when I dropped a slice of bread and noticed the toaster looked like it was full of burnt snowflakes). But actually cleaning it? With soap and water and effort? No thank you. I had more important things to do. Like eat the toast.
But one afternoon, I was at my Nana’s house, and we were making grilled cheese (on the stove, not in the toaster, don’t worry), and I casually mentioned that my toaster had basically turned into a greasy paperweight. She gave me that look. You know the one. The “Oh honey, you poor thing” look. Then she laughed and said, “You’re making it too hard. Let the vinegar do the work.”
And just like that, she showed me her zero-effort, zero-scrubbing Trick that made my toaster look brand new. It worked like magic. I’ve been using it ever since. And now, I’m passing it on to you.
First, Why Bother?
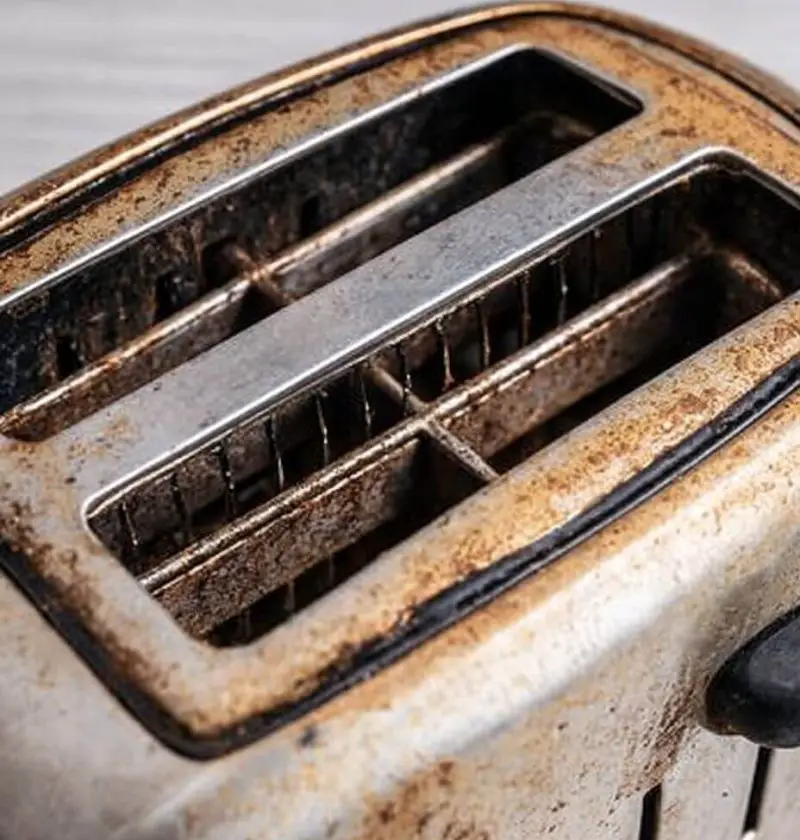
I know. I was right there with you. But once I actually looked inside my toaster and realized how gross it had gotten — and how close my toast lives to all that — I couldn’t unsee it.
Plus, a greasy, crumb-covered toaster isn’t just unattractive. It can smell weird. It can toast unevenly. And in some cases, it can even be a fire hazard. (No thank you. I like my house.)
Nana’s Secret Sauce: Vinegar + Baking Soda
Of course it’s vinegar and baking soda. It always is. Nana cleaned half her house with this combo, and for good reason — it works. It’s cheap, it’s safe, and you don’t need to wear gloves or crack open a window like you do with those scary commercial degreasers.
Here’s what you’ll need:
-
A toaster that’s seen better days
-
White vinegar
-
Baking soda
-
Warm water
-
An old toothbrush, cotton swabs, or a butter knife wrapped in a paper towel
-
A soft cloth or sponge
-
A little patience (but just a little)
Step-by-Step: How Nana Would Clean It (While Telling You a Story About 1973)
1. Unplug That Thing
Seriously. Unplug it. This isn’t a dare.
Let the toaster cool down completely, and then take out the crumb tray (if it has one). Shake the whole toaster gently over the sink or trash can to loosen whatever’s lurking inside. You’ll be surprised and mildly horrified at what falls out.
2. Mix Up Your Magic
In a small bowl, mix equal parts warm water and white vinegar. Soak a soft cloth in the solution and wring it out. That’s your degreasing wipe.
For really greasy spots? Dip a corner of the cloth into some dry baking soda and gently scrub. The baking soda will foam a little with the vinegar, and that fizzy reaction is what lifts the grime. (Also weirdly satisfying to watch.)
3. Get In the Nooks
Use a toothbrush, cotton swab, or even a butter knife wrapped in a paper towel to get around buttons, knobs, and those annoying grooves where grease loves to hide. Dip your tool in the vinegar solution and gently work your way around the toaster. Be careful not to jab anything electrical.
I always put on music at this point — just makes the whole thing feel less like a chore and more like a very gentle kitchen dance.
4. The Crumb Tray Spa Day
Let the crumb tray soak in warm water with a splash of vinegar for 10–15 minutes. If it’s super gross, give it a little sprinkle of baking soda and scrub gently. Rinse it well, then dry it off.
5. Rinse & Shine
Once the toaster’s clean, wipe everything down with a damp cloth to remove any leftover vinegar or baking soda. Then use a dry microfiber cloth to buff it a little.
Bonus Nana tip: If your toaster is stainless steel and you want it to gleam, put a teensy dab of Olive oil on the cloth and wipe it in the direction of the grain. It keeps fingerprints away and makes the thing look like you actually have your life together.
6. Let It Dry
Don’t rush this part. Let your toaster air-dry completely before plugging it back in. Moisture and electricity are not friends.
Why This Works (Even Though It Feels Too Easy)
Here’s the short version: vinegar cuts through grease, and baking soda lifts the rest. Together, they create that bubbly science-project reaction that makes gunk unstick without you having to go full elbow grease.
It’s safe. It’s cheap. It doesn’t leave behind that chemical film that makes you wonder if your next piece of toast will taste like floor cleaner. And let’s be real — you probably already have both ingredients in your kitchen.
A Few Extra Thoughts From One Messy Kitchen to Another
-
Don’t wait until it’s awful. Try to do this every few months. It takes less time if the grease hasn’t fully settled in and signed a lease.
-
Keep a small paintbrush in a drawer. Great for dry crumb cleanups between deeper cleans.
-
This also works on toaster ovens. Just avoid the heating elements and unplug first.
Final Word From My Kitchen Table
Listen, I get it. Life’s busy. Toasters feel like one of those “I’ll clean it later” things that never quite makes the cut.
But this trick? It’s the kind of easy, satisfying chore that actually makes you feel like you’ve got your act together — even if your laundry’s still in the dryer from three days ago (guilty).
So give it a shot. Do it while your coffee brews or your soup simmers. Then sit back, admire your sparkling toaster, and maybe text your Nana to say thank you — or think of her if she’s watching from somewhere cozy, shaking her head and smiling because you finally listened.
And if you’ve got a kitchen cleaning trick that saves time and sanity, I’m all ears. These little gems are too good not to share. 💛