
Save This Recipe
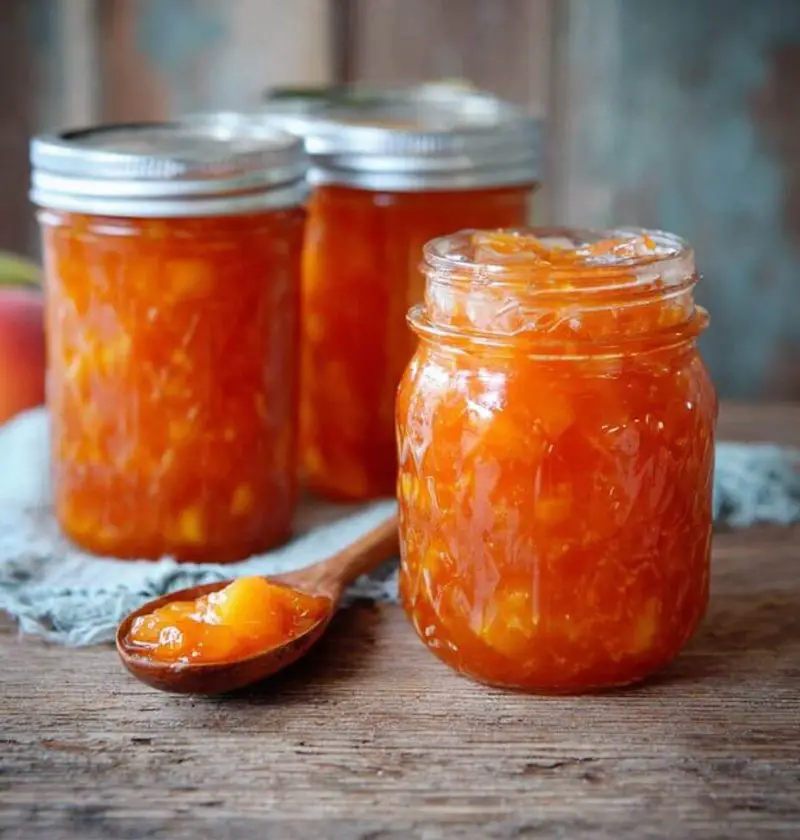
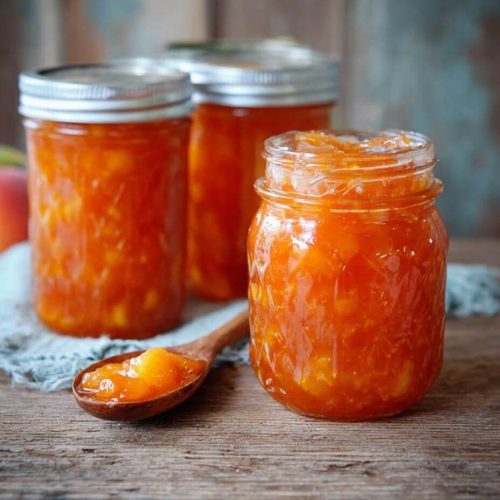
When the sun is heavy and the peaches at the farmers’ market smell like pure summer, I know it’s time for one of my favorite kitchen projects: homemade peach preserves. Honestly, there is something about the ritual of peeling and slicing ripe, fuzzy peaches—sticky juice dripping down my wrists, the kitchen warm from simmering fruit—that just makes the world feel right. Some people crochet or garden for therapy; me, I reach for my saucepan and a basket of peaches. (And if you nab a slice or two “for testing,” I’ll never tell.) My grandmother used to keep a jar by the stove, and I can still remember sneaking a spoonful onto hot toast. Heavenly doesn’t even cover it. If you’ve never made preserves before, welcome to the happiest accident you’ll ever eat by the spoonful.
Why You’ll Love This
- The taste of fresh summer peaches—year round! Makes your morning toast (“boring bread,” as my daughter calls it) straight-up craveable.
- Easy, comforting, and no fuss (promise, you don’t need fancy tools—just a big pot and a wooden spoon).
- Makes adorable gifts. Tie on a gingham ribbon, and you’re the neighbor everyone loves at Christmas or a summer cookout.
- Flexible recipe for busy folks. Use what you’ve got—regular sugar, honey, less sugar, or a splash of bourbon if you’re feeling wild.
- A little goes a long way. Swirl some into yogurt, drizzle over pound cake, or, my personal favorite, sandwich between buttery biscuits.
Ingredients You’ll Need
- Fresh peaches – The riper, the better! If you can find freestone peaches, you’ll thank me later during slicing. Clingstone works fine too, just takes a little longer. Peel if the skins bother you (I usually do), but leave them on if you want a slightly rustic texture and a pretty blush of color.
- Sugar – Plain granulated sugar is classic, but feel free to swap in part honey for a delicate, floral sweetness. If you’re cutting down on sugar, just know your preserves may set up a little softer (which, honestly, I kind of love).
- Lemon juice – Not just for pucker! It adds brightness and also helps preserve the color and set the jam.
- Pectin (optional) – Traditional peach preserves often skip the pectin, but if you want a firmer set or are jam-anxious, a little powdered pectin does the trick. I usually go au naturel for that dreamy, loose, spoonable texture.
- Vanilla or almond extract (optional) – Just a splash makes the preserves taste almost like Southern peach cobbler—you know, the kind with a golden biscuit crust. Trust me.
Optional add-ins: Chopped fresh ginger, a hit of cinnamon, or even a splash of bourbon for grown-up flavor. Don’t be shy to play around!
How to Make Peach Preserves (Step-by-Step)
1. Blanch, Peel, and Prep Your Peaches
Fill a big pot with water and bring it to a boil. Drop peaches in for about 30 seconds, then transfer to an ice bath. The skins should slip off easily (like magic!). Slice your peaches in half, remove the pits, and chop into chunks. Size is up to you—some folks like big, juicy hunks; others prefer a finer chop. I’m somewhere in the middle—spoonable but chunky enough to know it’s homemade.
2. Mix Fruit, Sugar, and Lemon
Toss your peaches into a big heavy-bottomed pot. Shower them with sugar and squeeze over lemon juice. If you’re using pectin or honey, add here too. Stir everything together and let sit for 20–30 minutes (or up to overnight in the fridge) until gorgeous syrupy juices start pooling at the bottom. Trust the process!
3. Simmer and Skim (Don’t Rush This)
Bring the pot up to a gentle boil over medium-high heat, stirring often so nothing scorches. Skim off the foamy bubbles that collect on top—this keeps your preserves clear and jewel-like (my kids call it “jam clouds”—adorable and tasty, but best scooped off).
Lower the heat and simmer, stirring every so often, until the mixture thickens and the peaches become glossy and translucent. Depending on your peach variety and batch size, this can take anywhere from 30–60 minutes. If you like a smoother texture, give it a few gentle mashes with a potato masher toward the end.
4. Test for Set
How do you know it’s ready? You can use the “frozen plate” method: Drop a spoonful of hot preserves on a plate that’s been chilling in the freezer. Wait a minute, then run your finger through it. If it wrinkles up and holds a path, congrats, you’re set!
5. Add Flavor Extras & Jar It Up
Stir in a dash of vanilla or almond right at the end, if using. Hot-fill clean, sterilized jars, leaving about 1/4-inch at the top. Wipe the rims, then seal with lids and bands. If you’re planning to store longer-term, process in a boiling water bath for 10 minutes (don’t skip this with canning—better safe than sorry!). If you can’t wait, let jars cool and pop one in the fridge for early “quality control.”
Flavor Variations and Fun Twists
- Spiced Peach Preserves: Add a cinnamon stick, a few cloves, or a thin slice of fresh ginger to the pot while simmering. Pull out before jarring.
- Peach-Honey Preserves: Replace half the sugar with local honey for a floral, almost “sunshiney” flavor.
- Peach-Bourbon Jam: Right before jarring, stir in a tablespoon of good bourbon. Gorgeous over vanilla ice Cream (ask me how I know!).
- Mix Your Fruits: Toss in a handful of raspberries, blueberries, or chopped apricots along with the peaches. A splash of lemon or orange zest brightens the whole batch.
Storing and Enjoying Your Peach Preserves
If you water-bath process your jars, they’ll keep unopened in a cool, dark pantry for up to a year (if you can wait that long). Once opened, or if you skip the boiling water bath method and just pop your jars straight into the fridge, enjoy within 3–4 weeks. Homemade preserves never last that long around here, but I’m sure you have more self-control than I do!
To reheat, scoop what you need into a microwave-safe bowl and zap it for 10–15 seconds. Stir and slather onto anything that’ll hold still—warm biscuits, scones, yogurt, oatmeal, or, yes, eaten off the spoon (no judgment).
These preserves also make knockout edible gifts. Tuck a jar in with a bag of biscuits or homemade bread, maybe a little mason jar of whipped honey butter, and you’ve got yourself a Southern breakfast anyone would treasure.
Let’s Keep the Sweet Memories Going
I know homemade canning can sound intimidating, but trust me—if you can stir and taste, you can make peach preserves. And every time you pop open a jar months from now, you’ll get this cozy hit of summer that’ll brighten up even the grayest winter day. (Bonus: your house will smell like a Georgia orchard, and that’s reason enough for me.)
If you try this recipe or have your own flavor hacks, I’d love to hear from you! Drop a comment or questions below—let’s swap stories, triumphs, and even a few sticky kitchen mishaps. Happy preserving, y’all!
Peach Preserves
Ingredients
- Fresh peaches Ripe and preferably freestone
- Sugar Granulated sugar or honey
- Lemon juice Freshly squeezed
- Pectin Optional for firmer set
- Vanilla or almond extract Optional for added flavor
Instructions
- Boil peaches, peel, remove pits, and chop into chunks.
- Combine peaches, sugar, lemon juice, and optional pectin in a pot. Let sit until syrupy.
- Bring to a boil, skim off foam, then simmer until thickened and glossy.
- Check for desired thickness using the 'frozen plate' method.
- Stir in extract, fill sterilized jars, and seal for storage.
