
Save This Recipe
There’s just something magical about a homemade tart crust, isn’t there? I still remember the first time I baked with semolina, years ago, on a rainy afternoon when the regular all-purpose flour bin was running sadly low. The kids were (of course) “starving” for dessert and my sweet tooth wasn’t exactly saying no, either. What I ended up pulling together was a golden, crisp, and downright craveable semolina tart crust—sturdier than my usual, but tender and flaky in all the right places. Since that happy little accident, this comfort-food-worthy crust has become my secret weapon for everything from zesty citrus tarts to cozy apple custard numbers. It feels downright special, but it’s so, so easy (and such an upgrade from store-bought dough). Let’s talk about why this little recipe needs a spot in your go-to dessert lineup.
Why You’ll Love This Semolina Tart Crust
- Flaky and crisp in all the right spots — It’s sturdy enough to hold juicy fillings, but still tender with every bite.
- The flavor! — Semolina gives this crust a subtle nuttiness that regular doughs can’t touch.
- Great for sweet OR savory tarts — So much potential, from quiches to lemon cream pies.
- Ridiculously easy — No culinary degree (or fancy equipment) required. If you can press dough into a pan, you’re golden.
- Makes homemade feel extra-special — This crust is memorable and always impresses!
Ingredients and Substitutions
- Semolina Flour: This is the star—look for fine semolina (usually in the baking aisle). Don’t confuse it with coarse cornmeal! It’s what gives the crust that crisp, golden bite. If you can’t find semolina, you can use durum wheat flour or—at absolute last resort—extra all-purpose with a tiny bit of cornmeal for texture. But trust me, the semolina makes all the difference.
- All-Purpose Flour: Teamwork makes the dream work. All-purpose blends and balances the texture—don’t skip it unless you absolutely have to.
- Granulated Sugar: Just a whisper, for sweetness—especially if you’re making a dessert tart. If you’re making a savory tart, you can reduce this to a pinch.
- Salt: My secret weapon. Even in sweet recipes, a little salt lifts all the other flavors.
- Unsalted Butter: Cold and cubed. If you only have salted, just reduce the added salt a smidge. No butter substitutes here—real butter equals real flavor and flake.
- Ice Water: Cold water is key. Too warm, and your dough will go sticky or tough instead of flaky. Sometimes I even plop a few ice cubes in my measuring cup before pouring.
Optional add-ins for flavor: A pinch of cinnamon, a grating of lemon zest, or even a little black pepper for savory versions. Play around!
How to Make Semolina Tart Crust
This dough comes together fast, and you don’t need a food processor (but use one if that’s less stressful). I like to use a big mixing bowl and a good old pastry cutter, or my fingertips if I’m feeling rustic.
- Mix the dry stuff: Whisk semolina, all-purpose flour, sugar, and salt together in your bowl. This keeps things light and avoids any flour clumps.
- Cut in your cold butter: Drop those cold cubes in and “cut” them into the flour with a pastry blender, fork, or your hands. You want everything to look like shaggy, buttery crumbs—the kind of texture that means “flaky crust is coming.”
- Add ice water: One tablespoon at a time, dribble in ice-cold water, tossing and pressing just until the dough holds together if you squeeze it. You might not need every drop, so add Slowly.
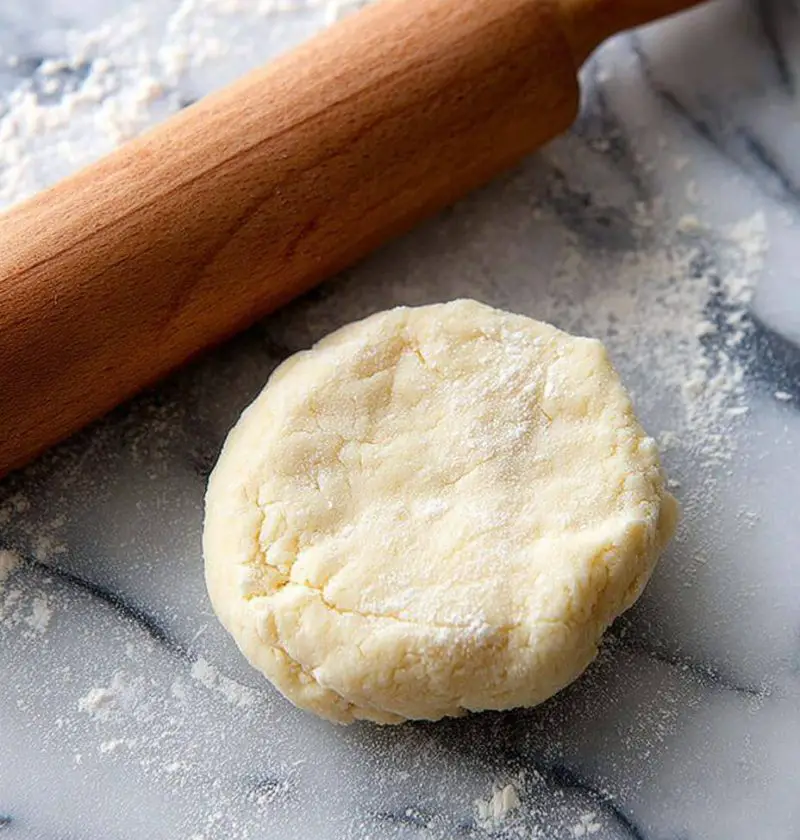
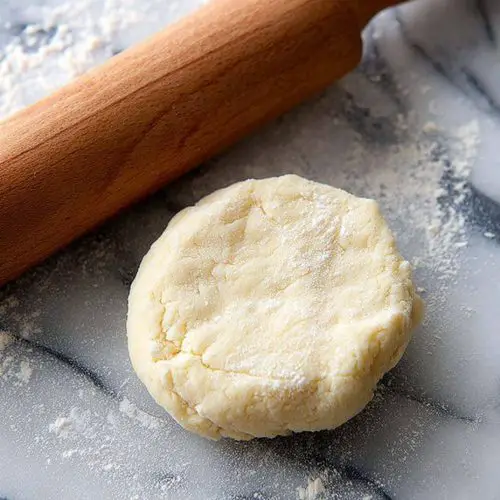
- Shape and chill: Smush the dough together (don’t overwork!) and flatten into a disk. Wrap in plastic and chill for at least 30 minutes. (Go longer if you can—it makes a world of difference for that flaky finish!)
- Roll it out: Roll your dough between two sheets of parchment or on a lightly floured surface until it’s about 1/8-inch thick and big enough to fit your tart pan. Don’t stress about marble countertop perfection—just get it roughly even.
- Press and trim: Transfer to your tart pan and gently press it into the corners and up the sides. Patch any tears (no one will know!). Trim the edges with a sharp knife or press gently with your rolling pin.
- Chill again: Pop the whole pan back in the fridge for 15-30 minutes. This helps prevent shrinking. Don’t skip it! (Trust me.)
- Pre-bake (“blind bake”) if needed: For wet fillings (like custards or lemon tarts), line with parchment and fill with pie weights or beans. Bake at 375°F for 20 minutes, remove the weights, then bake 8-10 more minutes until lightly golden. For rustic fruit tarts, you might not need to blind bake—just follow your filling’s recipe.
This crust smells incredible baking—and turns the prettiest, buttery-gold color. The edges will look a bit rustic, but my family always says that’s how you know it’s homemade!
Flavor Variations and Twists
- Sweet & Zesty: Add a spoonful of lemon or orange zest to the dough (lemon + berries is magic!).
- Nutty: Swap 1/4 cup of the flour for ground almonds or hazelnuts for an extra layer of flavor.
- Savory: Skip the sugar, add a pinch of black pepper and fresh herbs—think thyme for tomato tarts or rosemary for roasted veggies.
- Chocolate Drizzle: Once baked and cooled, pipe a squiggle of melted dark chocolate over the crust before adding your filling. Extra-indulgent for simple fruit tarts!
And hey, don’t let anyone tell you a tart has to look fancy. Slapped-together edges and little patches here or there? That’s called “artisan,” and it’s pure homemade charm.
Storage & Reheating Tips
This dough is a make-ahead dream! Pop the unbaked disk in the fridge for up to 3 days or freeze it up to 2 months (wrap tight in plastic). Thaw overnight in the fridge before rolling out.
Once you’ve baked your crust (empty or filled), let it cool completely before storing. It’ll keep crispy on the counter (tented with foil) for about a day, or in the fridge for up to 4 days if filled. To revive the “just-baked” crisp, pop slices or empty crust back in a low oven (300°F) for about 10 minutes.
Oh, and leftover scraps? Roll ’em into little shapes, sprinkle with cinnamon sugar, and bake—they make the cutest baker’s snack!
Let’s Chat: Your Turn!
If you give this semolina tart crust a whirl, I’d absolutely love to hear what you bake with it—there’s nothing cozier than swapping kitchen stories. Did you add a flavor twist, or maybe lovingly rescue a crumbly patch just like I do? Let’s revel in the beauty of a truly homemade dessert crust, with golden, flaky edges and plenty of heart. Drop a note below with your favorite fillings, or any tips and questions. Happy baking, friends!
Semolina Tart Crust
Ingredients
- Semolina Flour
- All-Purpose Flour
- Granulated Sugar
- Salt
- Unsalted Butter
- Ice Water
Instructions
- Whisk semolina flour, all-purpose flour, sugar, and salt together in a bowl.
- Incorporate cold cubed butter into the flour mixture until it resembles shaggy crumbs.
- Dribble in ice-cold water slowly, mixing just until the dough holds together when squeezed.
- Form the dough into a disk, wrap in plastic, and chill for at least 30 minutes.
- Roll the dough between parchment paper until thin and large enough for your tart pan.
- Transfer the dough to the tart pan, press it in, trim the edges, and chill again.
- For wet fillings, blind bake the crust before adding the filling. Otherwise, follow your recipe.