
Save This Recipe
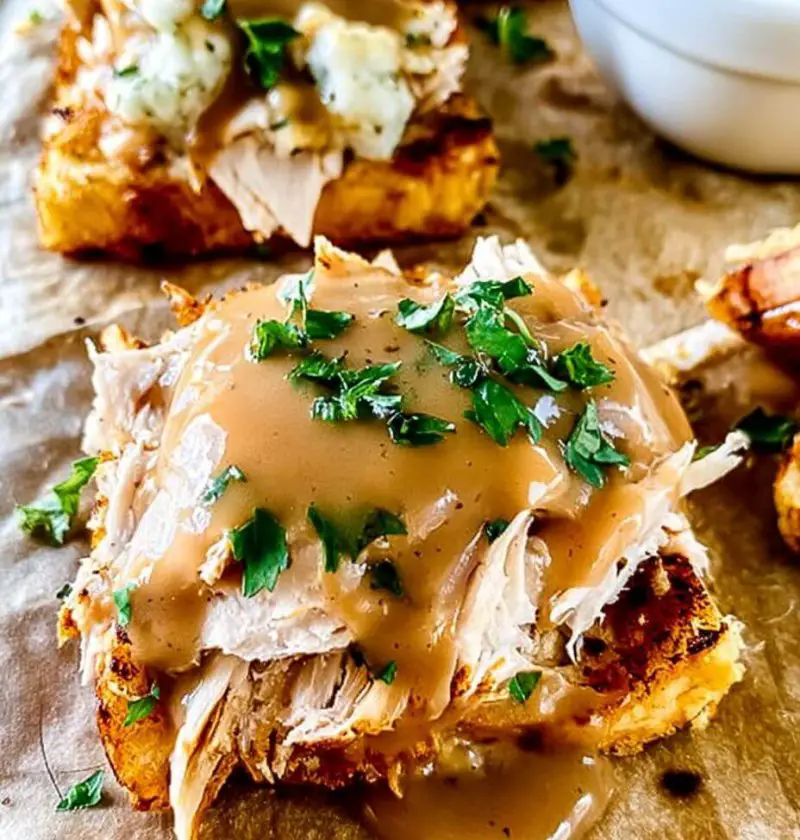
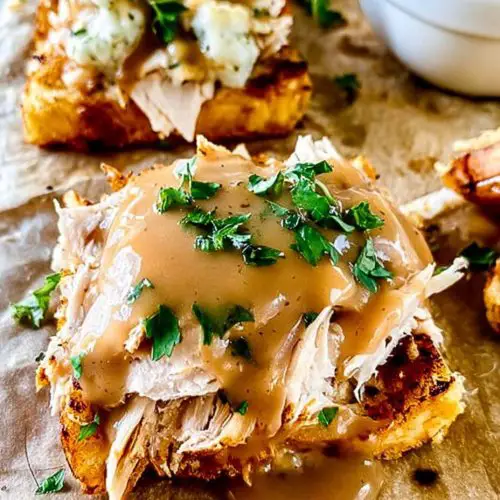
Maybe it’s just me, but every time I see those old-fashioned, comforting open-faced turkey and Gravy sandwiches on a diner menu, my heart skips a beat. There’s something downright magical about thick slices of turkey piled on soft bread, dripping in savory gravy—like Thanksgiving snuck into a regular Tuesday night. At my house, if you ask who wants turkey sandwiches for dinner, you’ll see every hand go up. (Leftovers turn into the main event!)
Why You’ll Love This
- It’s peak comfort food—with all the cozy, homey vibes you crave.
- Perfectly uses up leftover turkey and gravy after the holidays (or any roasted turkey night).
- Ready in just about 20 minutes—honestly, most of the time goes into heating things up!
- Totally customizable: swap your bread, add cheese, pile on veggies—make it yours.
- Kids love it, adults get nostalgic over it, and nobody goes to bed hungry.
- No fancy ingredients—just simple, classic pantry staples.
Ingredient Notes (and Handy Swaps)
- Turkey: Roasted or cooked turkey breast slices work best—fresh or leftovers. Thick, juicy slices beat deli meat, but hey, use what you’ve got! Rotisserie Chicken is a fine substitute if turkey is MIA.
- Gravy: Homemade gravy is a treat (gravy powder or jarred gravy is totally welcome on busy nights). Leftover Thanksgiving gravy? Lucky you. No shame in giving it a flavor boost with a splash of chicken broth or a little black pepper.
- Bread: Go with classic white sandwich bread, squishy and soft—this is the time to skip the crunchy sourdough! Texas toast or whole wheat? Sure thing! (I even had one reader swear by Hawaiian rolls, torn in half. Try it if you dare.)
- Mashed Potatoes (optional): Some folks layer mashed potatoes between the bread and turkey. Not traditional, but outrageously good and extra filling.
- Butter: Optional, but spreading a little on your toast before stacking things up just makes it that much richer.
- Sides: Frozen peas, a handful of roasted carrots, or whatever green veggie you love. Sometimes that scoop of cranberry sauce finds its way on the plate, too.
Step-by-Step Directions
Step 1: Warm the Gravy and Turkey
Pour your gravy into a saucepan over medium-low heat. If your turkey’s cold, tuck those slices right into the simmering gravy to warm everything gently—keeps it all moist and happy together. Stir now and then—don’t let it bubble over. (If the gravy looks extra thick, a splash of broth or water will loosen things up.)
Step 2: Toast the Bread
Pop the bread slices into the toaster or oven until soft and golden around the edges. Want to up the cozy factor? Butter them! Sometimes, when the world is especially chilly, I’ll even brown them up in a skillet with butter. (It’s the little things.)
Step 3: Assemble the Sandwiches
Lay each bread slice on a cozy plate. If you’re going mashed-potato-style, spread a generous scoop over the bread now—total game-changer if you’re extra hungry.
Layer on the warm turkey, nestling it like you’re tucking a little food baby into bed.
Go wild with the gravy—it should spill over the sides and make a gorgeous, messy puddle. (That’s part of the charm.) Hit it with a little black pepper or fresh parsley if you’re feeling fancy.
Step 4: Add Sides and Serve
Round out your plate with steamed peas, corn, or any family favorite veggie. This is comfort food, not Instagram—so embrace the “rustic” look. Grab a fork and dig in while it’s hot and gooey.
Optional Variations & Flavor Twists
- Cheesy Melt: Top your turkey with a slice of Swiss, provolone, or even a handful of shredded cheddar. Pop briefly under the broiler—melty goodness incoming.
- Herb Magic: Sprinkle a touch of fresh or dried sage, thyme, or rosemary into the gravy as it warms for a Thanksgiving-in-June feel.
- Open-Faced Turkey Club: Add a layer of crispy bacon and sliced tomato under the turkey. Drooling yet?
- The Veggie Lover’s: Layer sautéed mushrooms, caramelized onions, or roasted red peppers under the turkey for something a little extra.
- Shortcut Friendly: No turkey? Rotisserie chicken or thick-sliced deli roast beef steps up just fine in a pinch.
- Potato Swap: Layer with leftover mashed sweet potatoes for a sweet-savory spin (don’t knock it till you try it!).
Storage & Reheating Tips
Have leftover open-faced sandwiches or just extra turkey n’ gravy? Lucky you! Pop any leftover turkey and gravy into airtight containers (separate from bread to avoid sogginess). They’ll keep in the fridge about 3-4 days.
Reheat turkey and gravy gently on the stove or in the microwave, loosening with a splash of water or broth as needed. Build fresh sandwiches when ready to serve—nobody deserves soggy toast!
Mashed potatoes reheat like a dream in the microwave with a little milk stirred in. Extra bread? Toast it up fresh when you’re set to eat.
And just in case: These don’t freeze great as a whole sandwich, but leftover turkey and gravy can be frozen separately for quick comfort-food fixes down the road.
I’d Love to Hear From You!
Honestly, the minute the gravy hits the bread, my mood lifts—no matter how long that week’s been! Open-faced turkey and gravy sandwiches are the coziest, most nostalgic way to make leftovers feel downright special. Plus, they’re flexible enough to please even my pickiest kid (and my “just one more bite” husband).
If you try this recipe or have a wild open-faced sandwich secret, please scroll down and let me know in the comments. Got a trick for the ultimate turkey and gravy? Holler! Dining room stories are always welcome here. Stay cozy and enjoy every bite, friend.
Baked Potato Chicken and Broccoli Casserole
Ingredients
- 4 large russet potatoes washed and scrubbed
- 2 cups cooked chicken diced or shredded
- 2 cups broccoli florets blanched
- 1 1/2 cups cheddar cheese shredded
- 1 cup sour cream
- 1/2 cup milk
- 2 tablespoons unsalted butter
- 2 tablespoons all-purpose flour
- 2 cloves garlic minced
- Salt and pepper to taste
- Chopped fresh chives or green onions optional, for garnish
Instructions
- Preheat your oven to 375°F (190°C) and grease a 9×13-inch baking dish with butter or non-stick spray.
- Place the washed and scrubbed potatoes directly on the oven rack and bake for 45-60 minutes, or until tender. Let them cool slightly.
- In a saucepan over medium heat, melt the butter and cook the garlic for 1 minute. Stir in the flour and cook for another minute, stirring constantly.
- Gradually whisk in the milk, stirring continuously until smooth and thickened. Remove from heat and stir in 1 cup of shredded cheddar cheese and sour cream. Season with salt and pepper to taste.
- Slice the baked potatoes in half lengthwise and scoop out the flesh, leaving a thin layer in the skins. Place the potato shells in the prepared baking dish.
- Dice the scooped-out potato flesh and combine it with the cooked chicken, blanched broccoli, and cheese sauce. Stir until well combined.
- Spoon the chicken, broccoli, and cheese mixture into the potato shells, dividing evenly. Sprinkle the remaining shredded cheddar cheese on top.
- Bake for 20-25 minutes, or until the cheese is melted and bubbly. The top should be golden brown.
- Let the Casserole cool slightly before serving. Garnish with fresh chives or green onions if desired. Enjoy warm!