
Save This Recipe
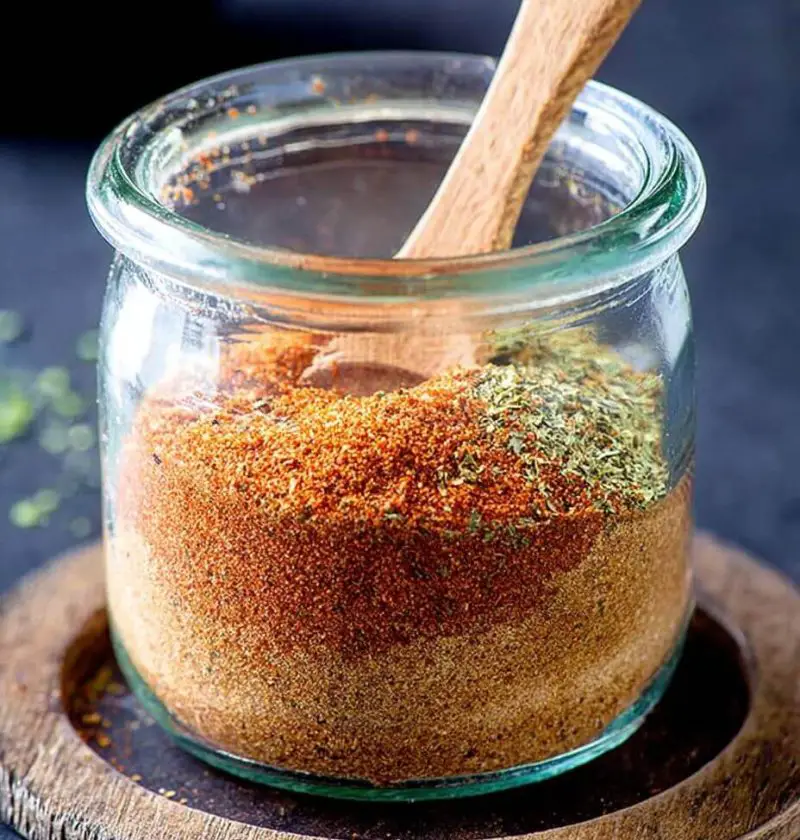
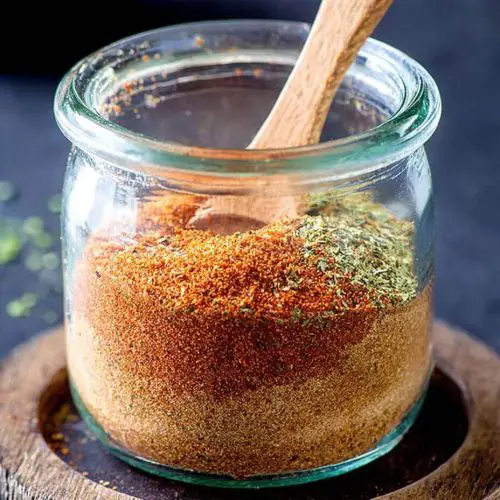
Let’s just get something right out in the open: I am absolutely bananas for bold spices, and there’s a certain little homemade blend in my cupboard that gets more play than anything else. Yep, you guessed it—Homemade Peri Peri Seasoning. (If you’d told me years ago I’d be obsessed with something that sounds this fancy? I’d have laughed. Now I basically put it on toast.) If you love that fiery, smoky, tangy magic that makes Chicken downright craveable at certain Portuguese restaurants, this is your ticket to bringing that same flavor home, no passport required. It’s also way easier than you might think to make up a jar for yourself. Trust me, I fussed and tinkered with the ratios so you don’t have to (but you could, if you want—this is your kitchen, after all!).
Why You’ll Love This
- Big bold flavor — smoky, tangy, a little spicy (not mouth-on-fire, promise!), and just slightly sweet
- Ridiculously easy to whip up — we’re talking five minutes and a mixing bowl
- Totally customizable — make it mild or wild, whatever fits your crowd
- Brings instant craveable vibes to Chicken, shrimp, veggies, fries, and seriously…popcorn
- Homemade means you control the salt, heat, and quality—so much better than store-bought, and I’ll bet you already have most of the spices in your pantry
- Perfect for meal prep — make a batch, use it all week long (it also makes a killer little “neighbor gift” if you’re that person!)
Ingredients You’ll Need (And Swap Ideas!)
- Paprika: My sweet spot is that classic smoky paprika (sometimes labeled “Spanish paprika” or “pimentón smoked”). Regular paprika works if that’s what you’ve got—just don’t skip it! That’s the backbone.
- Cayenne Pepper: This is what gives Peri Peri Seasoning its gentle but real little kick. You can add more or less depending on your heat tolerance. Try red pepper flakes in a pinch!
- Garlic Powder & Onion Powder: Both are pantry all-stars—and both are non-negotiables if you ask me.
- Dried Oregano: Classic in the mix, and just a little earthy. Dried Italian seasoning could stand in for this if you’re out. (Don’t stress, just use what you have.)
- Dried Basil: Not everyone includes this, but I just feel like it rounds things out and adds another cozy layer.
- Salt: Start with the amount listed, then taste. Some folks like a little less, some want a good salty punch.
- Black Pepper: Freshly cracked if possible — but honestly, pre-ground isn’t a deal-breaker.
- Lemon Zest (Optional): It’s not shelf-stable, so if you’ll use this up fast, go for fresh zest for that signature citrusy pop. Otherwise, try dried lemon peel (sometimes sold in spice aisles) or keep it classic and leave it out.
- Sugar (Optional): A pinch can smooth everything out and balance the tartness. Up to you!
(And hey, if you peek at Sprinkles and Sprouts’ peri peri seasoning recipe you might spot a few more tricks for inspiration!)
Step-by-Step Directions (So Easy, It Feels Like Cheating)
1. Gather your spices. It’s easiest to measure everything straight into one medium bowl (or directly into the jar you plan to store it in). A couple of measuring spoons and five minutes is all you need.
2. Measure and mix. Combine the paprika, cayenne, garlic powder, onion powder, oregano, basil, salt, black pepper, (and sugar/lemon zest, if using) until everything is well blended. I use a little whisk but a fork works fine! If you’re going for ultra-smooth, you can blitz everything in a mini food processor for a finer powder.
3. Taste and tweak. Pinch a bit between your fingers and give it a taste. Want more zing? Add extra cayenne, or zest in more lemon. Needs salt? Sprinkle a bit more in. Seriously—trust your instincts here.
4. Store it smart. Pop your finished Peri Peri Seasoning in a clean airtight jar or spice container. Label it and stash it in a cool, dry cupboard.
(If you’re like me and can’t resist, go ahead and sprinkle some on your next snack: avocado toast, roasted chickpeas, or popcorn are all fair game!)
How to Use Your Homemade Peri Peri Seasoning
- Chicken: This is the classic—rub it on chicken thighs, chicken wings, or even a whole roast chicken. Add some olive oil and lemon juice, then marinate if you can swing it for max flavor.
- Shrimp or Fish: Toss with a drizzle of olive oil, or sprinkle on before broiling or air frying. (Quick and absolutely delicious!)
- Potatoes & Veggies: Roast, sauté, or grill—anything goes. My teens devour veggies they “claim” they hate if I season them with this.
- Fries or Popcorn: Sprinkle over hot fries, potato wedges, or your next movie-night popcorn. Little unexpected wow-moment.
- Dips and Dressings: Stir a spoonful into Greek yogurt, sour cream, mayo, or even vinaigrette for a flavorful dip or salad dressing.
- Eggs & Avocado Toast: Jazz up scrambled eggs, fried eggs, or mashed avocado. (This is my breakfast happy place.)
Tasty Twists & Simple Variations
- Make it Mild: Cut the cayenne in half, or swap for ground mild chili powder.
- Go Extra Smoky: Use all-smoked paprika, or add a pinch of chipotle chili powder if you’ve got it.
- Add Herby Notes: Try extra basil, marjoram, or even a little parsley for a fresh twist.
- Sweet Heat: Add a big pinch of brown sugar and a hint of cinnamon for a flavor bomb (sweet potato fries, I’m looking at you!).
- Lemon Lovers: Stir in dried lemon peel, or zest a whole lemon into the batch just before using.
- Salty-Sour: Add a little sumac for a bright, tart pop (optional, but fun!).
Tips for Storing & Reheating
Storing homemade spice blends is a breeze. Just pour your Peri Peri Seasoning into a clean, airtight jar (I love little mason jars, but even clean reused spice bottles work). Label it with the date, and keep it in a cool, dark spot in the pantry—away from the stove if you can manage. It’ll stay bold and punchy for up to 3 months (if it lasts that long—mine gets used up fast!).
No reheating necessary for the seasoning itself, but if you’re making a batch of marinated chicken or anything with your Peri Peri mix, leftovers reheat beautifully in the microwave or a low oven. I even sprinkle a pinch over leftovers to “wake up” the flavors before serving. And if you went the fresh lemon zest route, try to use up the batch within a week or two for the freshest flavor.
Let’s Chat Peri Peri!
There’s just something so satisfying about shaking up a quick blend of Homemade Peri Peri Seasoning and knowing you can instantly brighten up dinnertime (or snack time, or really any time). If you give this a go, let me know in the comments—what’s your favorite way to use it? Or did you put your own twist on the ingredients? I read every single note and just love hearing about your kitchen adventures. Spice things up and make it your own, friend!
Baked Potato Chicken and Broccoli Casserole
Ingredients
- 4 large russet potatoes washed and scrubbed
- 2 cups cooked chicken diced or shredded
- 2 cups broccoli florets blanched
- 1 1/2 cups cheddar cheese shredded
- 1 cup sour cream
- 1/2 cup milk
- 2 tablespoons unsalted butter
- 2 tablespoons all-purpose flour
- 2 cloves garlic minced
- Salt and pepper to taste
- Chopped fresh chives or green onions optional, for garnish
Instructions
- Preheat your oven to 375°F (190°C) and grease a 9×13-inch baking dish with butter or non-stick spray.
- Place the washed and scrubbed potatoes directly on the oven rack and bake for 45-60 minutes, or until tender. Let them cool slightly.
- In a Saucepan over medium heat, melt the butter and cook the garlic for 1 minute. Stir in the flour and cook for another minute, stirring constantly.
- Gradually whisk in the milk, stirring continuously until smooth and thickened. Remove from heat and stir in 1 cup of shredded cheddar cheese and sour cream. Season with salt and pepper to taste.
- Slice the baked potatoes in half lengthwise and scoop out the flesh, leaving a thin layer in the skins. Place the potato shells in the prepared baking dish.
- Dice the scooped-out potato flesh and combine it with the cooked chicken, blanched broccoli, and cheese sauce. Stir until well combined.
- Spoon the chicken, broccoli, and cheese mixture into the potato shells, dividing evenly. Sprinkle the remaining shredded cheddar cheese on top.
- Bake for 20-25 minutes, or until the cheese is melted and bubbly. The top should be golden brown.
- Let the casserole cool slightly before serving. Garnish with fresh chives or green onions if desired. Enjoy warm!