
You know that feeling when you want something a little out of the ordinary, but still cozy and approachable? That’s exactly how I stumbled into quail eggs. Way back, my mom bought a little carton of them at the local farmers market just because they looked “too cute to ignore”—and guess who became the designated quail-egg chef? (It’s me. Always me!) There’s something so delightfully irresistible about these little beauties, whether you’re piling them on salad, plopping them on fancy toast, or—let’s be honest—just popping them like candy. And don’t even get me started on how wonderfully easy they are to prepare. If you’ve ever wondered how to cook quail eggs without turning your kitchen into a fuss-fest, friend, let’s get cozy and crack some shells together.
Why You’ll Love This
- So easy and quick (seriously, you’ll be surprised at how little effort it takes)
- Creamy, tender yolk centers—never chalky, always craveable
- Perfect for salads, brunch boards, snacks, or to make any dish feel a smidge more special
- Adorable on platters—these lil’ eggs are always a conversation starter
- Versatile: soft-boiled, hard-boiled, you decide (or do both, I won’t judge)
- Great for kiddos or picky eaters…tiny food is just more fun!
Ingredients & Notes
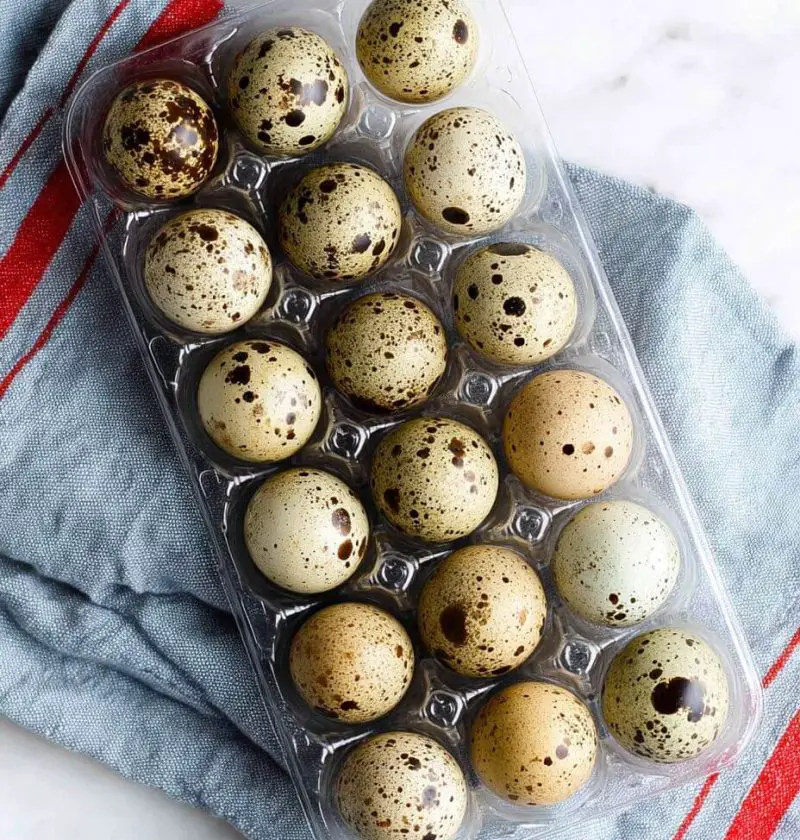
- Quail eggs: You’ll usually find these in a little plastic carton near the specialty dairy or at international markets. They’re smaller and speckled. As fresh as you can get is best—if you have a local farmers market, even better.
- Water: Tap is fine. You just need enough for boiling.
- Ice: For the ice bath! (Totally necessary—don’t skip this for easy peeling.)
- Salt (optional): Some folks love tossing a pinch in the water. It can help prevent cracking and makes seasoning a breeze right after peeling.
- Vinegar (optional): Just a teaspoon in the boiling water may help with shell peeling if your eggs are on the fresher side.
Substitutions & Tips: If you don’t have ice, cold running water works in a pinch for the cooling bath. You can swap a bowl of cold water, just keep the eggs in until totally chilled.
Step-by-Step Directions
Let’s make the magic happen! Promise, these steps are casual-cook friendly—no culinary degree required.
1. Gently wash the quail eggs. They can be a little dusty or feathery from the carton. Just rinse under cool water and pat dry. (And marvel at how cute they are. Mandatory.)
2. Bring water to a boil. Fill a small saucepan with enough water to cover the eggs by about an inch or so. Bring to a rolling boil over high heat. If you want, toss in a pinch of salt or a splash of vinegar. I do both sometimes, living on the edge!
3. Lower the eggs in gently. This is the one fussy part. Use a slotted spoon or mesh strainer to lower in the eggs—don’t just plop them, or you might get a crack or two. (They’re tough for their size, but let’s be gentle!)
4. Boil based on your desired doneness.
- *For soft-boiled:* Go for 2.5 to 3 minutes. The whites set, but the yolks stay soft and a little runny—dreamy for toast.
- *For medium-boiled:* Try about 3.5 minutes—set, but still a tad creamy in the middle. My personal favorite.
- *For hard-boiled:* 4 minutes gets you a fully set yolk. Perfect for slicing on salads or packing in easy lunches.
5. Shock ‘em in ice bath goodness. As soon as the timer dings (don’t walk away, they cook FAST), scoop the eggs out with your slotted spoon and plunge into a bowl of ice water. Let them hang out for 5 minutes, or until fully cool. This stops the cooking, keeps your yolk dreamy, and—the best part—makes peeling a breeze.
6. Peel with care. Lightly tap the eggs on your counter to crack them all over, then peel under a gentle stream of running water (or in the ice bath). Start at the wide end—there’s usually an air pocket that gives you a little head start. The quail egg shell is a bit tough, but the membrane underneath is the real trickster. Take your time—the results are worth it!
7. Serve and enjoy! I love to slice them in half and sprinkle with flaky salt. Add to salads, nestle onto toast, or just serve as-is with a cute little bowl of salt and pepper for dipping. They’re perfect for passing around at brunch, too—watch them disappear!
Favorite Ways to Use and Serve
- Topped on avocado toast with a sprinkle of chili flakes (ridiculously good for breakfast or a midnight snack)
- Sliced into ramen or noodle bowls—those creamy yolks soak up broth like crazy
- Scattered over leafy salads for pops of protein and color
- Pickled (yes, really!) for tangy mini snacks with cocktails or on a charcuterie board
- Baked into tiny Scotch eggs for a quirky appetizer (messy, but SO fun with kids)
- With a sprinkle of smoked paprika—simple, but yum
Easy Variations & Flavor Twists
- Spicy: After peeling, roll the eggs in a bowl with hot sauce or chili oil—perfect for those who like a little heat.
- Herby: Toss with a mix of chopped chives, dill, or parsley and a quick squeeze of lemon juice. Fresh and cheery!
- Pickles: Drop peeled eggs into a jar with white vinegar, a pinch of sugar, peppercorns, and your favorite herbs for a few days. Snack heaven.
- Deviled: Split in half, scoop out the yolks, mix with a little mayo and mustard, pipe back in. Teeny deviled eggs! (So cute for parties.)
- Garam masala or curry powder: Sprinkle on while still warm and toss for a fun twist, especially if serving with rice dishes. My hubby is obsessed.
How to Cut Quail Eggs Cleanly
It might seem a little silly, but if you want perfect halves (for appetizers, boards, or just the Instagram pic), use a super sharp paring knife or a string of unflavored dental floss—yes, the kind you use on your teeth! Hold the egg steady and press the floss through in one smooth motion. If you’re using a knife, rock it gently—a serrated knife can work surprisingly well here. Wipe between cuts for those chef-y, clean lines. (But honestly, a rustic cut is just as lovely. Perfection’s overrated!)
Storage & Reheating Tips
Quail eggs keep surprisingly well! Pop any extras (peeled or in the shell) into an airtight container and stash in the fridge for up to a week. If you’re meal-prepping, I recommend leaving the shells on until you’re ready to eat—they hold up better and peel more easily after a few days.
To reheat (if you like them warm): Just dunk peeled eggs in hot (but not boiling) water for 30 seconds to a minute. They’ll perk right up but stay tender and delicious. Avoid the microwave, though! They can explode—trust me, it’s a mess you do NOT want to clean up.
Serving Suggestions for a Crowd
If you’re making these for a party or potluck, boil and peel a ton ahead of time and store in the fridge, lightly covered with a damp paper towel (it keeps them from drying out). Serve on a platter with a pinch bowl of salt, pepper, and maybe some funky finishing salt or seasoning blends. I guarantee folks will ask you all about them.
If you’re feeling super extra, tuck a few on top of open-faced sandwiches or garnish a potato salad—people go wild for a mini egg surprise. Try making a big batch—quail eggs are truly one of those things where you’ll wish you made more, every single time.
I love sharing cozy little kitchen adventures like this, so if you’ve got questions, tips, or your own family stories, pop them in the comments! Or just tell me how you’re enjoying your quail eggs—you know I’ll be cheering you on, egg shell bits and all. Happy cooking, neighbor!