
Save This Recipe
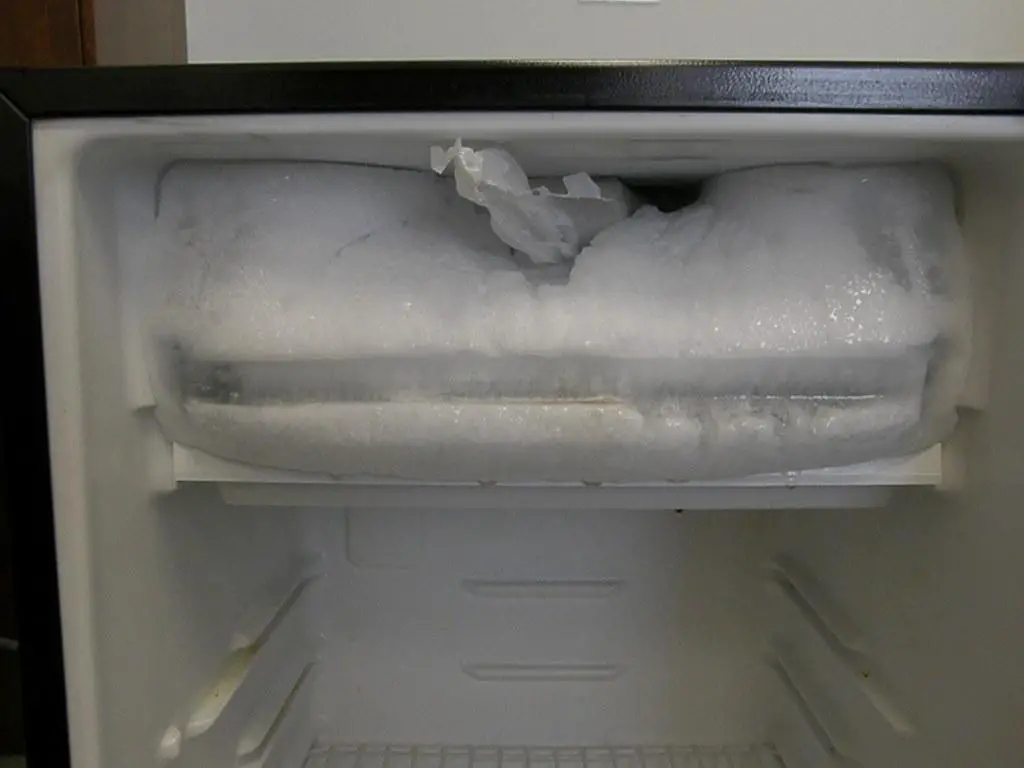
Let’s be real: nobody plans to defrost the freezer. It usually starts with something small—maybe the bottom drawer’s suddenly stuck tight, or your bag of peas is trapped in a block of ice worthy of the North Pole. Most of us just shut the door and pretend we didn’t see anything. But before you know it, you’re faced with a frozen-over landscape straight out of Narnia.
Tell me I’m not alone here, friend.
If you’re like me, defrosting the freezer has a reputation for swallowing your whole Saturday—towels everywhere, hairdryers propped at awkward angles, boiling water pots, and a mood somewhere between overwhelmed and outright cranky. But what if I told you there’s a way to speed it all up—drastically—without working up a sweat?
Yup, you really can.
And once you try this little trick, you’re never going back to the endless, soggy saga you remember from before.
First, Why Does the Freezer Turn Into a Winter Wasteland?
Before I spill my Secret weapon, here’s a quick behind-the-scenes peek at why things get so frosty in there.
Older or manual-defrost freezers just don’t have any magical way to handle moisture—so every time you open that door (especially in summer, or if you live somewhere humid), a puff of warm, damp air sneaks in. That moisture finds a cozy spot on the freezer walls, clings on, and freezes. Then it just keeps building up—layer by chilly layer.
Eventually, you’re not just dealing with blocked drawers. Now your freezer’s working extra hard to stay cold, your food isn’t freezing the way it should, and you’re wasting both energy and precious shelf space.
So the bottom line? That frost’s gotta go.
The Usual Way? A Whole Saga
Normally, here’s what defrosting looks like (brace yourself):
- Unplug the freezer.
- Haul out all your food (and probably discover an ancient popsicle or two behind the ice mountain).
- Cover the floor with towels, hoping you’re not about to create a slip ‘n slide in your own kitchen.
- Wait around—forever, it seems.
- Maybe fill a few bowls with hot water and set them in there, pretending it’ll make things go faster.
- Towels get soaked, so you mop and wring them out… again and again.
- Several hours later, the last chunk of frost finally surrenders. (Kind of.)
Sure, it works. But the mess, the hours, the inevitable backache? No thank you.
That’s where my favorite shortcut comes in—no melting gadgets, no pots of water, and none of that drama.
Here’s the Trick: A Fan, a Pan, and a Little Patience
That’s it, seriously. Nothing fancy.
The fan trick is so simple, I nearly kicked myself for not figuring it out years sooner. Instead of blasting the inside with heat, you use a fan to move room-temperature air over the frost—which is just warm enough to gently melt the ice quickly, without risking damage to your freezer or water everywhere.
What You’ll Need:
- A small box fan or tabletop fan (the kind you might keep by your bed for white noise or on your desk in the summer)
- A baking sheet or shallow pan (to catch all the melting mess)
- A few old towels (don’t skip these—ask me how I know!)
- Optional: a plastic spatula (never metal—trust me!) to nudge loose shards of ice
Step-by-Step: Defrosting in Minutes, Not Hours
Step 1: Unplug the freezer.
Let’s be safe—plus, you want the freezer to stop fighting your efforts so the ice actually starts to melt.
Step 2: Empty the contents.
Stack the food in a big cooler, wrap it up in a blanket in a laundry basket, or—if the weather’s chilly—just set it outside for a bit. You’ll be quick.
Step 3: Place a towel on the bottom of the freezer.
This is your “first defense” against puddles (and slippery messes). The towel will absorb the initial drips and save your toes from surprises.
Step 4: Place a shallow pan or tray right at the base.
Here’s where most of the melting frost will pool. Make sure it’s not going to tip—lots of ice will start coming down fast!
Step 5: Place the fan in front of the open freezer.
Aim the fan directly into the freezer from just outside the door. That gentle, steady breeze makes all the difference. You’ll be amazed at how fast the frost gives up and starts to loosen up in big, satisfying sheets.
Step 6: Wait just 15–30 minutes.
That’s usually all you need. Really! Often you’ll hear the ice start cracking or see whole pieces practically sliding off on their own. It’s the kind of satisfying you don’t get from scrubbing floors.
Optional Step 7: Gently encourage any stubborn ice.
If you’ve got a little chunk that doesn’t want to quit, use your trusty plastic spatula (or even an old credit card) to nudge it loose. No metal, please—metal can easily gouge the freezer walls, and nobody wants that repair bill (been there, and it’s not pretty).
Why This Works So Well
It all comes down to moving air and gentle warmth.
Instead of risking the inside of your freezer with blasts of heat, you’re letting that gentle flow of room-temperature air steadily dissolve all the frosty buildup. The ice melts from the outside in—so big sheets will slide off without you even getting your hands cold. It’s faster, safer, and surprisingly satisfying.
And because you’re not throwing steamy towels or boiling water into the mix, you avoid making a soggy mess in all the hidden corners. Your appliance will thank you, too—the gentle approach keeps it in good shape for years to come.
Still Want to Speed It Up More?
If you’re feeling a little extra impatient (or the frost is extra stubborn), here are a few “power moves” I’ve tried:
- Add a bowl of hot water on the bottom shelf along with the fan—just a touch of gentle steam can help those thicker ice patches let go
- Use two fans if you have them—one to blow air in, one to help circulate it right out (you’ll feel like a defrosting ninja)
- Lay a hot towel over a particularly icy spot—five or ten minutes and the ice is basically packing its bags to leave
What About Auto-Defrost Freezers?
If you’re lucky enough to have a newer fridge or freezer with an auto-defrost setting, you hopefully won’t need to worry too often. But let’s be honest—even those can get overloaded with frost if the door’s left ajar or a little vent gets blocked (that party where the freezer didn’t close all the way? Yep, been there too!).
This trick works beautifully for those as well—just be even gentler with any scraping or nudging, since newer models can be a bit delicate.
One Last Thing: How to Keep It From Happening Again So Soon
A handful of small habits will keep those icy walls from rebuilding overnight. Take it from me:
- Don’t linger with the door open. In and out—pretend you’re a freezer ninja on a mission.
- Check the gasket (rubber seal). If it’s cracked or grimy, it’s letting in unwanted moisture. Clean it or replace if needed.
- Pat down packages before freezing. A little extra water on your food’s packaging is basically just a frost invitation.
- Keep things in airtight containers. Less vapor = less frost (plus everything stays fresher, win-win).
- Don’t fill the freezer too full. I know it’s tempting (especially before a big holiday), but a little breathing room means better circulation and less ice.
Final Thought: Effortless > Miserable
Isn’t it the best when you can turn a dreaded chore into something that barely feels like work? There’s a little thrill in realizing it doesn’t have to be a whole production.
This fan and pan trick doesn’t need special tools or a half-day set aside—just a few basics and a dose of “let’s get this over with.” Once you try it, you might even find that defrosting isn’t such a monster after all. (And you can bet I’ll be cheering you on from my own cozy kitchen!)
So when your freezer looks like a blizzard hit, pull out the fan. Then, go ahead and reward yourself with a scoop of ice cream—after all, you’ve got room for it again.