
Save This Recipe
The Science Behind Microwaving Bread Before Toasting
You know how it goes—sometimes it’s those little habits in the kitchen that, once you learn them, you wonder how you ever did without. This was one of those for me. My dear nana used to always microwave her Bread for a few seconds before toasting it, and, I’ll admit, I thought it was a little odd at first (aren’t we supposed to be streamlining breakfast, not making it more complicated?). But after hearing her reasoning and, more importantly, tasting that glorious toast, I was a believer.
This Trick isn’t just one of those old wives’ tales—it really works, and there’s a bit of food science behind it! So let’s pour a cup of coffee and chat about why this little extra step can make such a difference, what’s really happening in the bread, and how to give it a whirl yourself. You’ll never look at your toaster the same way again.
It Holds On to Moisture in the Bread
We’ve all had that sad experience: reaching for a loaf that’s gotten a bit stale or dry (especially if you’re a “let’s save that last heel for later” person like I am). Toasting bread that’s already gotten a little parched just makes it even crunchier—almost brittle, really, and not the good kind. When you zap your bread in the microwave for a few seconds, those water molecules inside start floating around again, soaking back into the crumb. The result? Toast that’s perfectly crisp on the outside with a lovely soft, slightly chewy center.
Best for: Bread that’s headed toward stale—think those bagged slices that linger a bit too long on the counter.
It Ensures Even Toasting
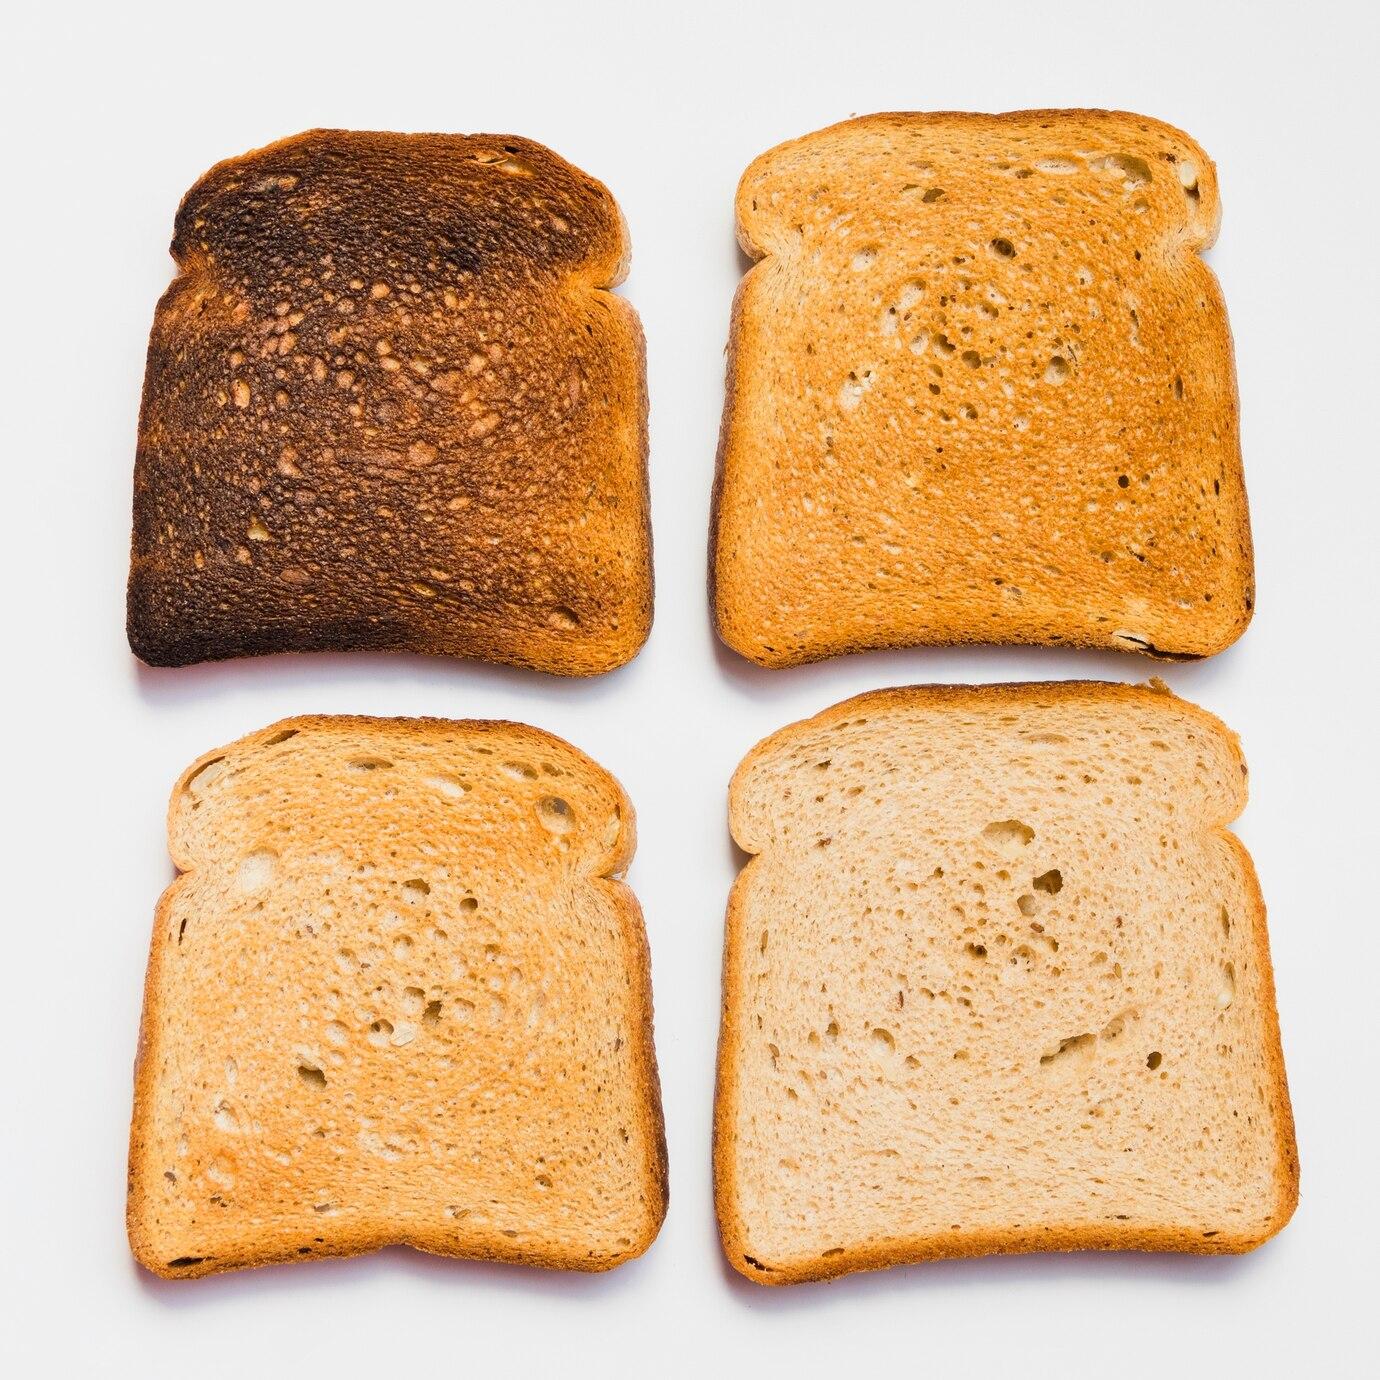
If you’ve ever ended up with toast that’s burned around the edges but pale in the middle (ask me how many times I’ve done this!), this is a game-changer. Giving your bread a quick pre-warm in the microwave—just 10 to 15 seconds—means you’re starting out with bread that’s already gently heated through. It works wonders for those thick or dense slices that always seem to toast unevenly, helping you get a beautifully consistent crispness, from corner to corner.
Best for: Oversized bakery slices or those hearty, chewy pieces that stubbornly refuse to brown all over.
It Helps Toast More Quickly
Raise your hand if you’re a chronic breakfast multi-tasker! When you’re short on time (or patience—no judgment), this trick’s for you. Since the bread is already warmed, your toaster doesn’t have to work as hard to get everything crispy. That means faster toast and, as a sweet bonus, you’re less likely to wind up with burnt slices if you get distracted pouring your coffee (guilty as charged).
Just in: Speedier toasting also equals less risk of incinerated bread—always a win in my book.
It Adds Texture for the Ultimate Bite
This is one of those happy little miracles that happens when you play with food science at home. By preheating the bread, you’re giving those starches a chance to reset, so when you toast, you get a magical contrast: a crackly, golden exterior and a just-right tender inside. To me, it’s the kind of bite that makes you pause and sigh with pleasure. (If you’re a toast-with-butter-and-jam lover, you’ll especially appreciate how well this technique shows off your favorite spreads.)
Ideal for: Anyone who wants their toast to have crunch and chewiness, all in one glorious bite.
It Prevents Sogginess
Have you ever taken a bite of toast that somehow seems chewy in a bad way—almost a little wet or gummy? That’s because bread, especially if it’s been refrigerated (I see you, cold-storage folks!), can retain surface moisture that never quite toasts off. A quick zap in the microwave lets some of that excess moisture escape, so when the toaster does its thing, you’re left with reliably crunchy, never-mushy toast.
Best for: Bread that’s just come out of the fridge or freezer, or anything that feels damp to the touch.
How to Heat Up Bread in the Microwave Then Toast: Step-by-Step Guide
This couldn’t be easier, and it takes less time than searching the utensil drawer for that missing butter knife—trust me! Here’s how I do it:
Step 1: Choose Your Bread
Doesn’t matter if you’re a fan of classic white, hearty whole grain, tangy sourdough, or old-school rye—this trick works across the board. Just grab your favorite loaf or whatever needs reviving.
Step 2: Microwave the Bread
- Lay your slices out in a single layer on a microwave-safe plate (no overlapping—every slice gets its moment in the spotlight).
- Pop into the microwave and heat on high for 10 to 15 seconds. You want it warm, not piping hot or steamy—you’re not cooking it, just giving it a little wake-up call.
Step 3: Toast as Usual
- Immediately transfer those warm slices to your toaster or toaster oven.
- Toast them just the way you like—light, golden, extra crispy. You do you.
Step 4: Enjoy Your Perfect Toast!
- Slather on your favorites: salted butter, fruity jam, glossy honey, classic peanut butter, or a swirl of mashed avocado.
- Savor that beautiful texture and notice how much more evenly toasted everything is—one of life’s simple pleasures!
The Science Behind the Hack
Let’s geek out for just a second (promise I’ll keep it short and sweet). Bread is mostly starch and water. When it sits out for a day or two, those starches seize up, and your bread gets stale—something called starch retrogradation in science-speak. But when you hit bread with a burst of microwave heat, it loosens up those starches again and lets the moisture spread back out. It’s like pressing the reset button on your bread—suddenly, it’s soft and fresh-ish again.
The brief microwaving step also helps evaporate just enough surface moisture so your toaster can create that golden, crackly crust, without drying out the middle. (If you’re a texture person, you’ll know exactly what I mean—heavenly!)
When to Use This Method
You don’t always have to microwave your bread first, but there are days when it really saves the day. Some of my favorite times to use this trick:
Reviving Stale Bread – When that loaf is edging past its prime, don’t pitch it—this method brings it right back to life.
Toasting Dense Bread – For those big, rustic loaves or any hearty whole grain that toasts unevenly, a quick microwave lets you finally get a crisp center without incinerating the outside.
Warming Cold Bread – Any bread you’ve stored in the fridge or freezer gets cold in the middle when you toast straight from the bag. Pry those slices apart, zap in the microwave, then toast for much better results.
Speeding Up Breakfast – If you’re running late (hello, busy mornings!), this little step shaves off precious minutes since your toaster doesn’t have to heat the bread from fridge temp to toasted heaven.
Why This Old-School Trick Is Still Effective Today
There’s something so magical and a little rebellious about pulling out a simple, passed-down method like this and realizing it beats out all the fancy gadgets in the world. Every so often, Nana’s kitchen wisdom turns out to be rooted in real science—and in love and care for the food we eat every day. Trust me: add this small step, and suddenly your toast is more delicious than the fancy stuff at your local brunch spot. “Life-changing toast” might be a bit dramatic, but honestly, give it a shot and see if you don’t become just a little obsessed.
Frequently Asked Questions:
Microwaving bread before toasting: why do I do that?
It’s all about the moisture, texture, and time. A quick stint in the microwave gives your bread a bit of life, distributes moisture more evenly, and means your toaster doesn’t have to work quite so hard to get things perfectly crisp. You get even browning and a soft middle every time.
How long to microwave bread first before toasting?
Just 10 to 15 seconds on high—that’s all it needs. You’re looking for gently warmed, not soggy or steaming (learned that the hard way after one too many kitchen experiments).
Is this trick suitable for all types of bread?
Absolutely. Whether you love hearty whole grains, classic white, sturdy rye, pillowy sourdough, or even gluten-free options, this method works wonders. The thicker or denser your bread, the more benefit you’ll get from this little pre-warming step.
Can I use this trick with frozen bread?
You sure can. If you’re taking bread straight from the freezer, pop it in the microwave for about 20 to 30 seconds to thaw and warm it up before toasting. That way, you miss out on those icy centers and uneven browning (and can have “just like fresh” toast any day).
Does microwaving bread make it soggy?
Not as long as you keep it quick—10 to 15 seconds for fresh, 20 to 30 for frozen. Too long, and things might get a little damp, but a brief warm-up is just right for toasting. Trust me, I’ve pushed my luck on this and had to learn the hard way.
Can you put more than one slice in the microwave?
Definitely, as long as you give each slice a little breathing room. Lay them out in a single layer on a microwave-safe plate—no piles or stacks—so they all heat evenly. (Otherwise, you’ll have one slice that’s piping hot and another that’s cold in the middle, and nobody has time for that.)
Does microwaving bread alter its taste?
Not in an obvious way. What you’ll notice more is the difference in texture. The real flavor improvement comes from that perfect, toasty outside and the tender middle—a treat for toast lovers everywhere.
Is it safe to do this method on every type of toaster?
Absolutely. Whether you’ve got a retro pop-up toaster, a modern toaster oven, or even an air fryer, microwaving before toasting is perfectly safe. There’s no special equipment required—just Old-fashioned, happy results.
Would you microwave bread before grilling or pan-toasting it?
Oh, yes. For anything that involves bread on a hot surface—grilled cheese, patty melts, paninis—give those slices a little pre-warm. You’ll get a crunchier exterior and avoid that dreaded underdone middle (not to mention you get your sandwich from pan to plate faster).
Do professional chefs use this trick?
It might not be standard restaurant protocol, but ask around and you’ll find plenty of savvy home cooks and even some pros who swear by it. When the goal is perfect toast—crisp, flavorful, and evenly done—this simple old-school hack gets you there every single time.